I've always found the steering of my df velomobile to be overly sensitive at speed, and its behavior to be borderline sketchy on descents in windy conditions.
Maybe it's just me: perhaps it's just a matter of eventually getting used to it, after all, I'm only an experienced road biker, but I've always sought advice on taming the df characteristic to wander all over the road at speed.
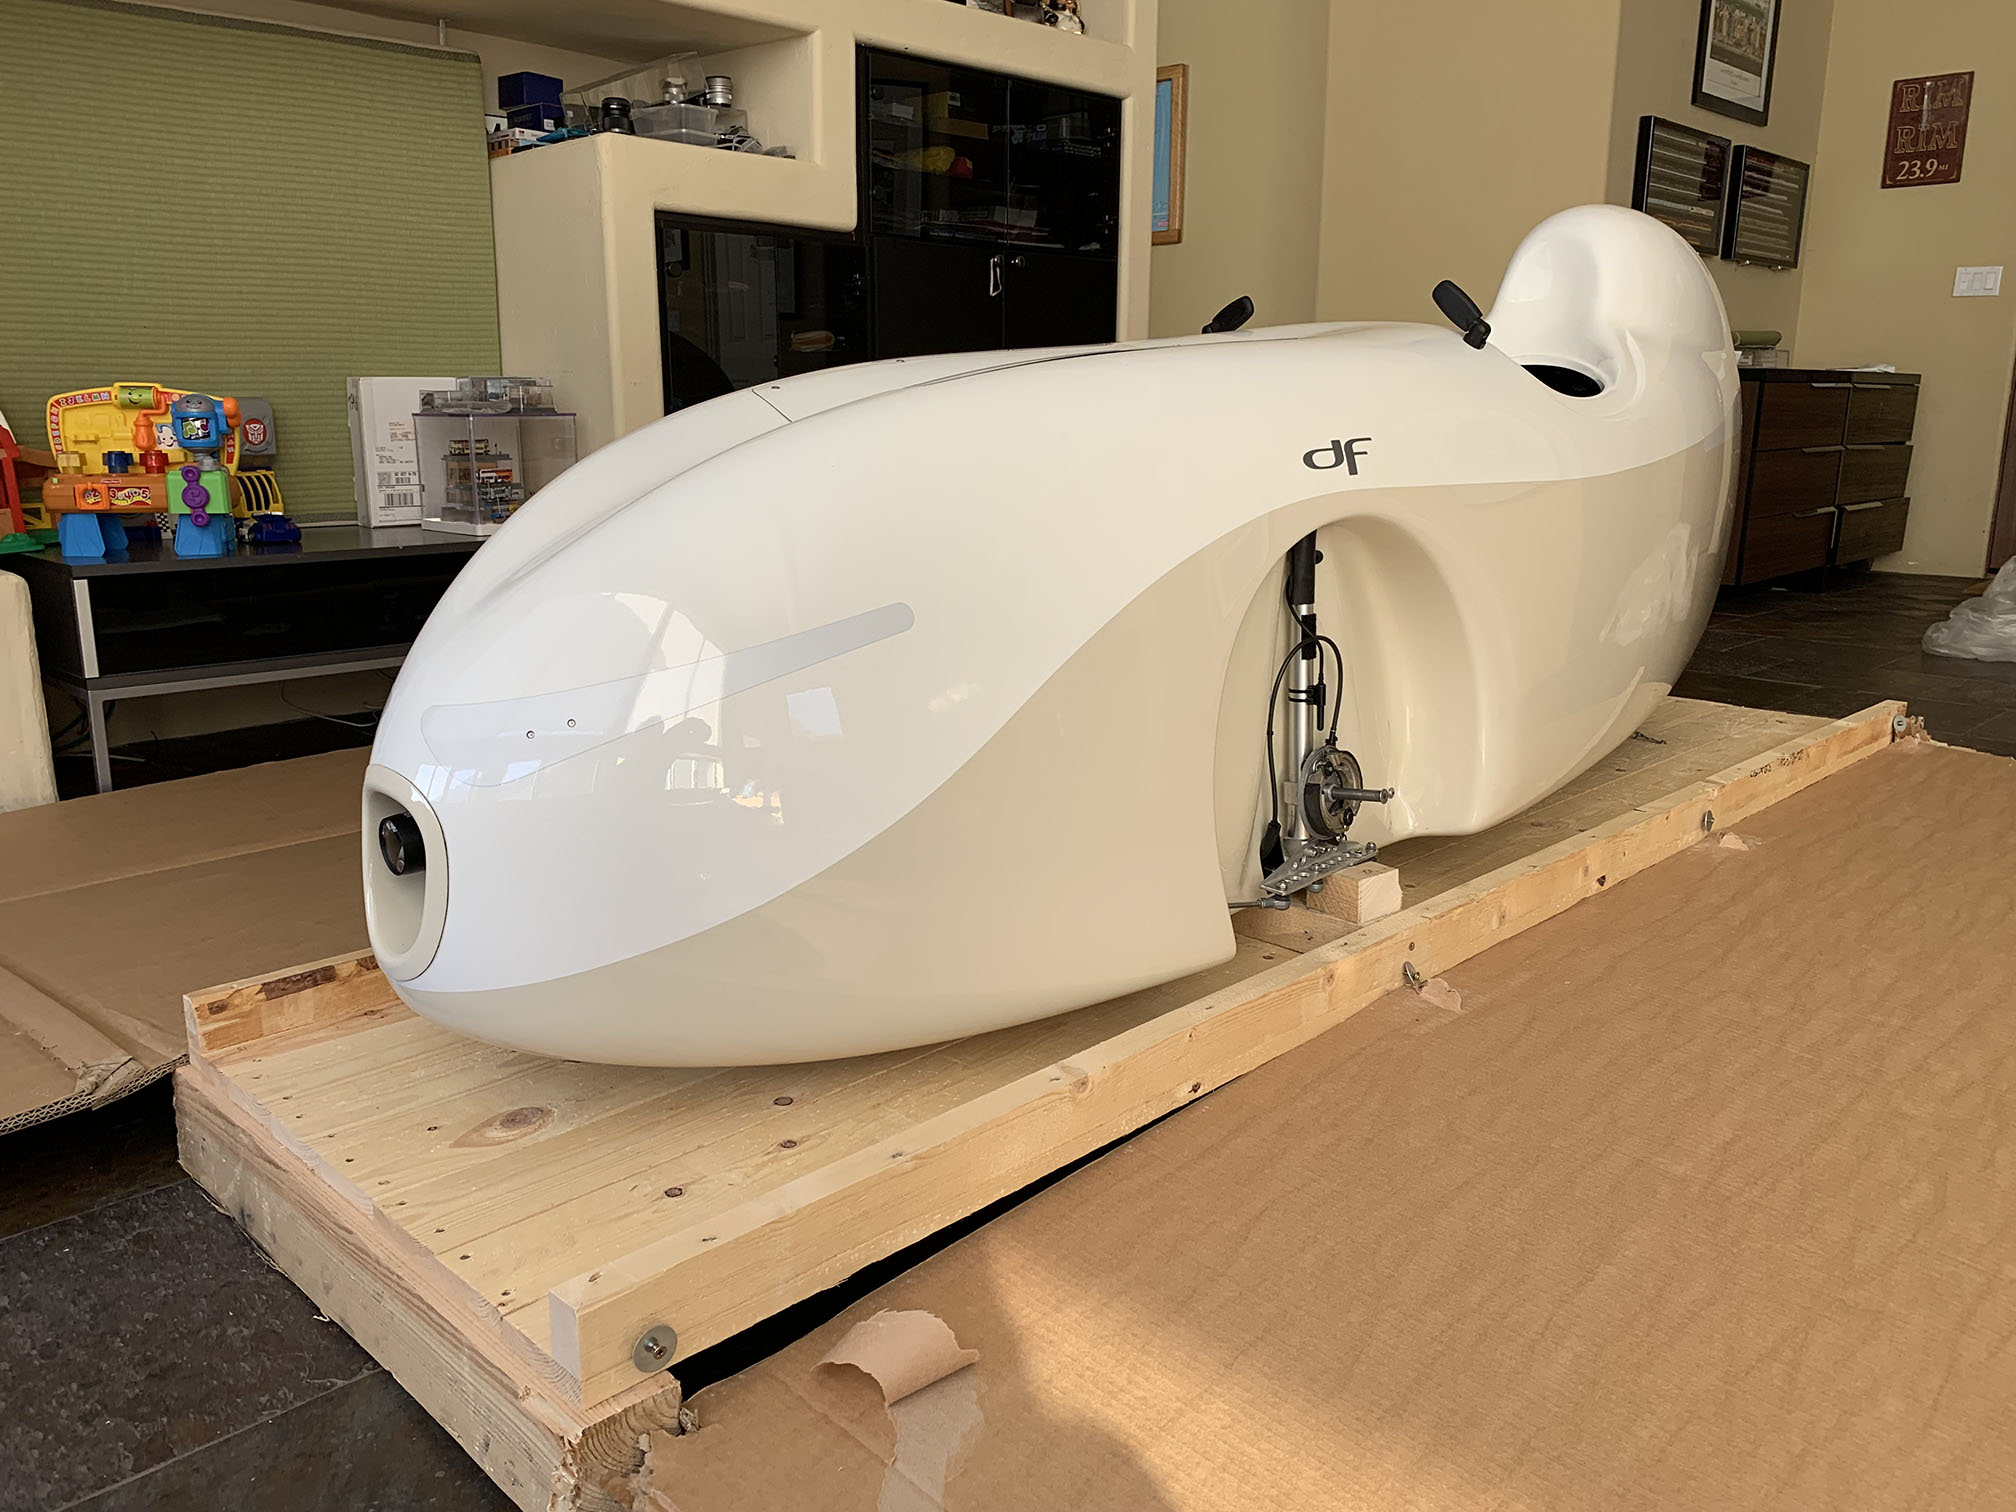
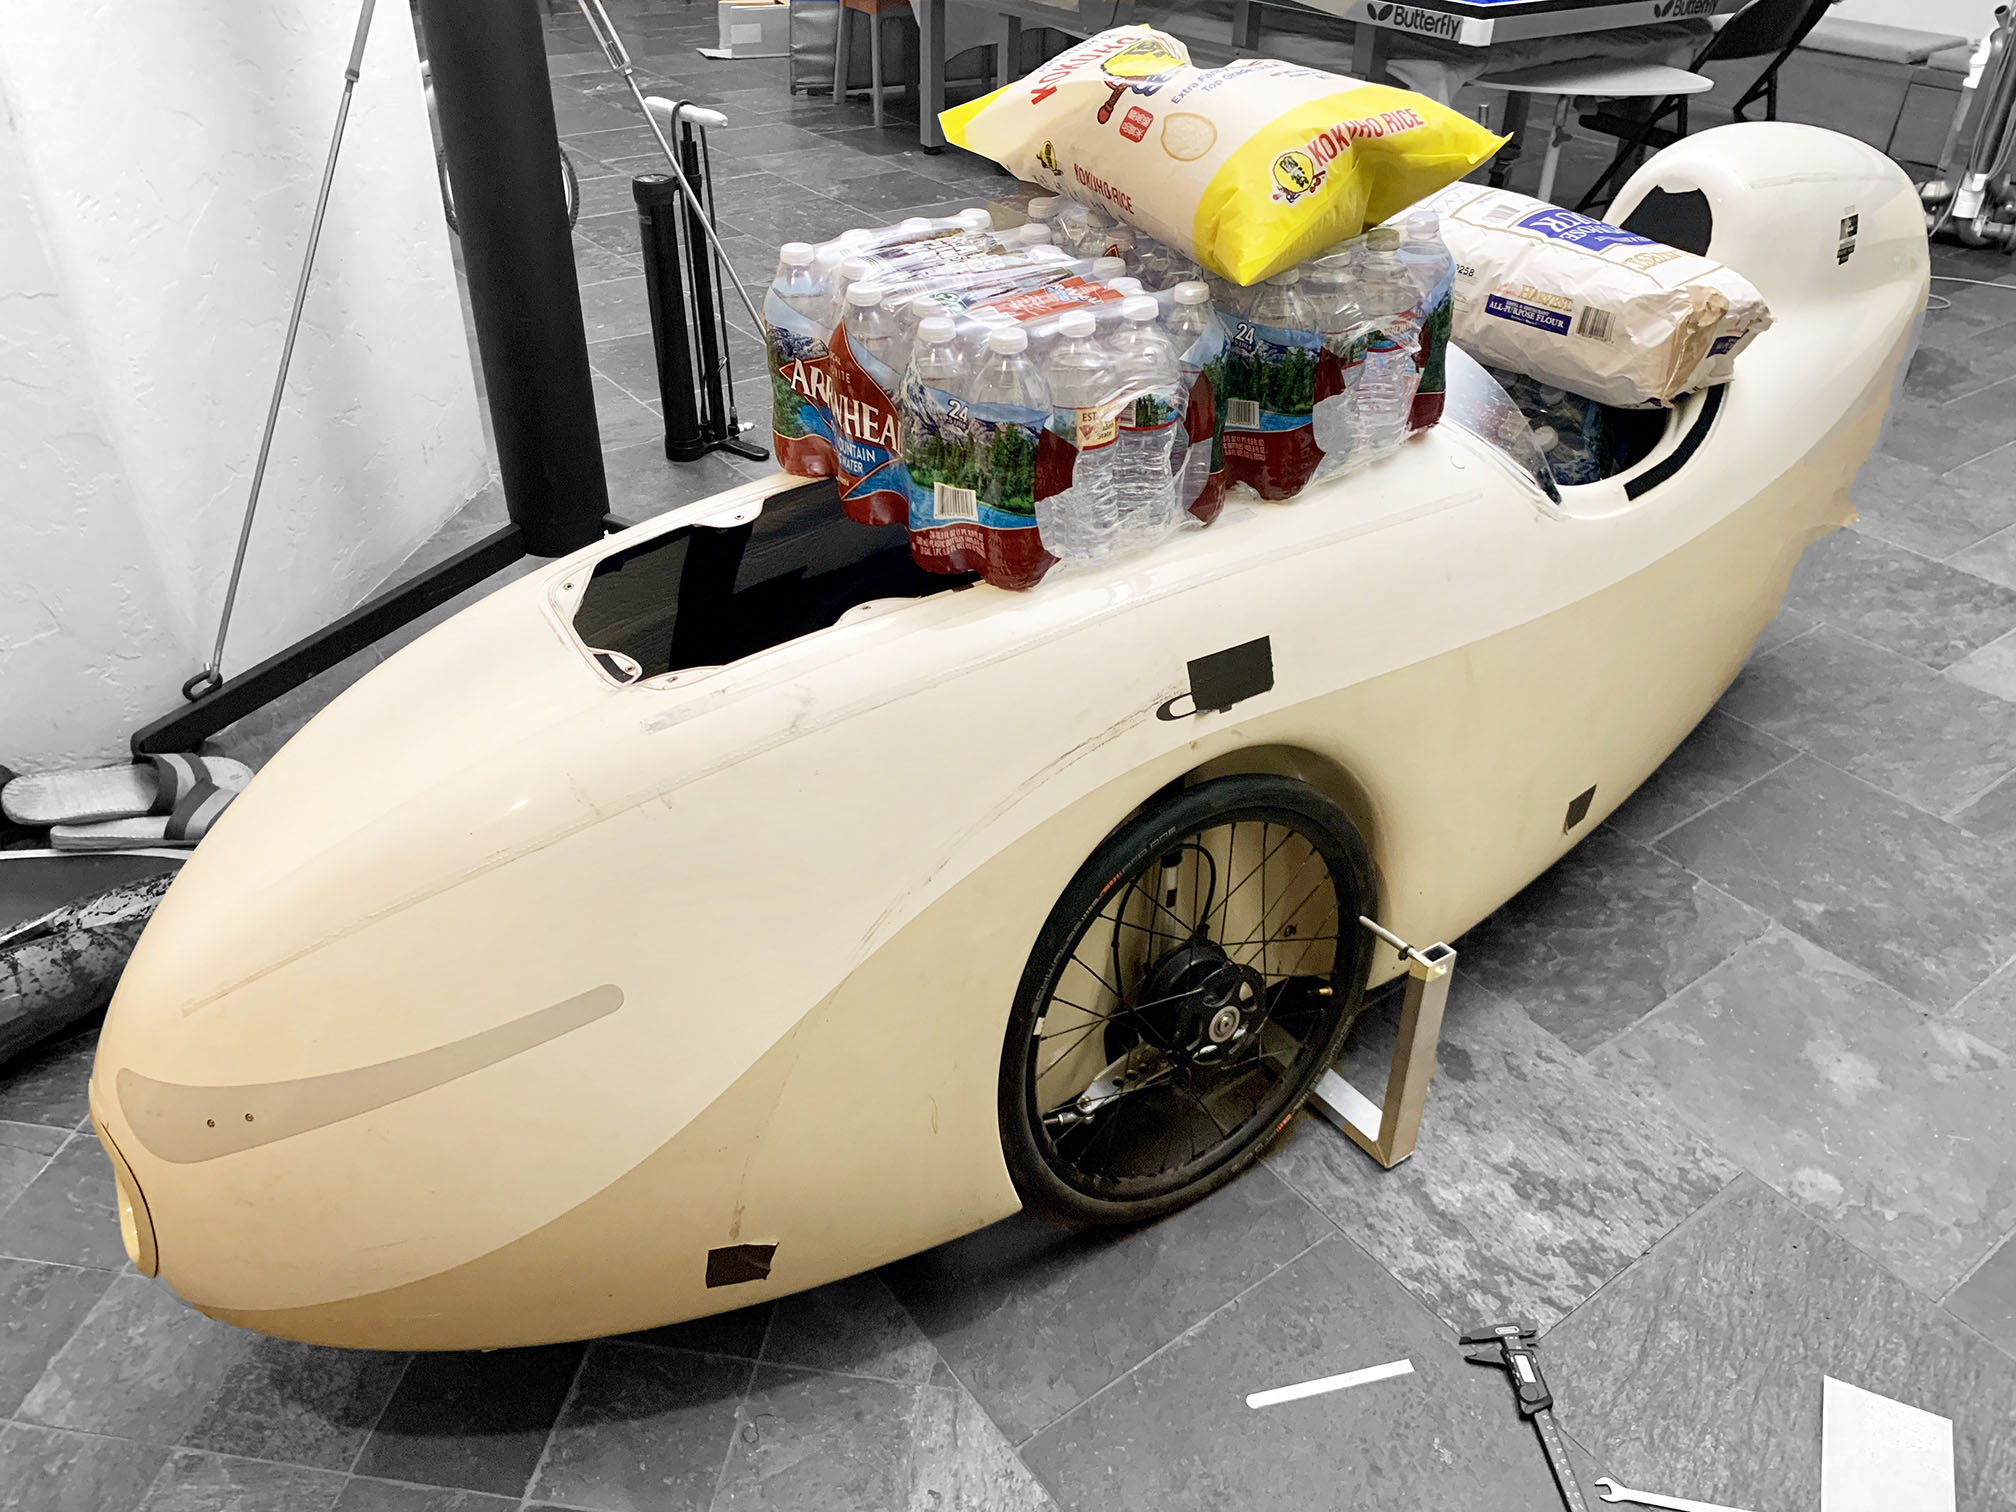
In the mountainous desert here, without trees and structures to help block the wind, we're quite exposed. After successfully testing homemade (Lexan) wheel pants, I bought a pair of carbon fiber df wheel pants. These are well worth the expense imho just for the peace of mind. In addition, their weight (at half that of Lexan) is a plus and any aerodynamic gain is just a bonus. You have to factor in the purchase a new set of front wheels (offset inboard to help mitigate the loss of steering angle). But I no longer have to worry about being blown all over the road every time the road tilted downwards. That means I can use the speed advantage of a velomobile more often.
In fact, I won't do a serious ride without them because there are lots of 100+ kph descents around me that I regularly encounter, and like on a road bike or tandem, I hate having to brake. Here is a regular downslope I often do on the main road just outside my house. (It's not very steep.)
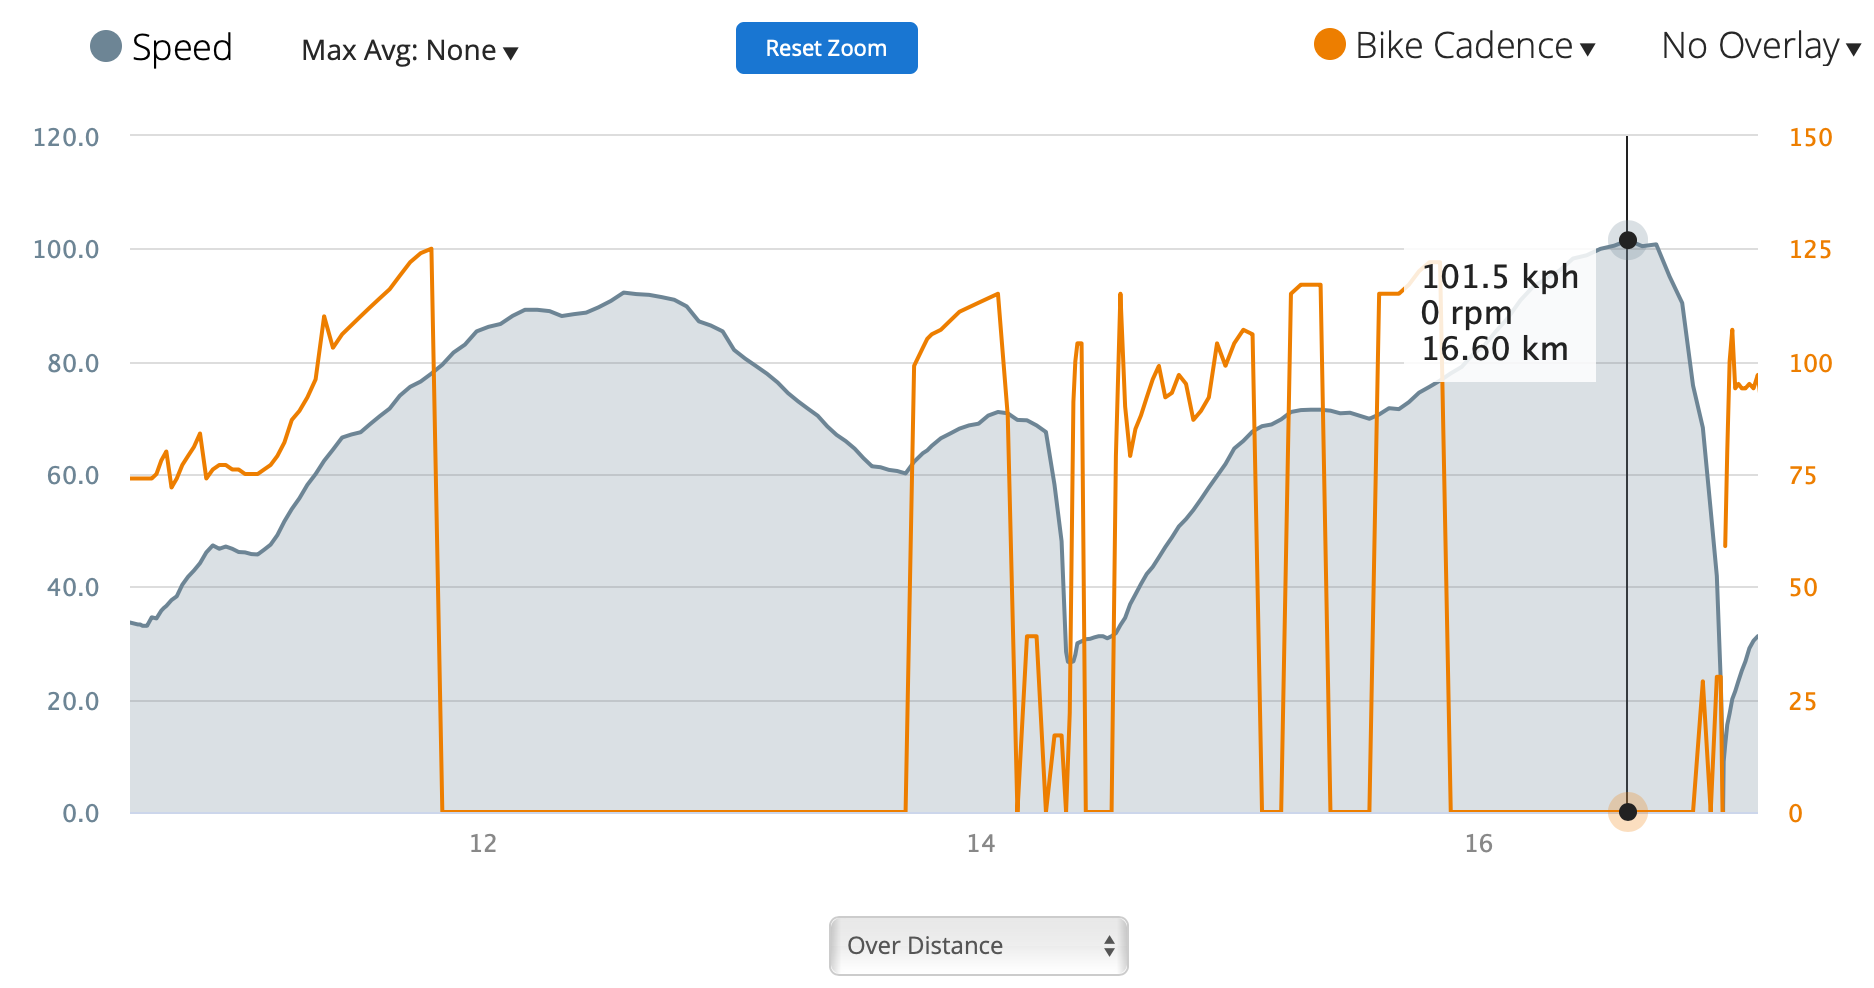
Notice I stop pedaling with a cadence around 125 rpm in each case and coast the rest of the descent. That's not because I can't go higher; in fact, I regularly hit 150+ rpm on low-gear uphill sprints even on my df: rather, it's because the df becomes unstable for me around 80 kph. Due to the stomping, the df moves side-to-side at speed because of the sensitivity of the steering, and I begin to feel it's dangerous. As a result, I tuck in and let it run, leaving valuable speed on the table. There's lots of buffeting from passing large trucks and cars. At 100 kph and beyond, I'm a mere (terrified) passenger doing the very minimum of steering corrections to stay within my lane and avoid getting sucked in under that semi or being bounced off the road, possibly rolling into a Saguaro cactus or worse.
So when Intercity Bikes offered new steering plates in 2020 to make the the tiller steering less sensitive (based on the Alpha7 design), I jumped at the chance, despite the fact that my df is less than two years old.
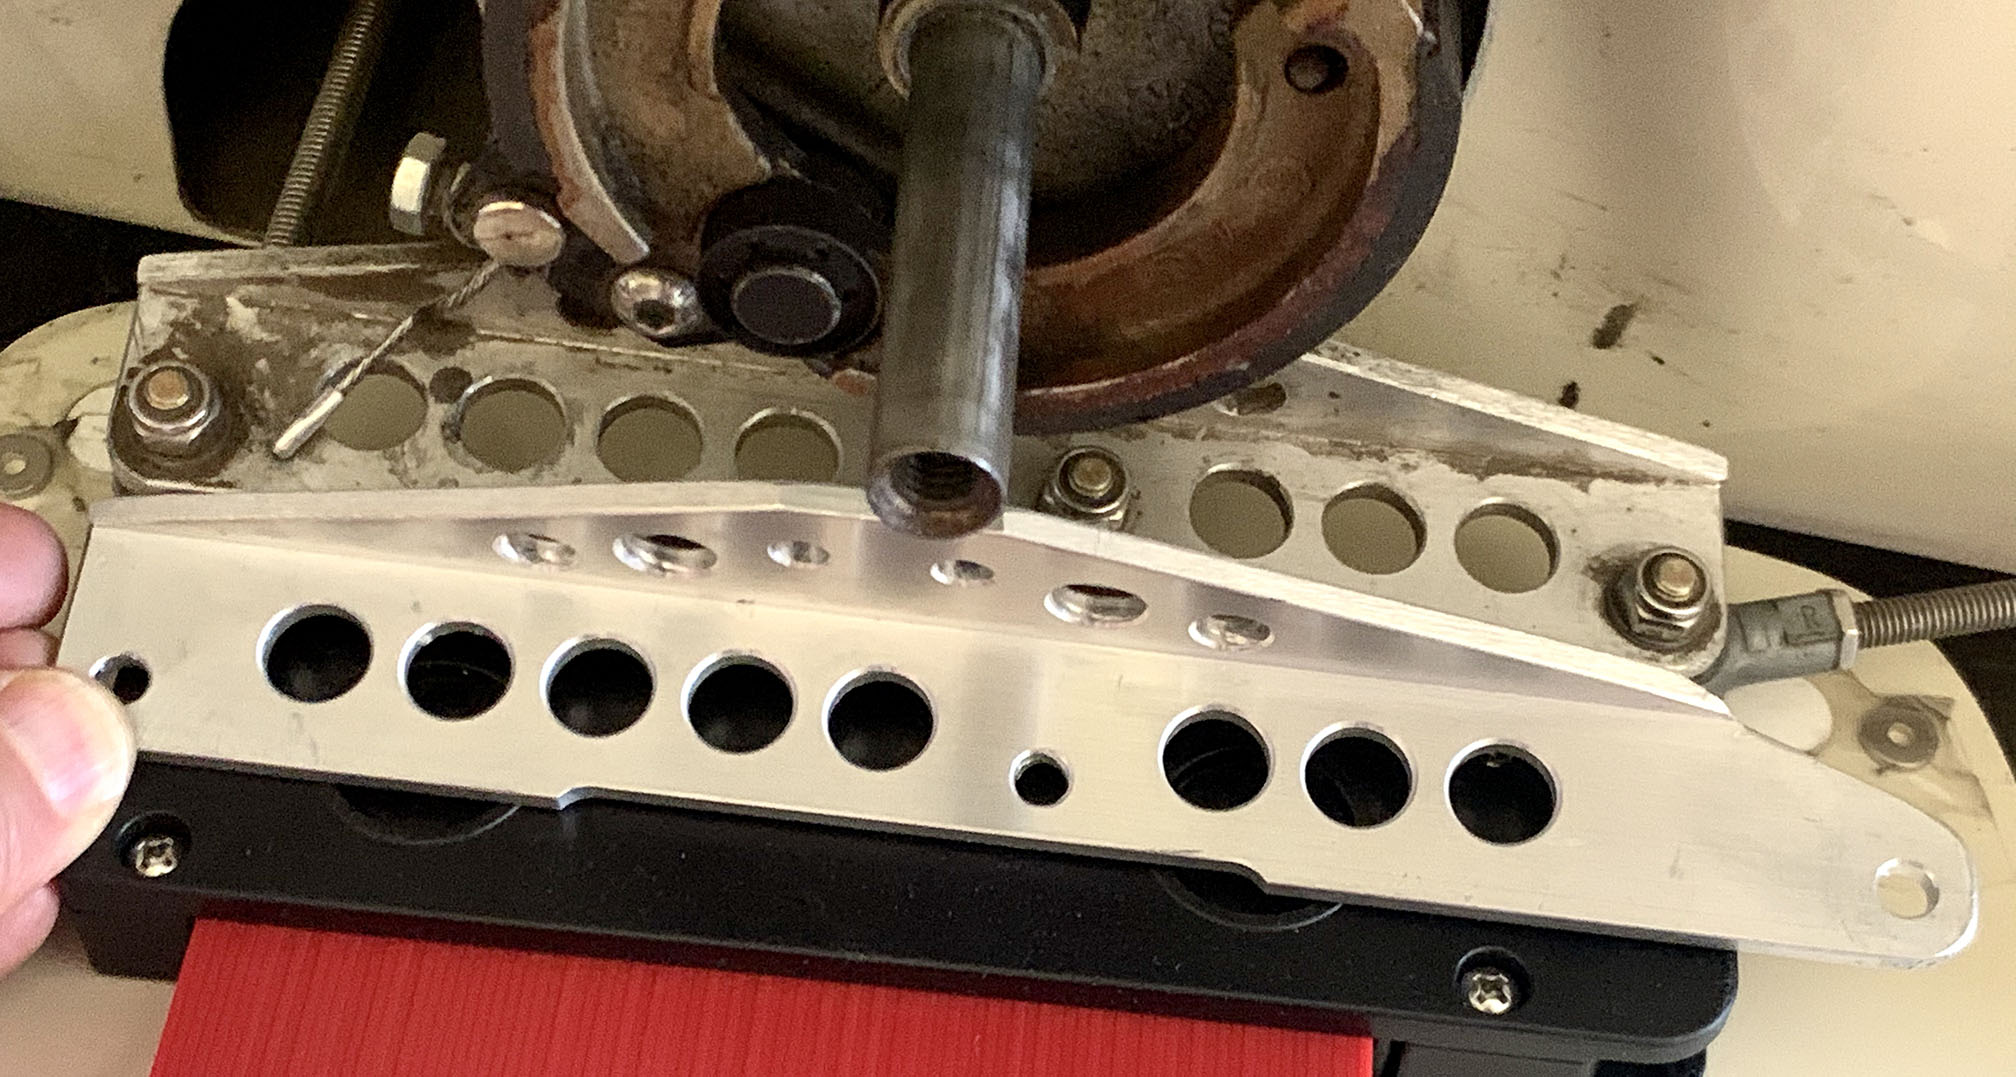
Here is the stock steering configuration on my 2018 df (on the left) and the new steering plates installed (on the right):
|
|
If you look closely, you can see there are three rods. In the original configuration, the front rod goes through the velomobile at the front of the wheel well. In the revised configuration, a shortened rod terminates at a rod end bearing that is attached to the side of the wheel well.
(Yes, you need to drill a new hole in the wheel well and shorten the rod accordingly, described below.)
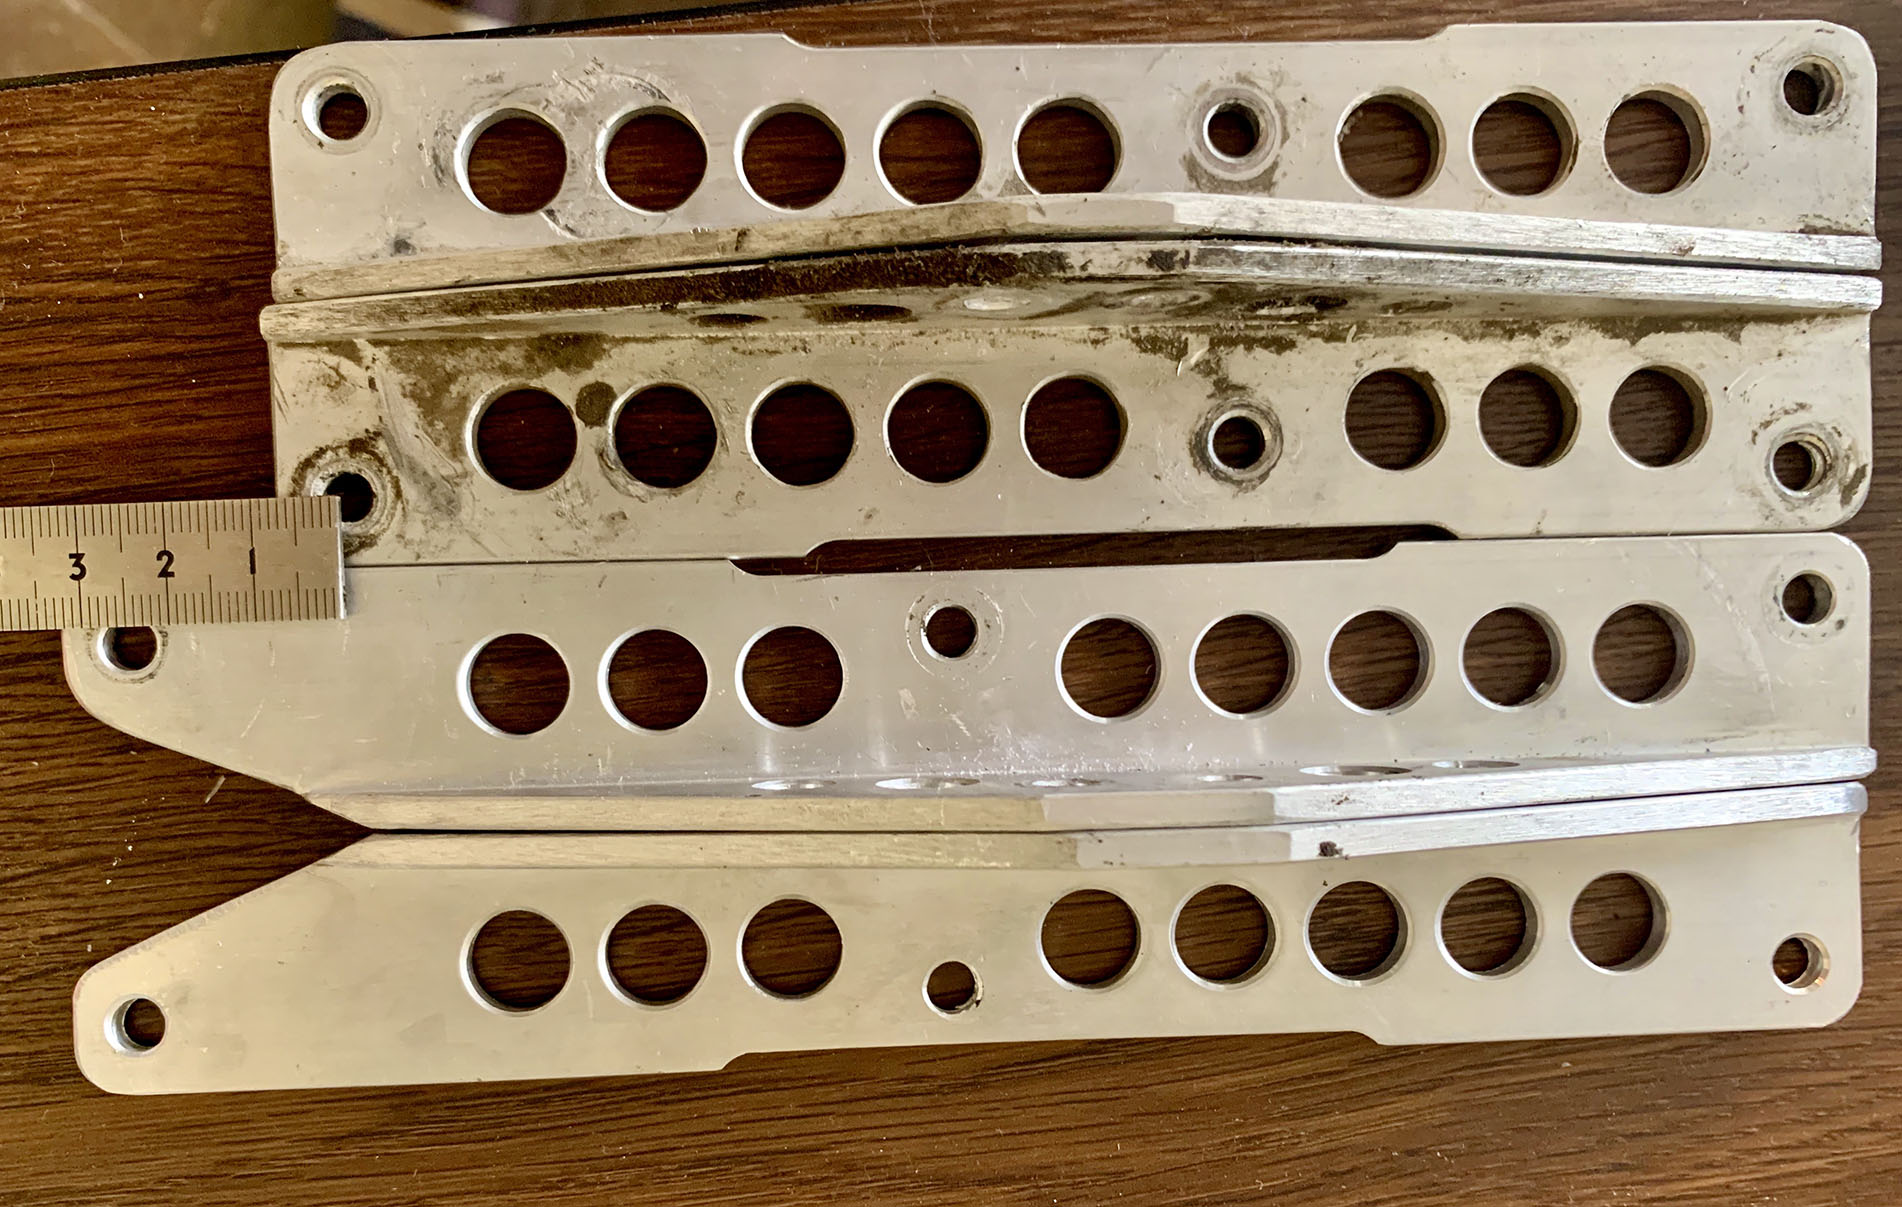
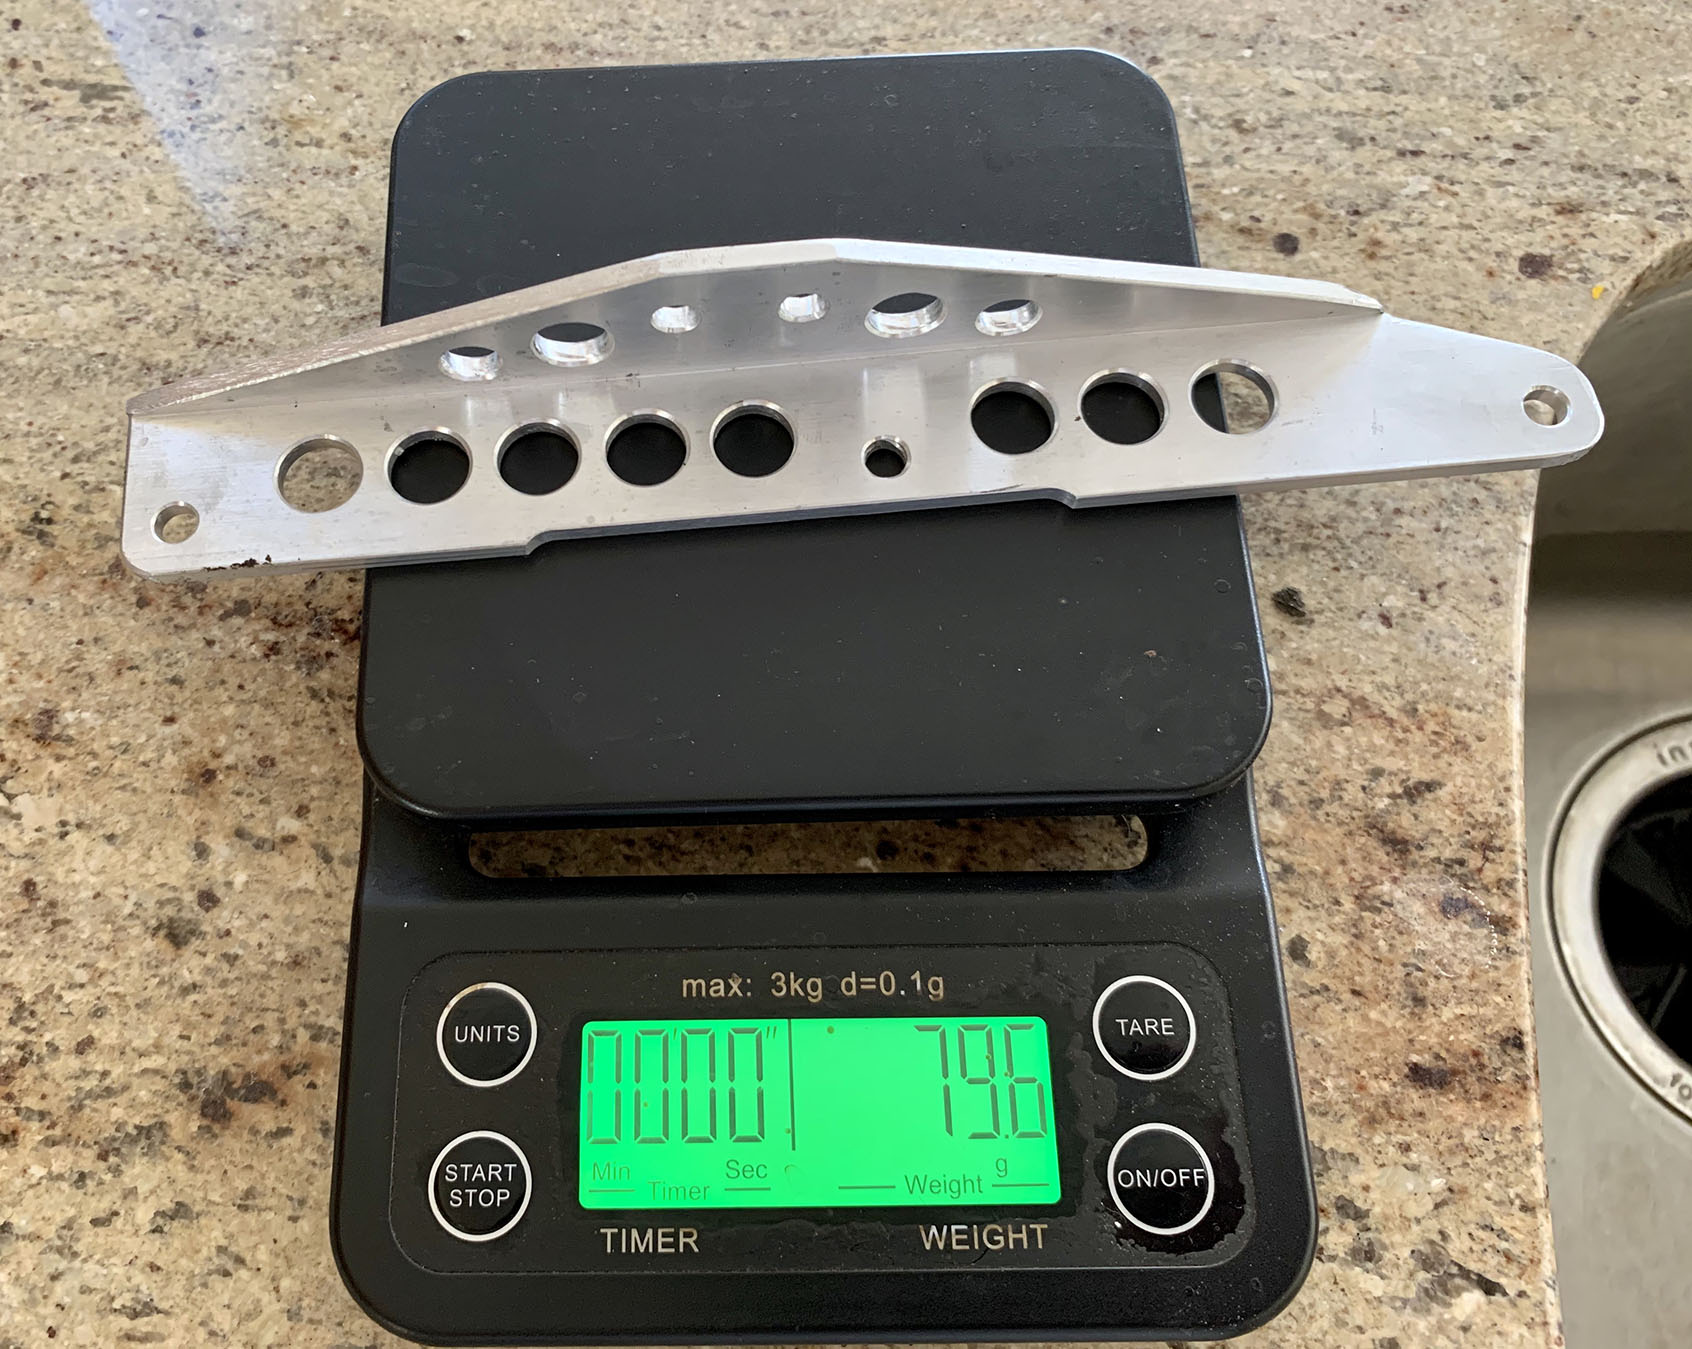
The steering plate itself has been subtly revised. It is about 25mm longer amd the middle rod is attached at a point that's 3mm further out. See pictures below.
|
|
|
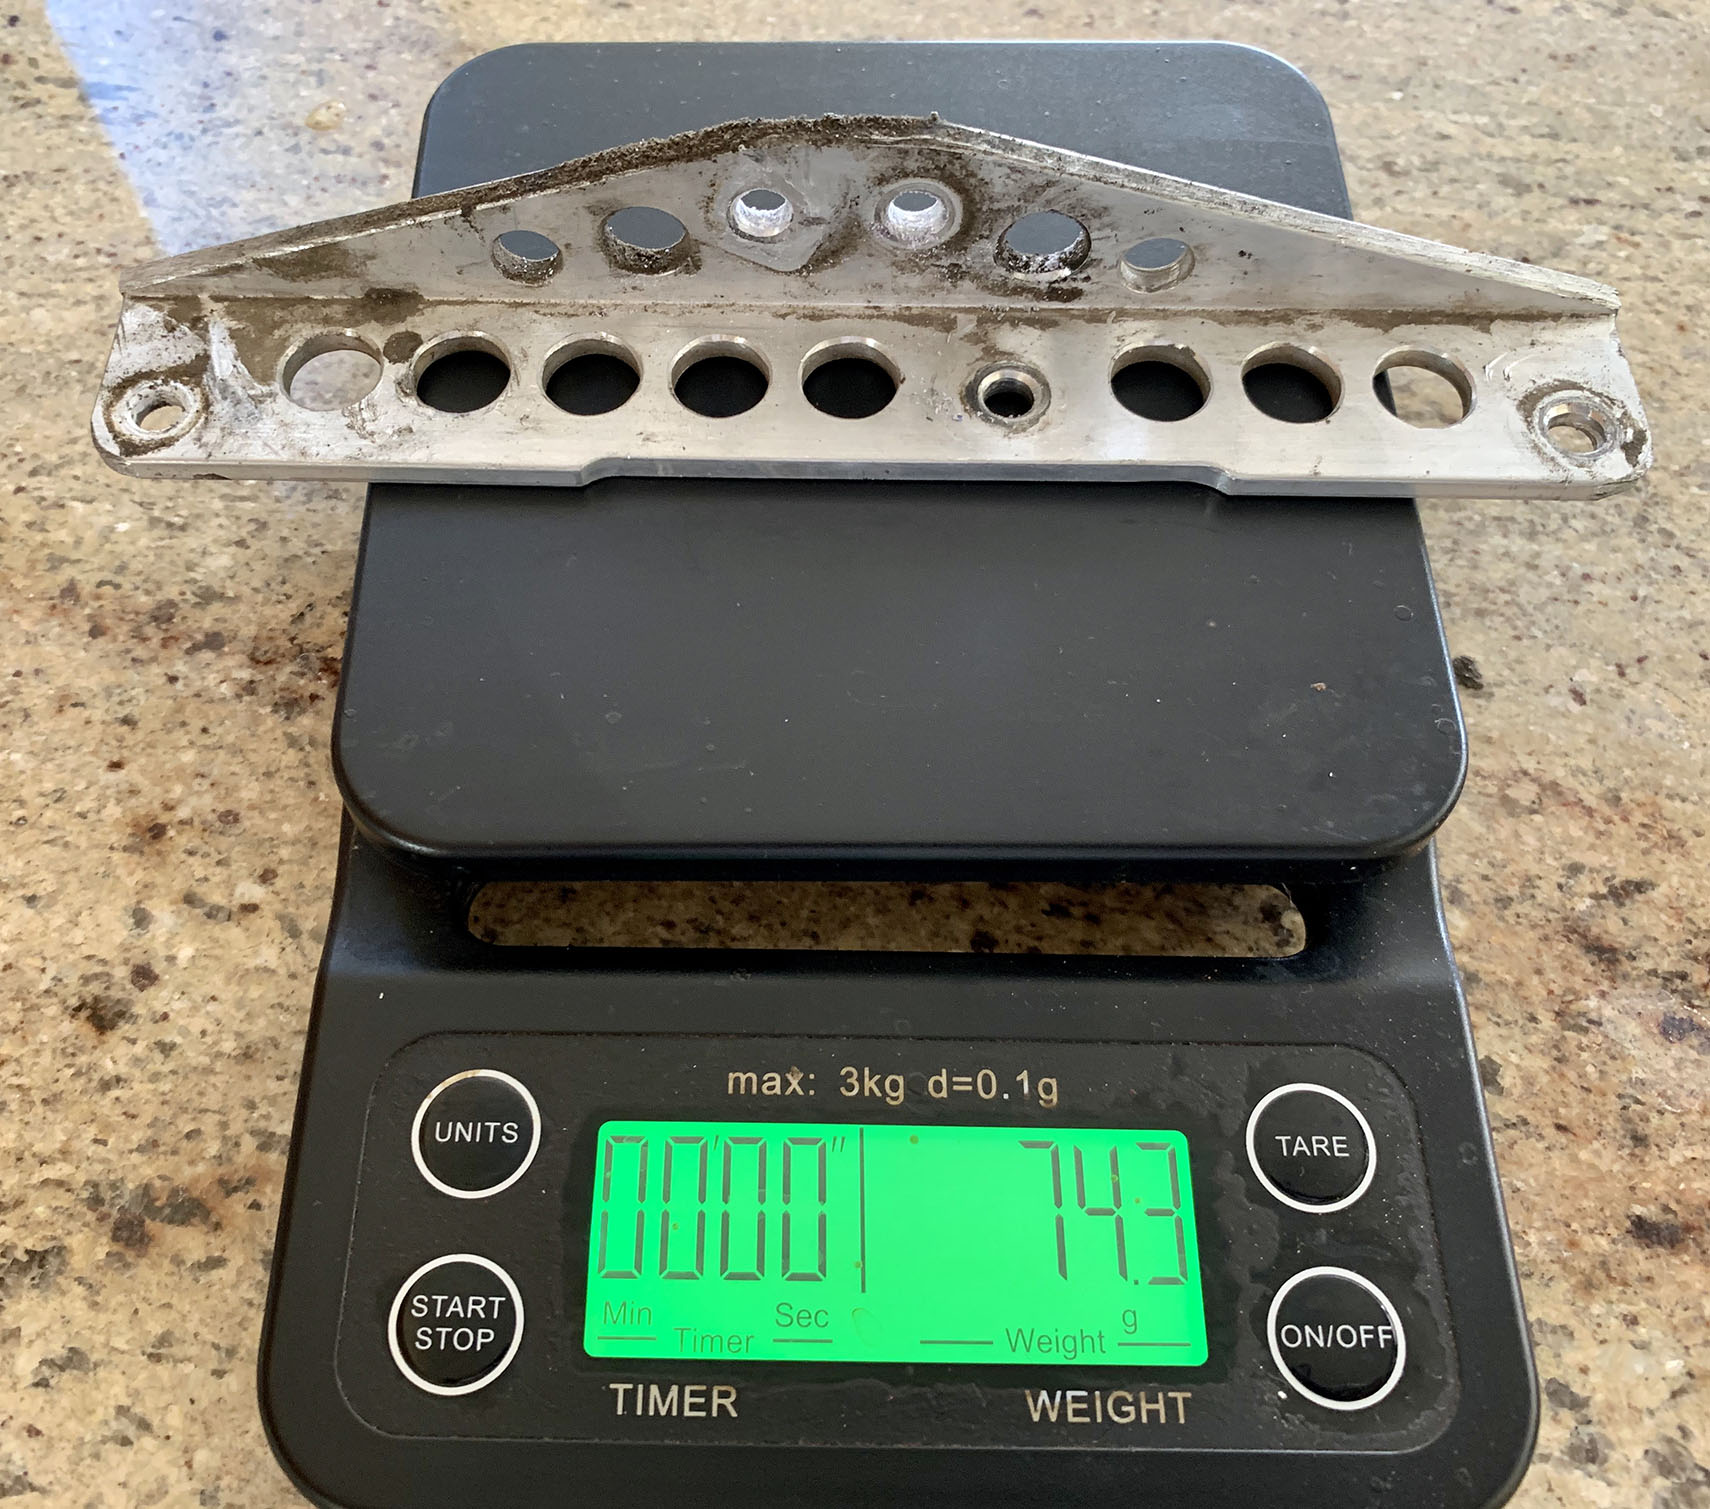
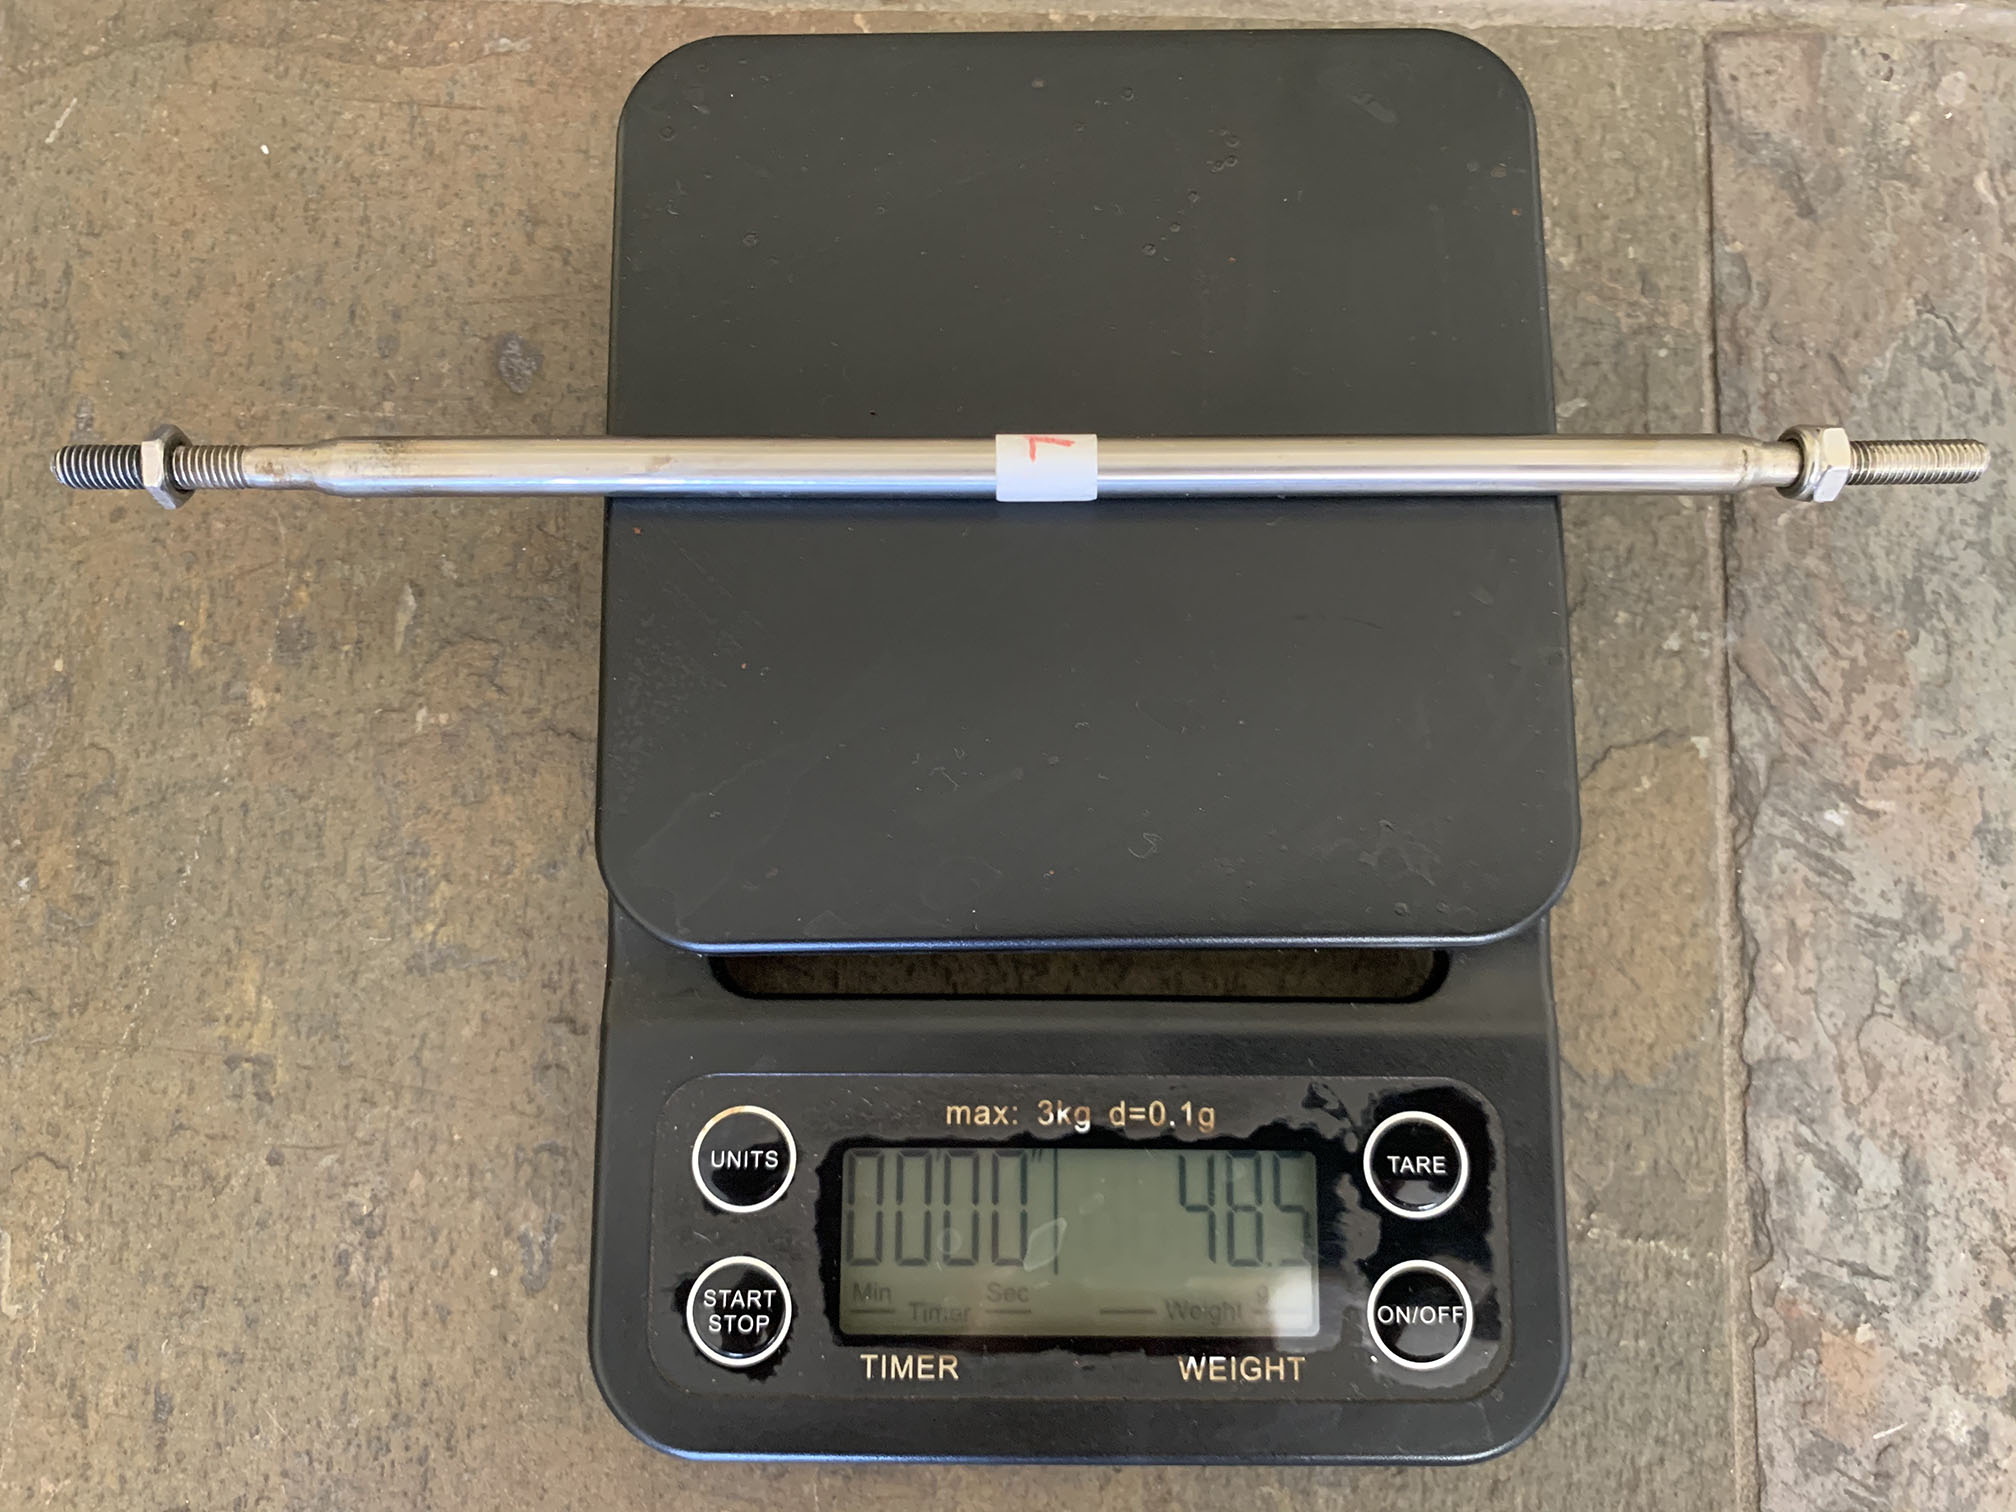
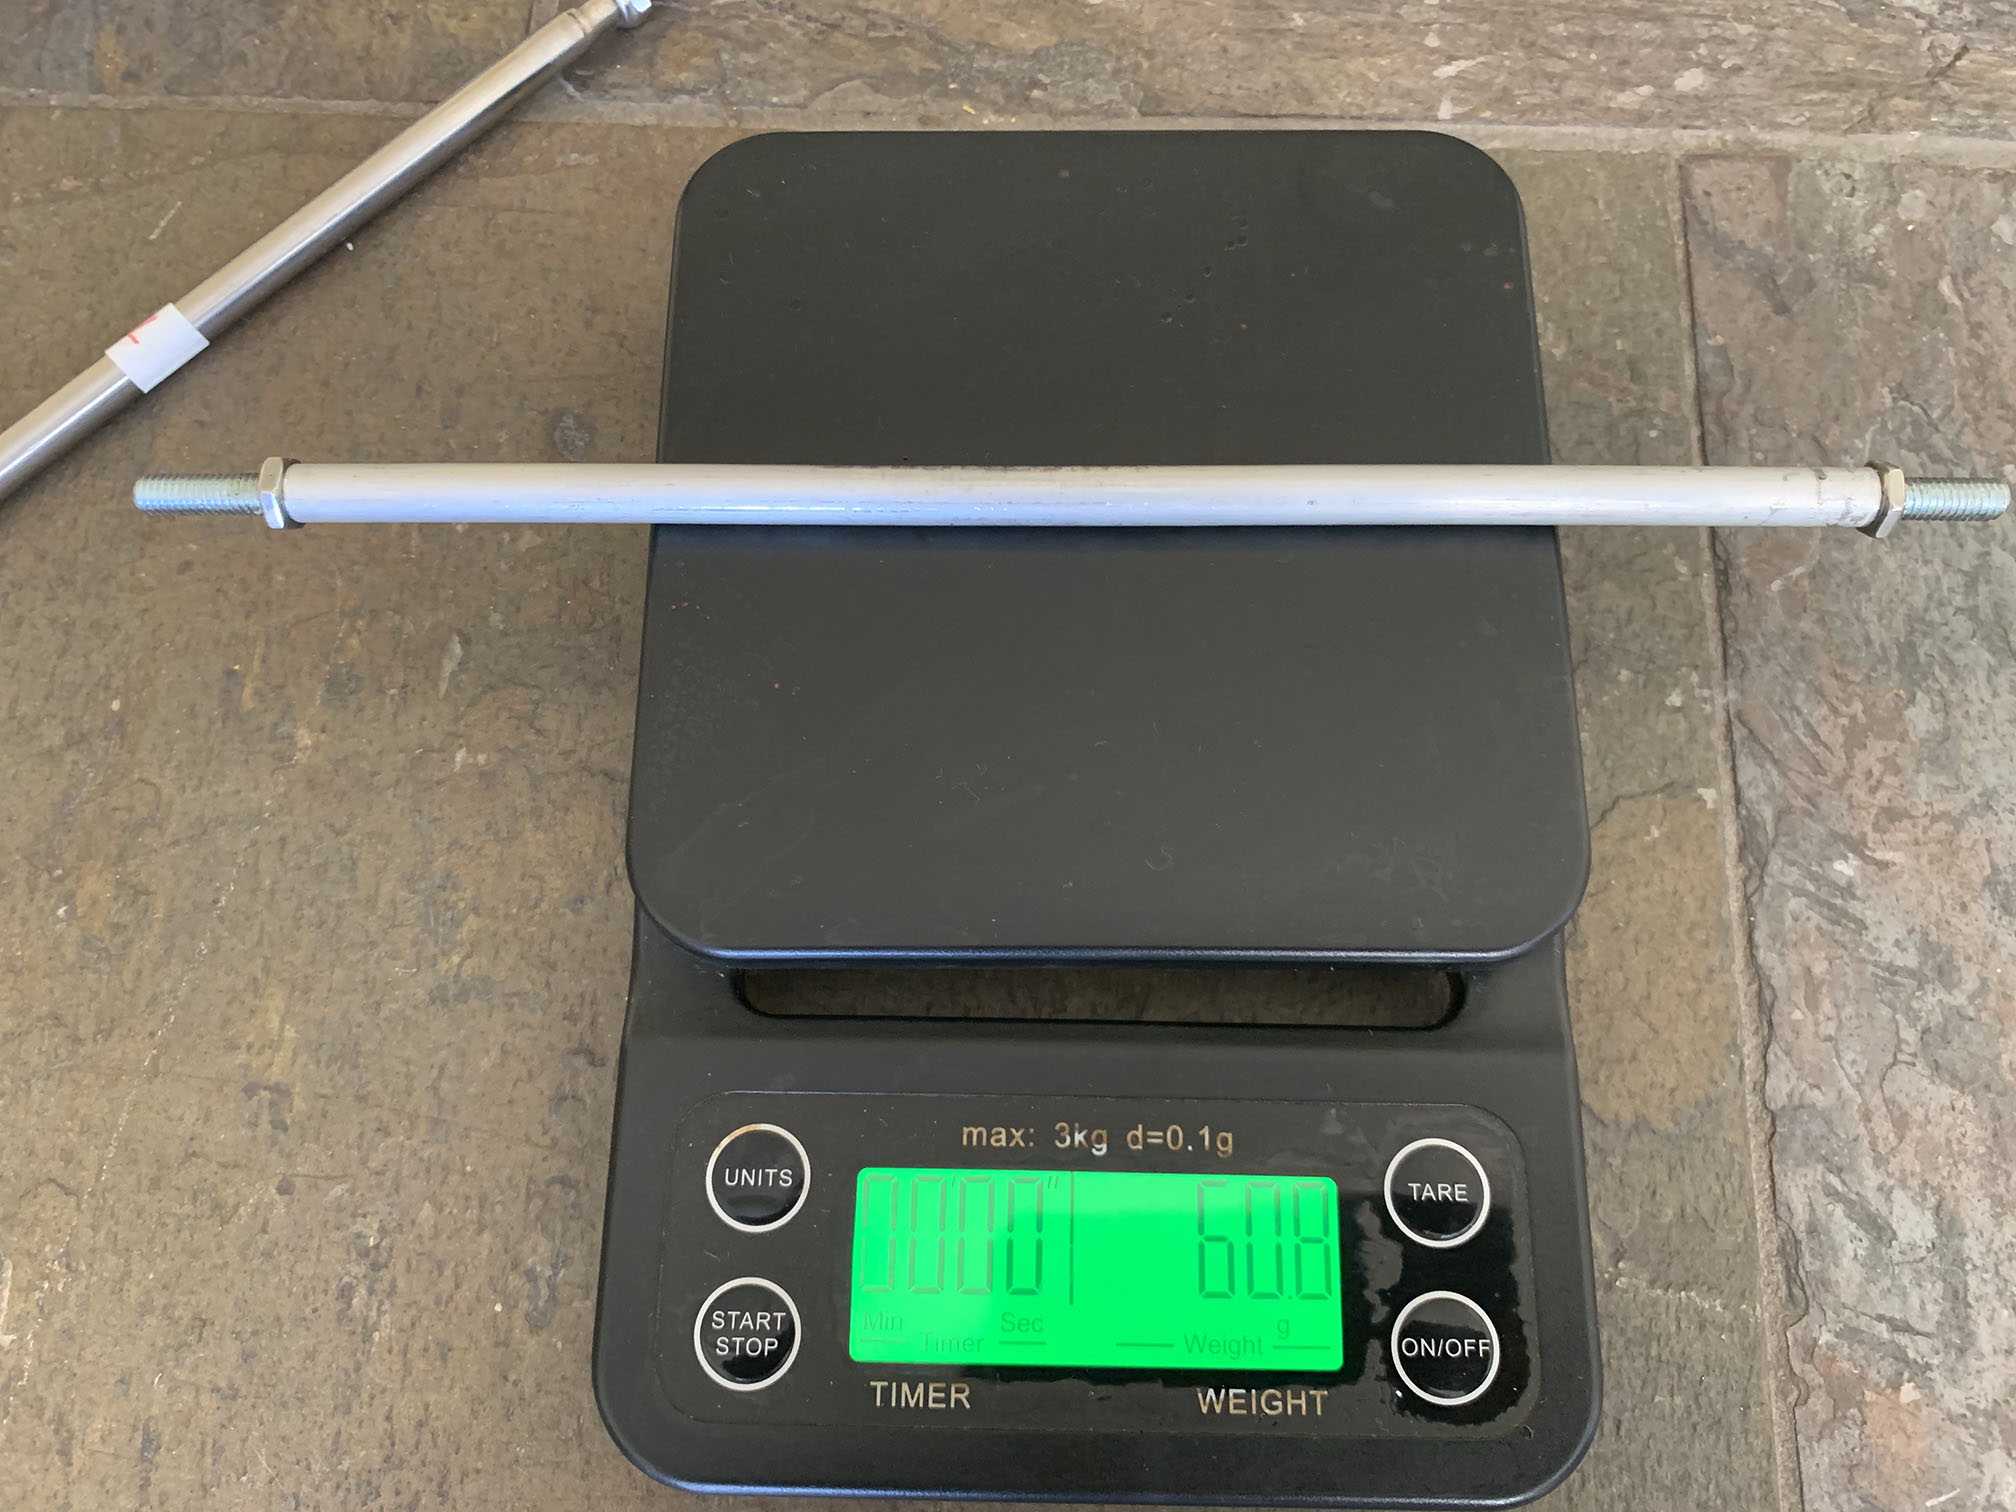
There's almost no difference in weight between the old and new plates.
|
|
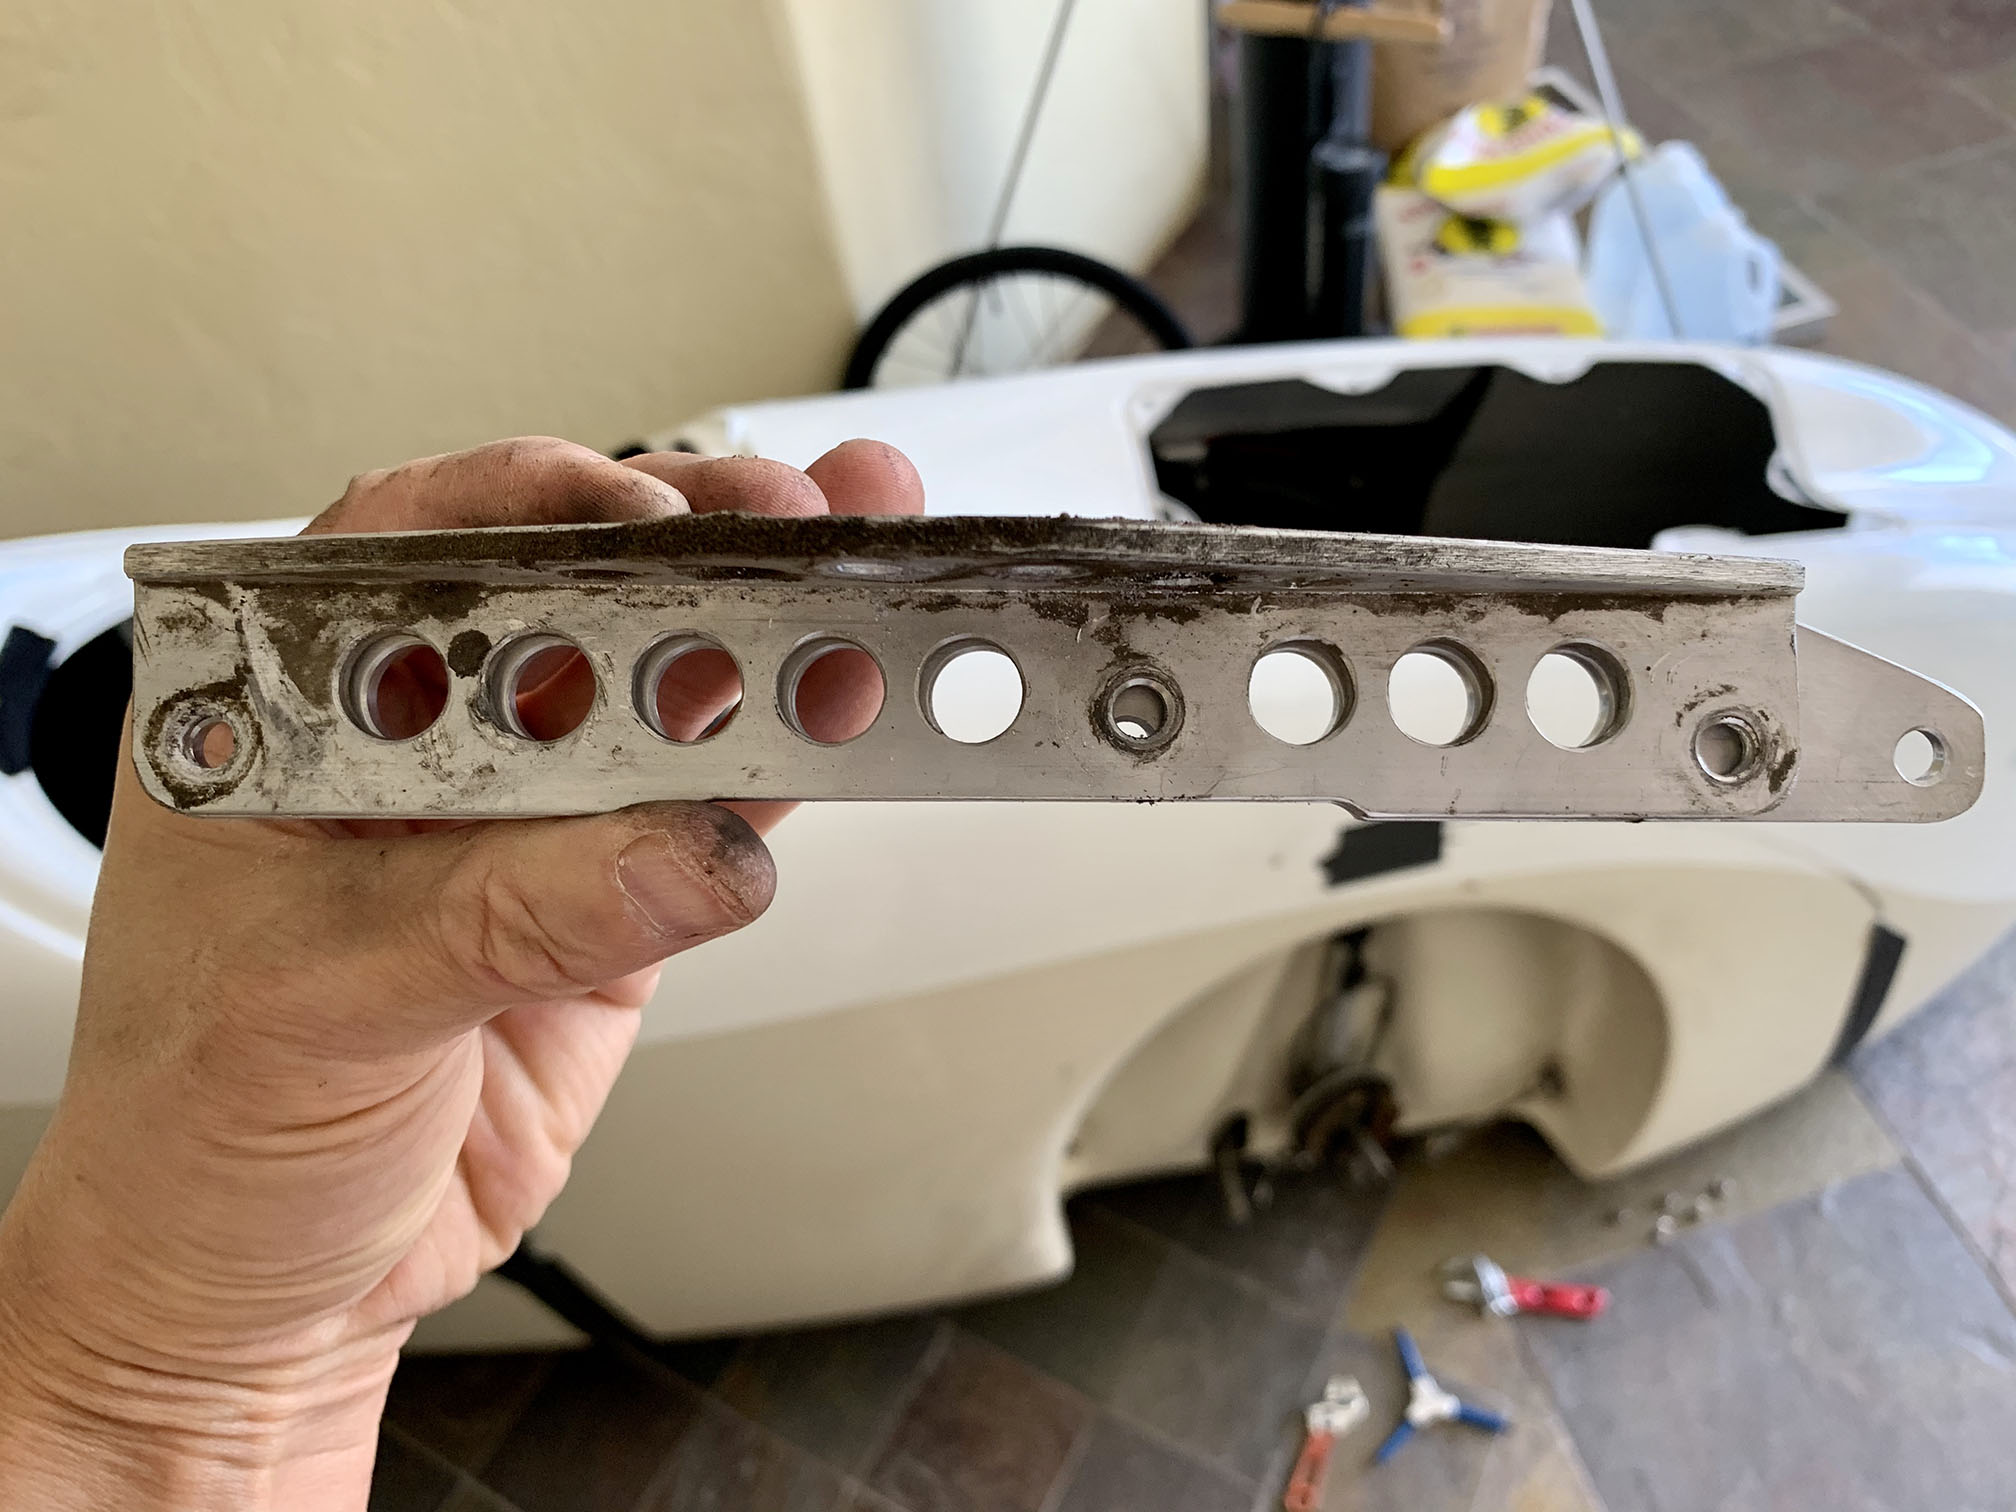
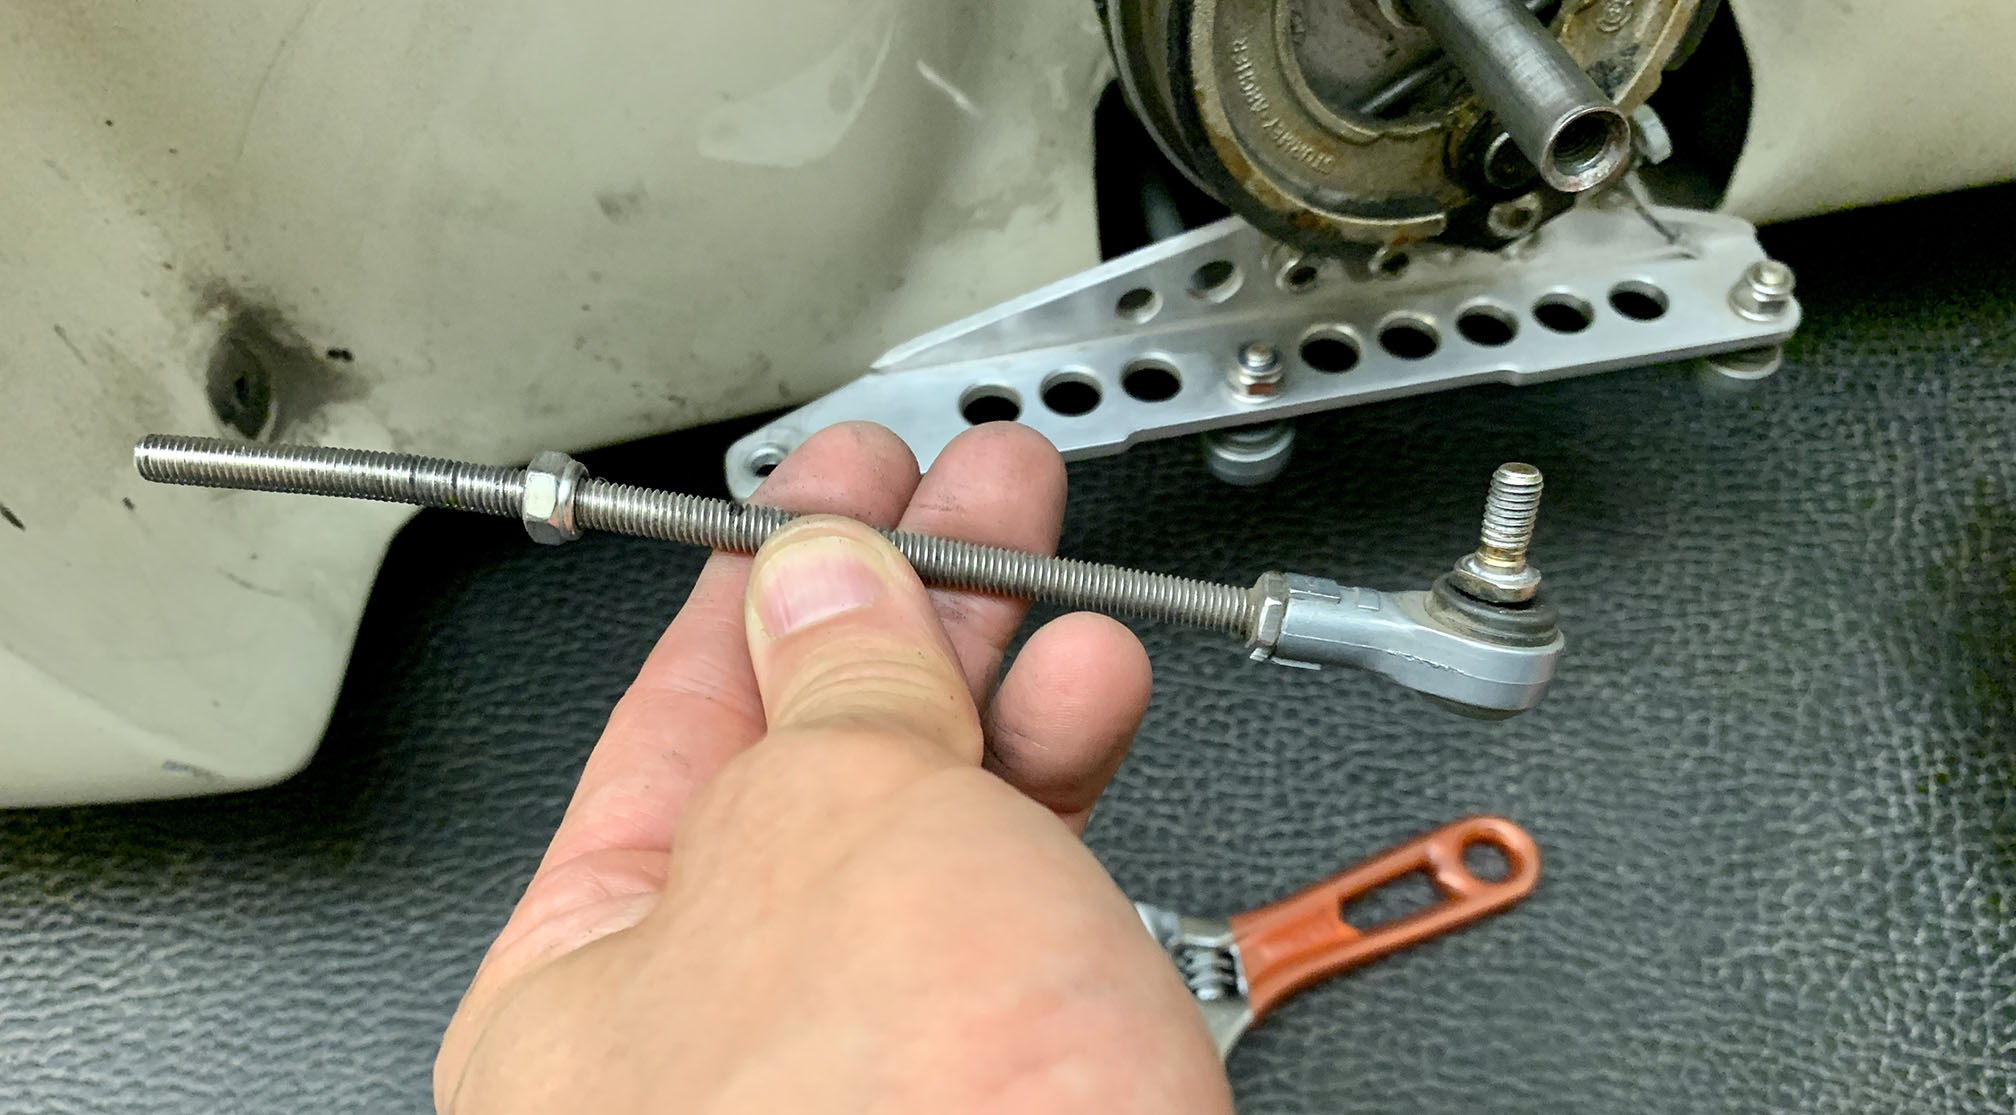
As mentioned earlier, the rod at the front goes through the front of the wheel well, and actually protrudes a few cm beyond.
|
|
|
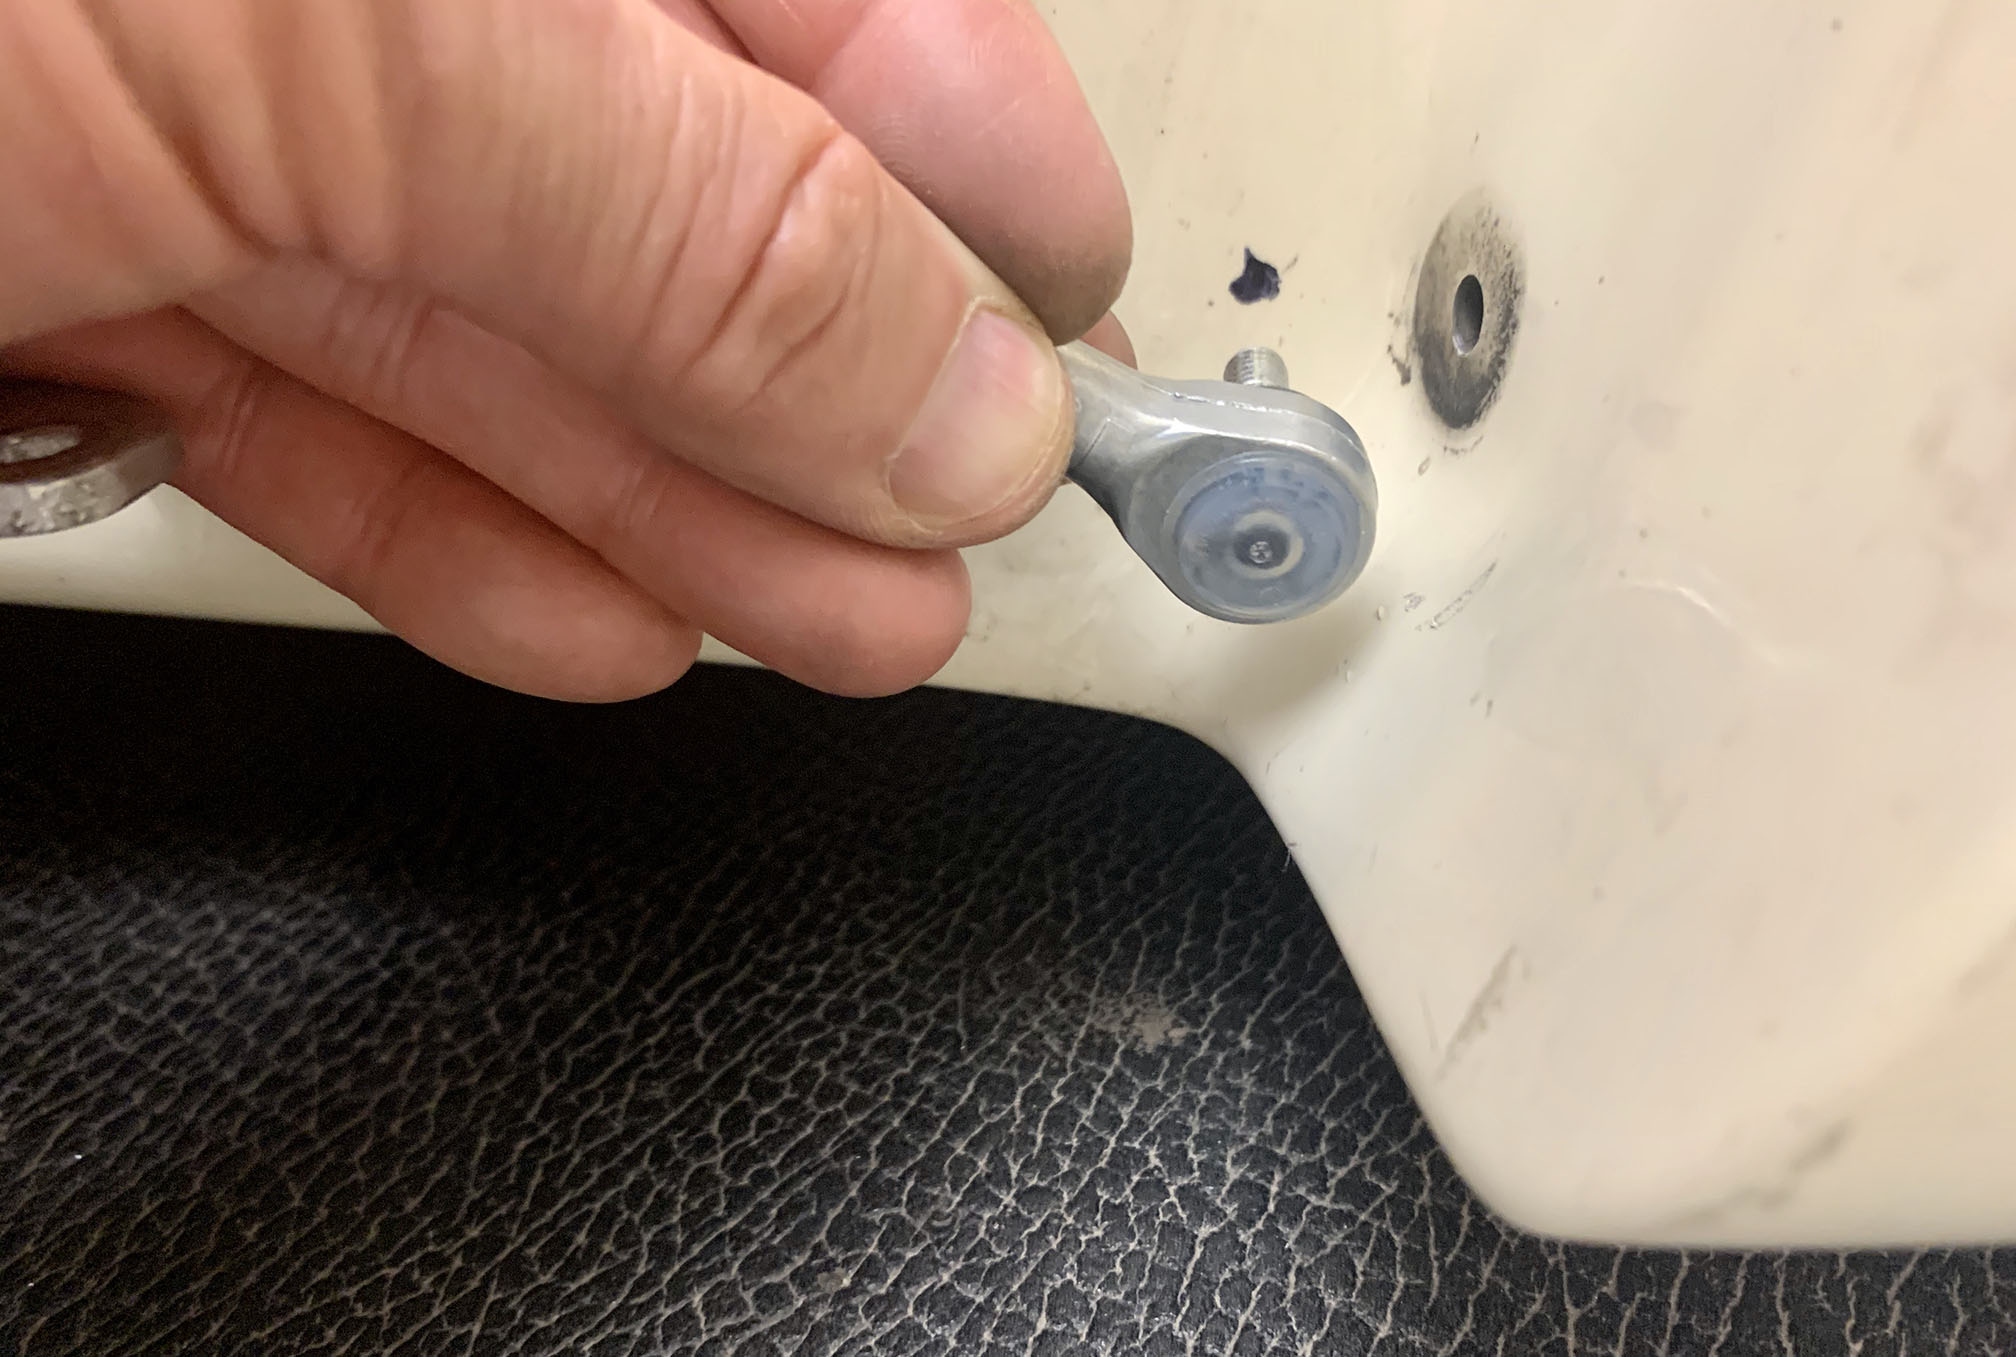
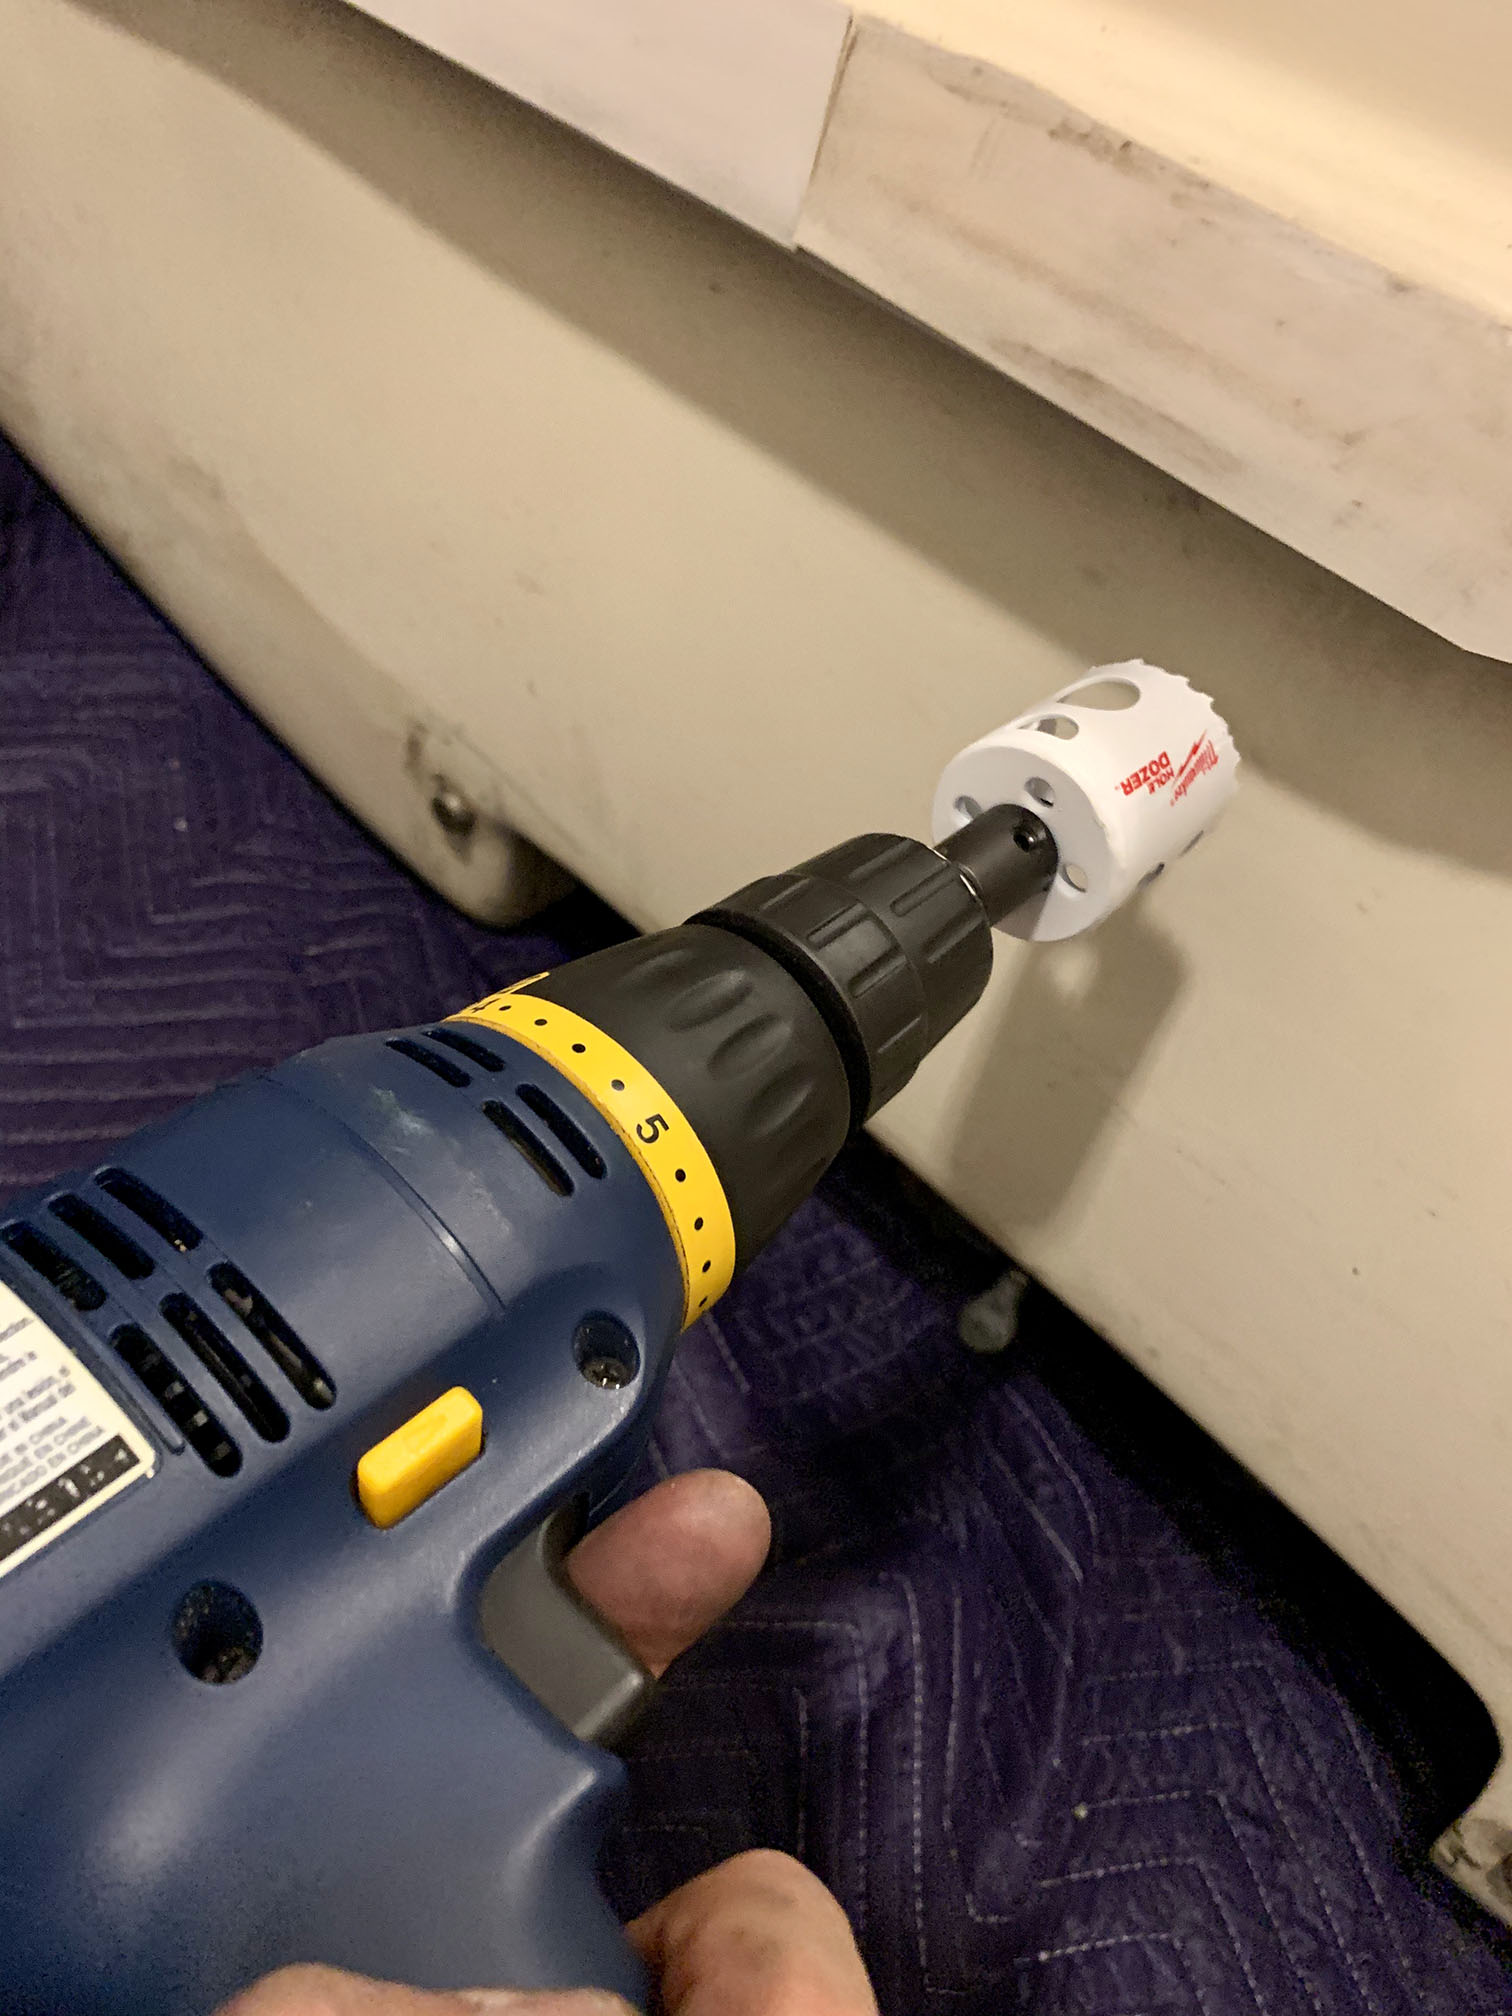
You need to remove it. Then you need to shorten the rod and add the rod end bearing. Then drill a hole (marked with a black marker in the picture).
|
|
|
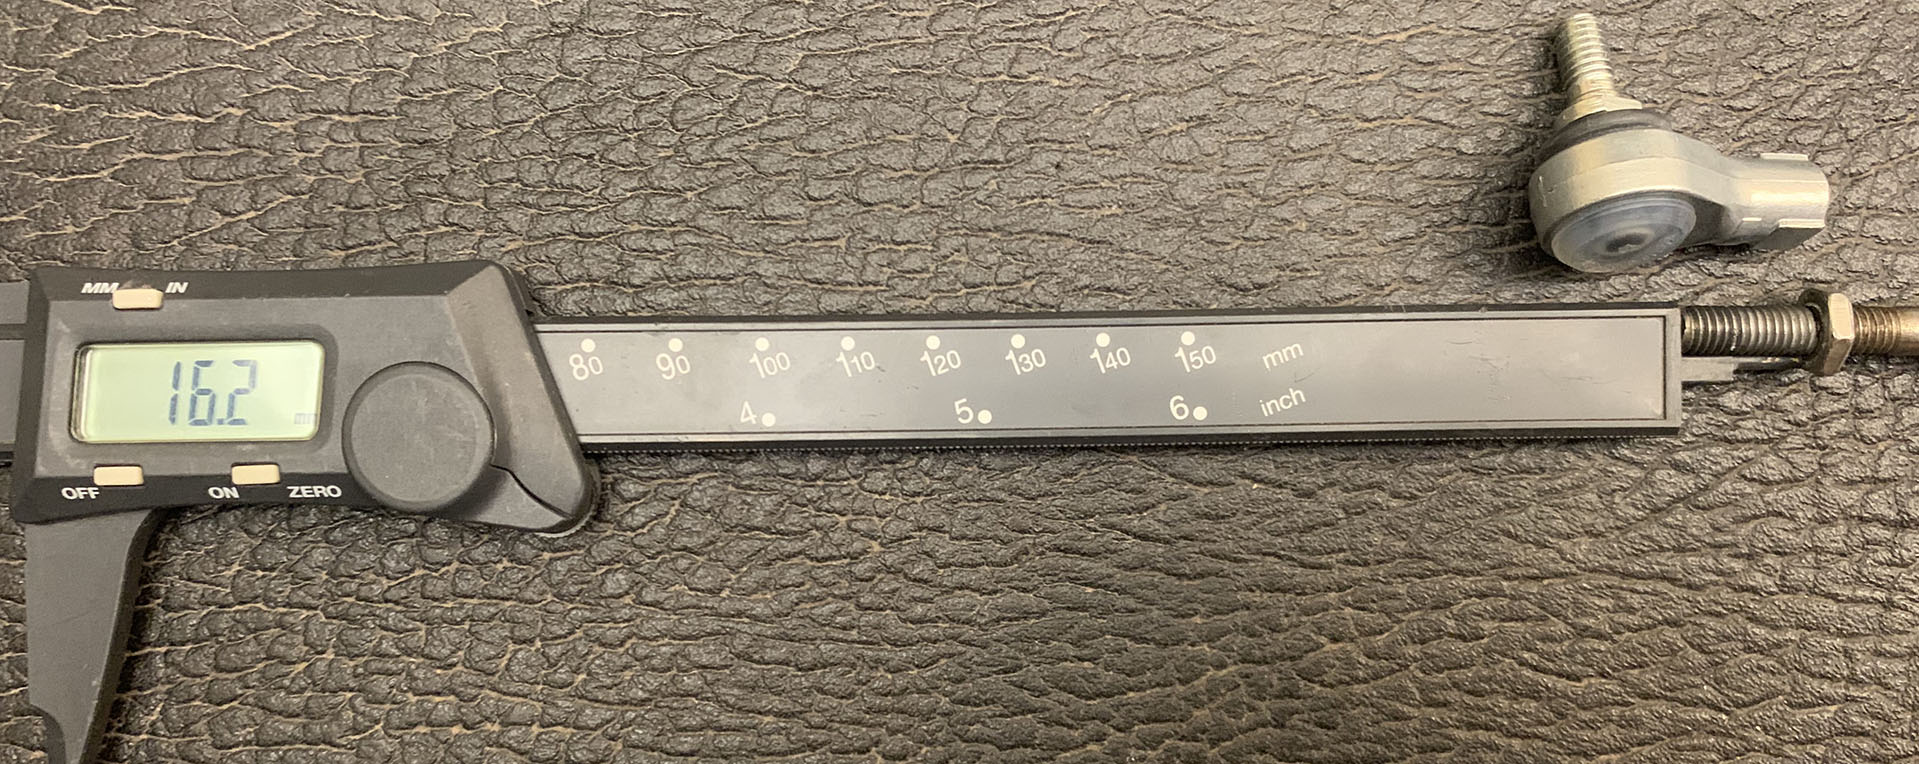
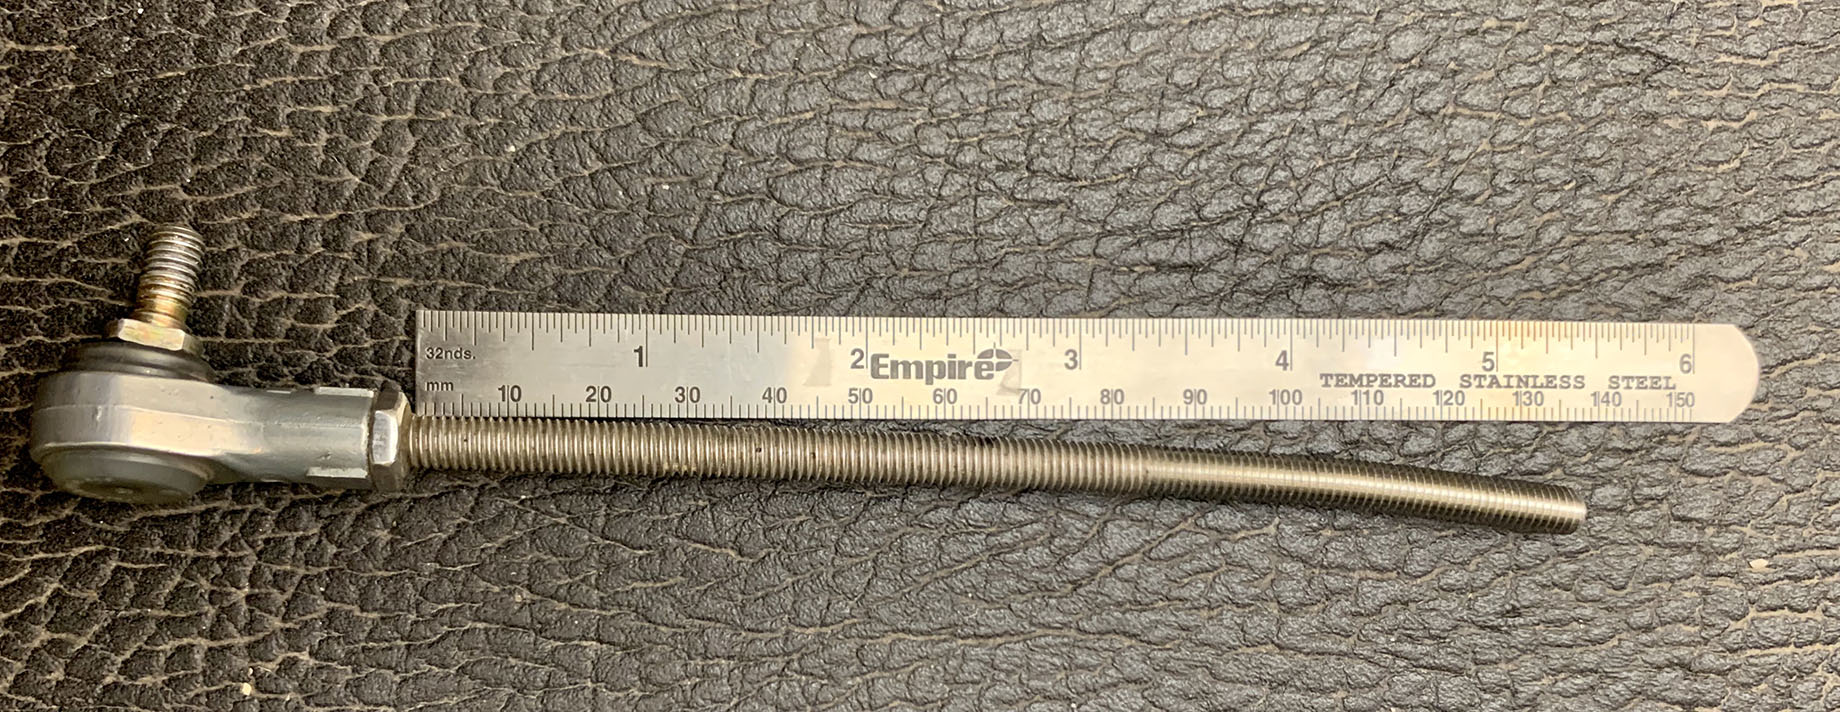
I cut off about 70mm. You can figure about 15mm of rod can be threaded inside the rod end bearing. You don't want to cut it too short.
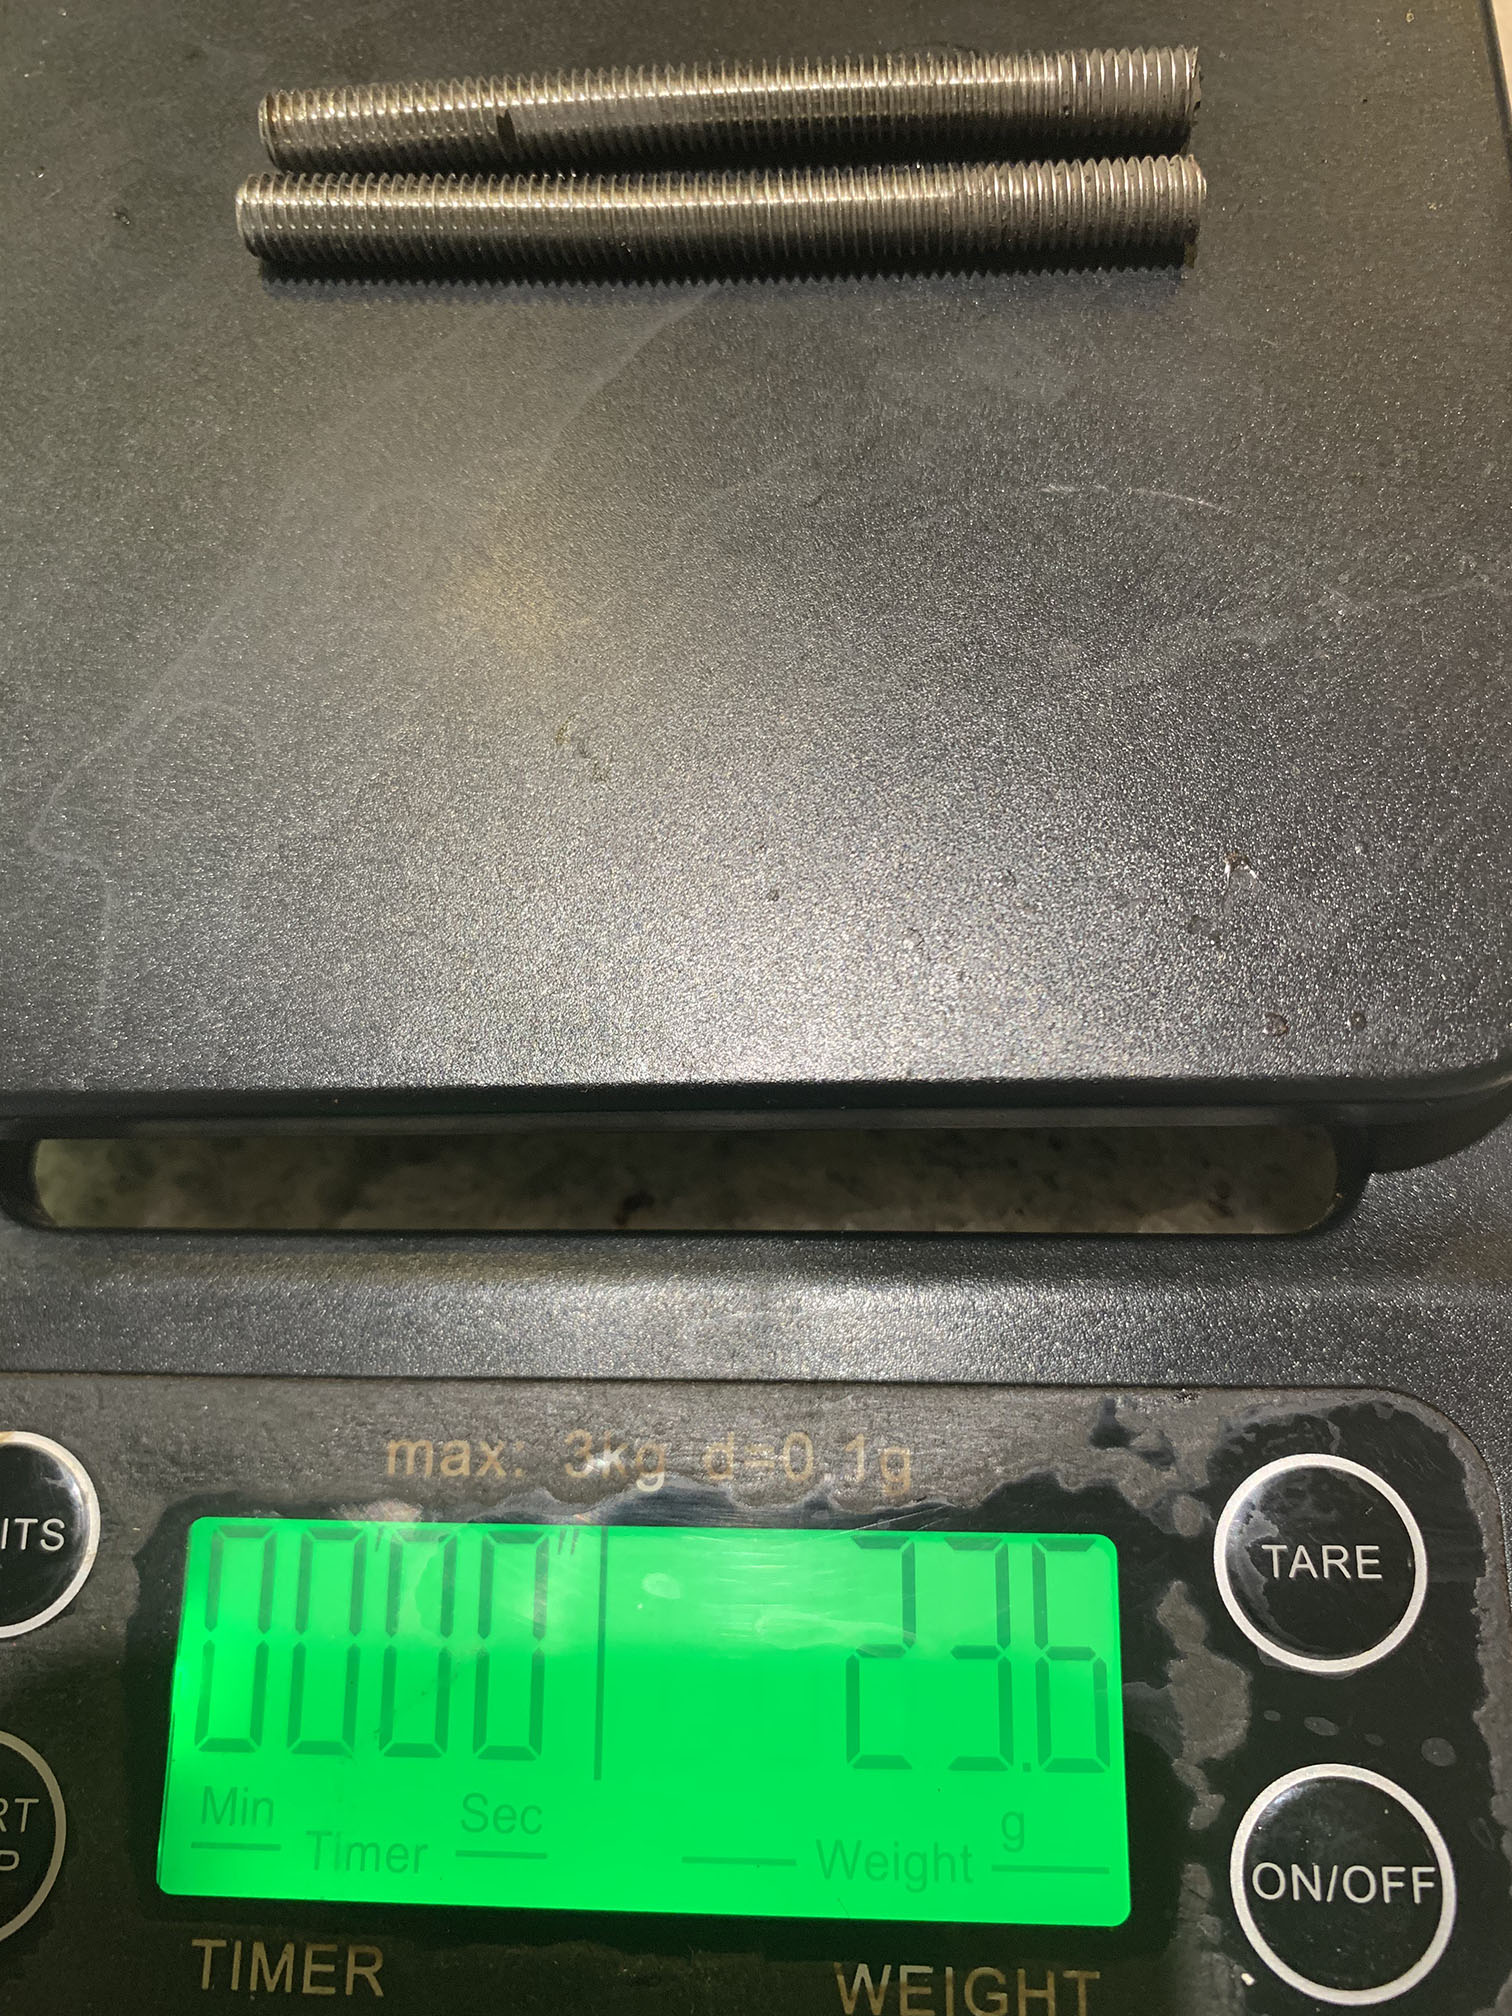
You save nearly 24g a pair but gain nearly 55g from the additional rod end bearings.
|
|
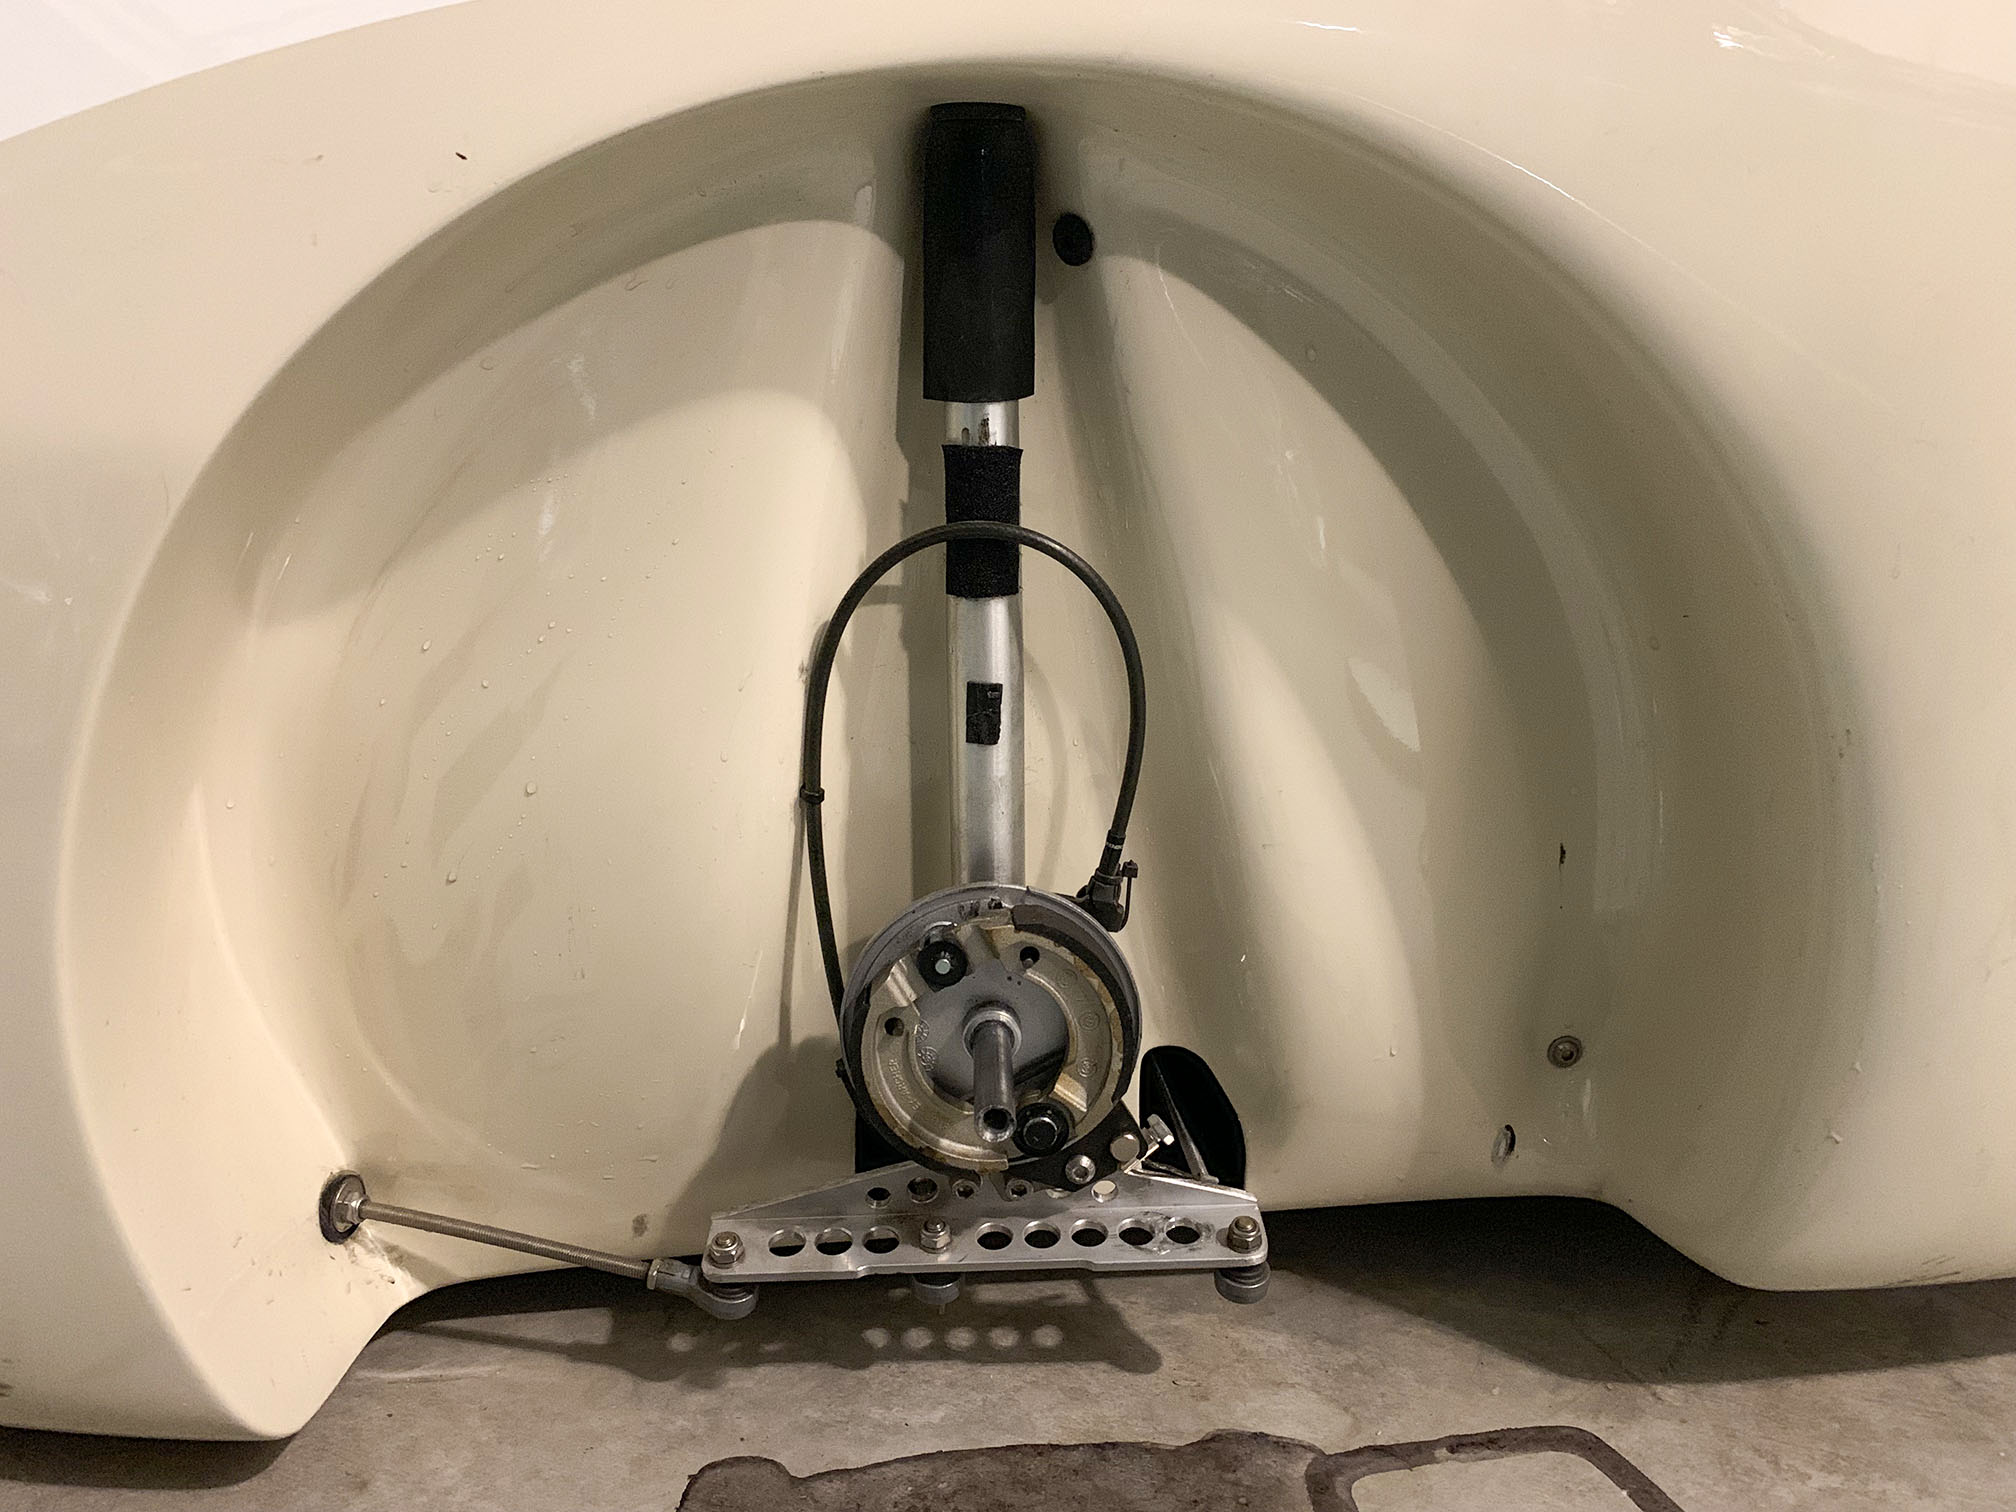
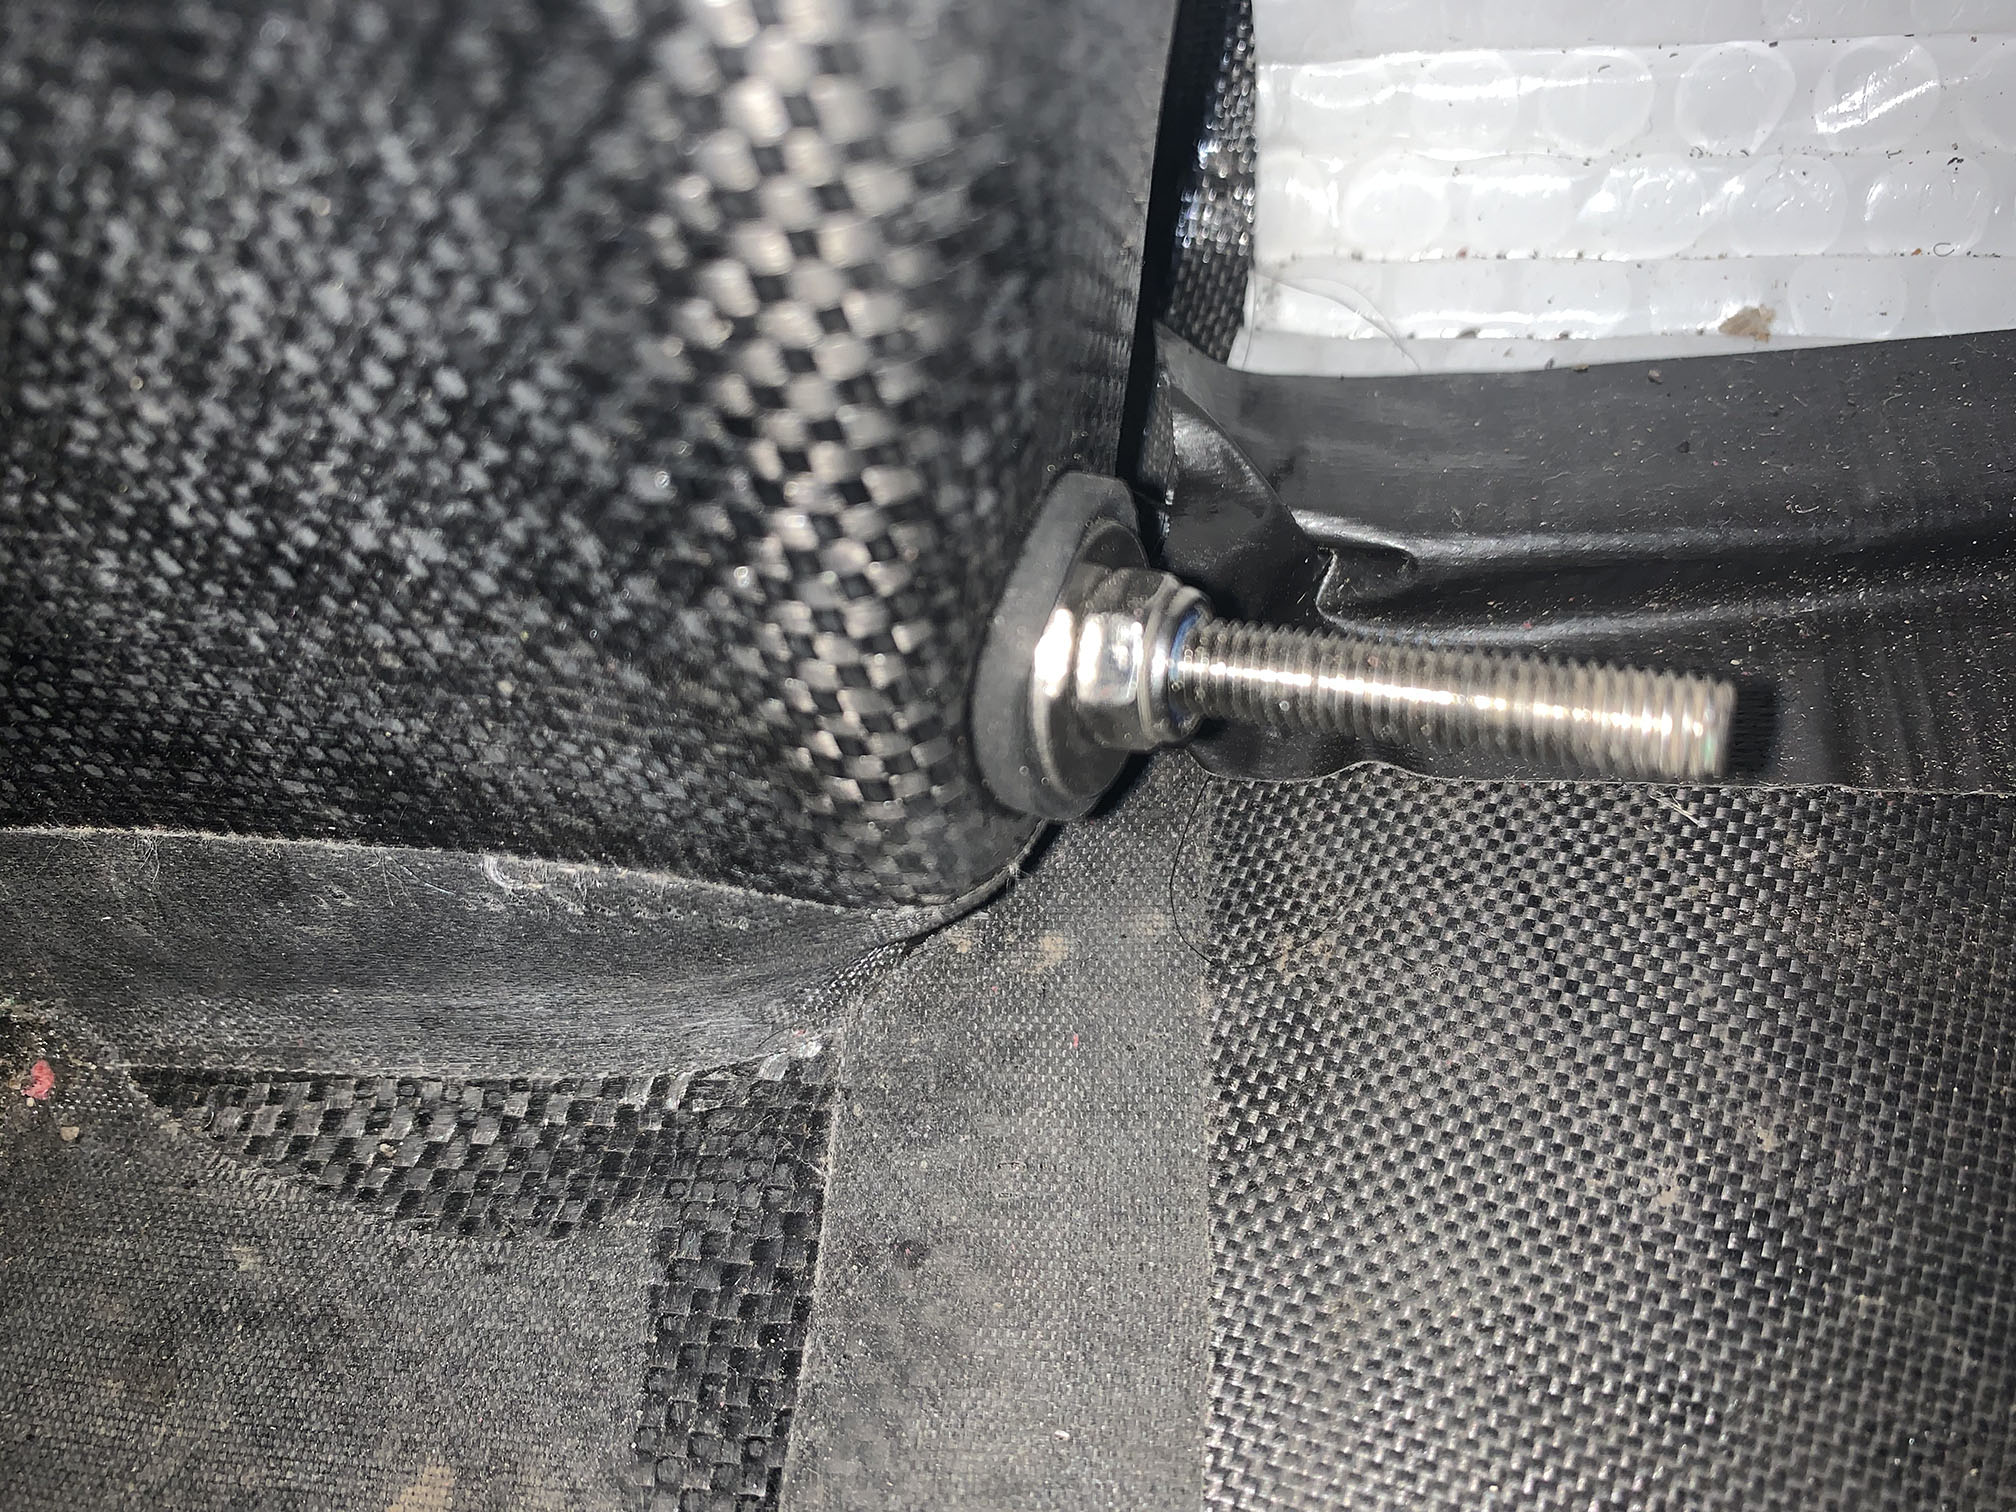
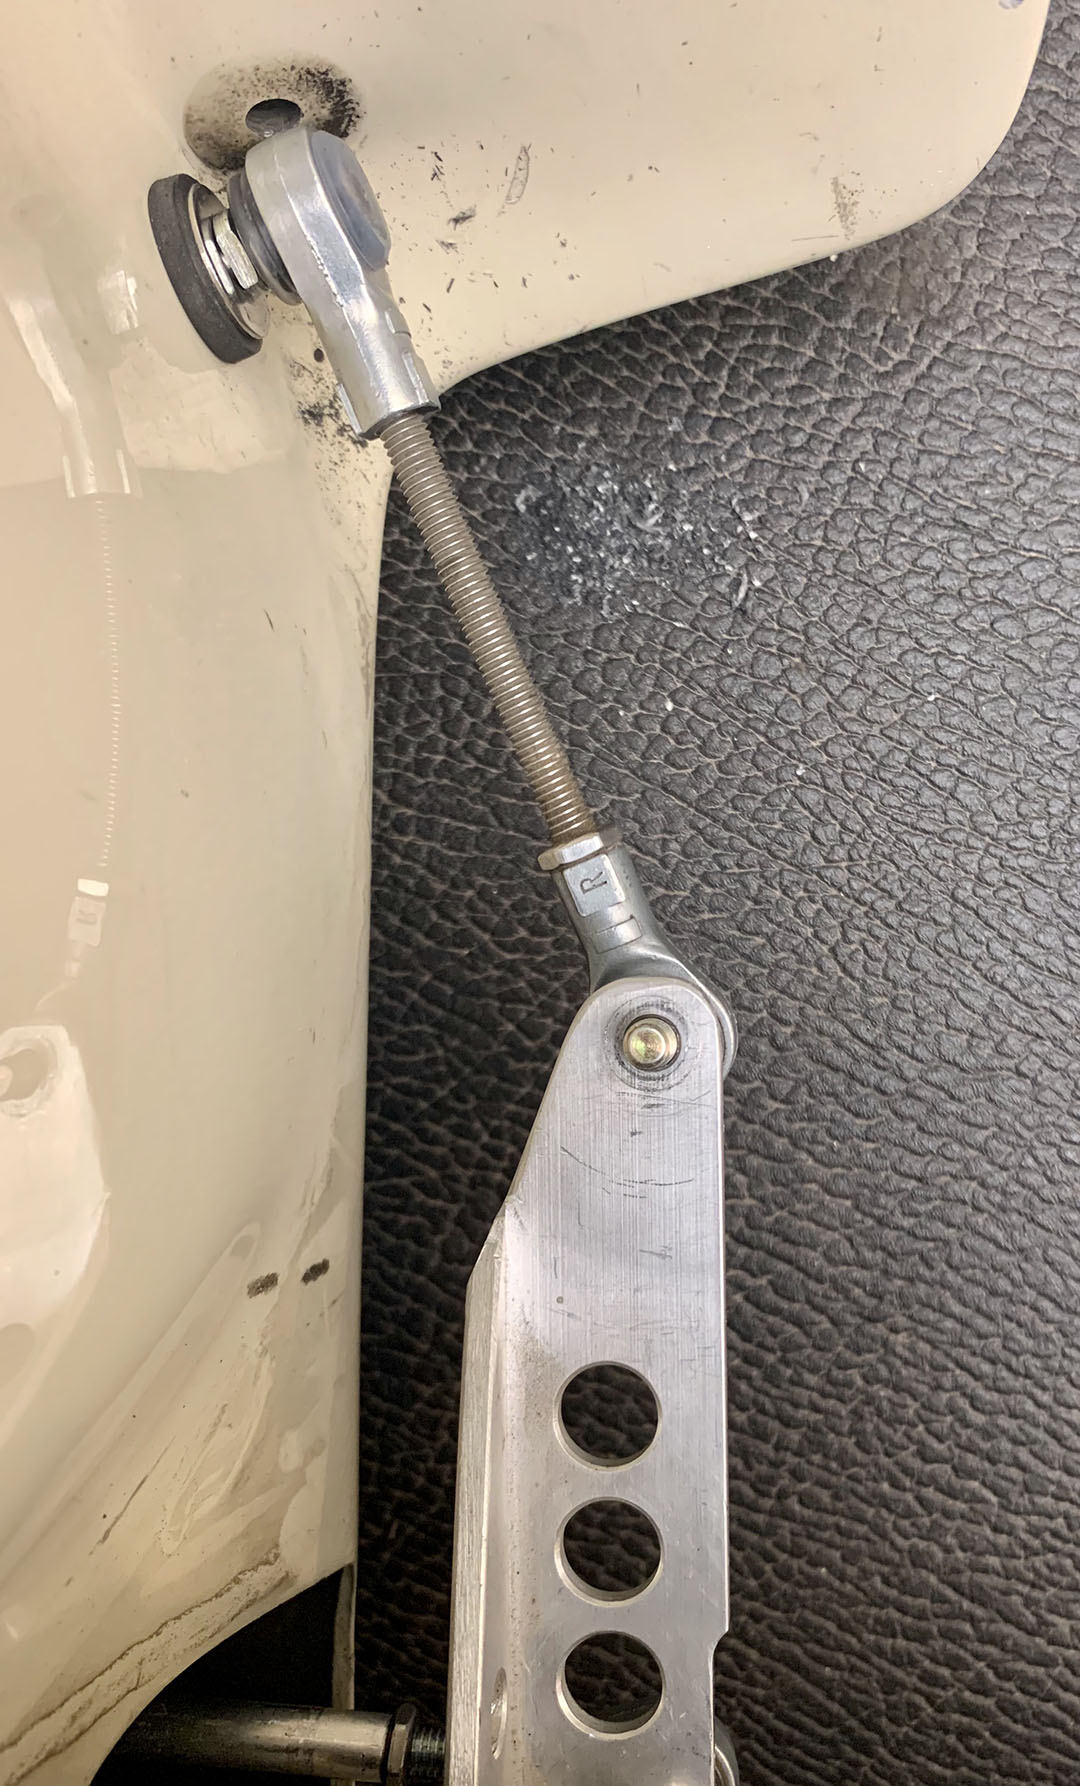
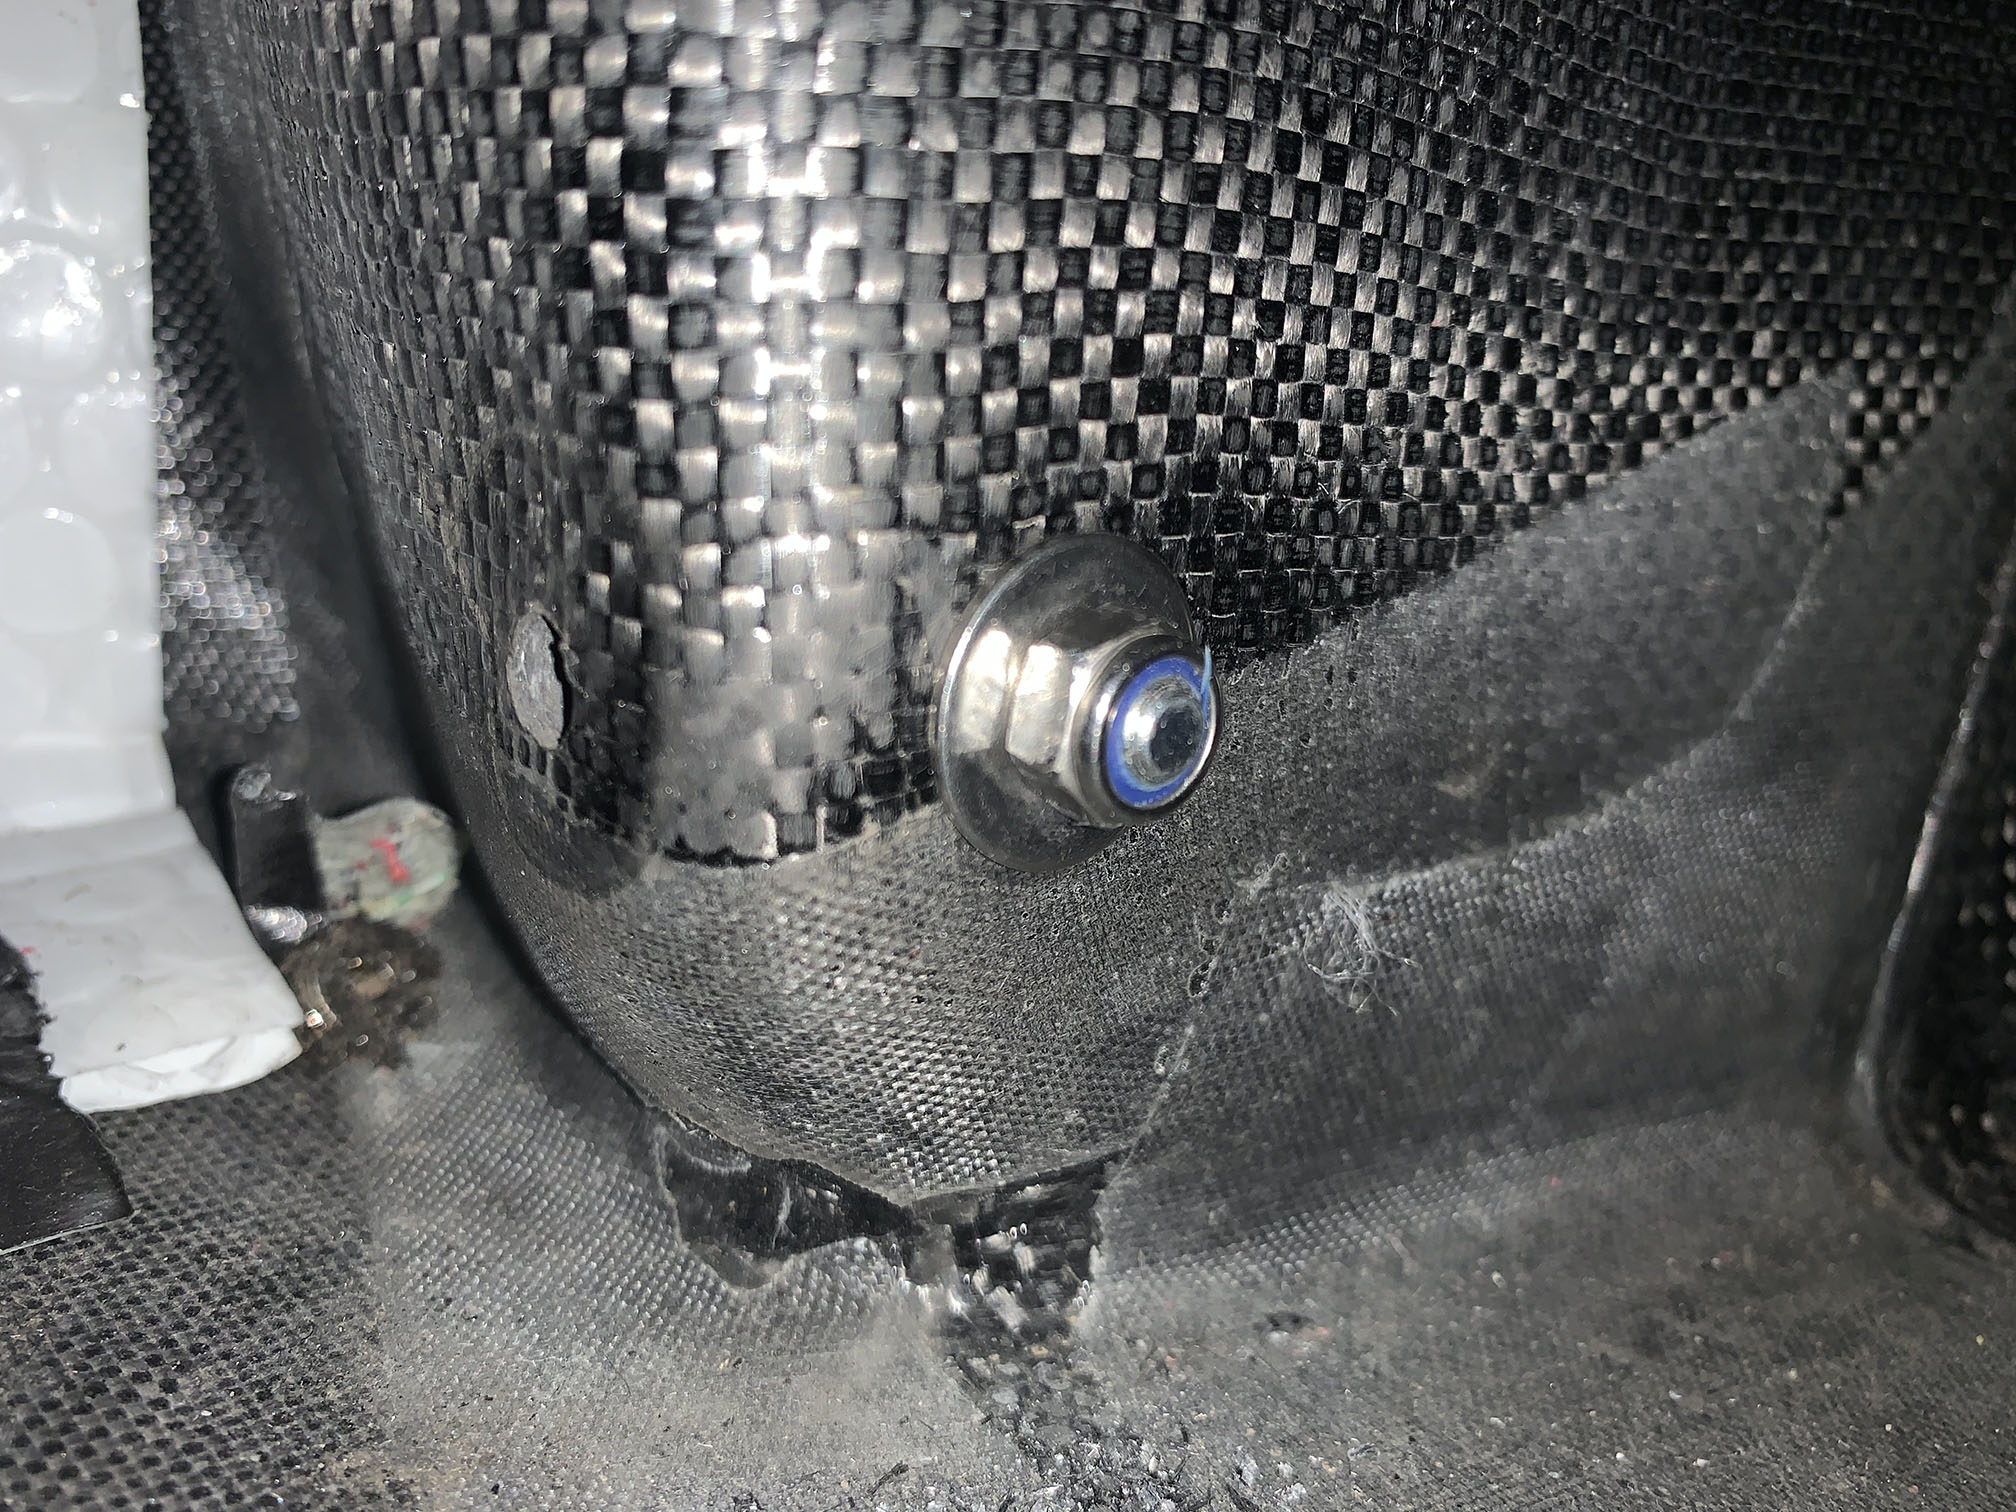
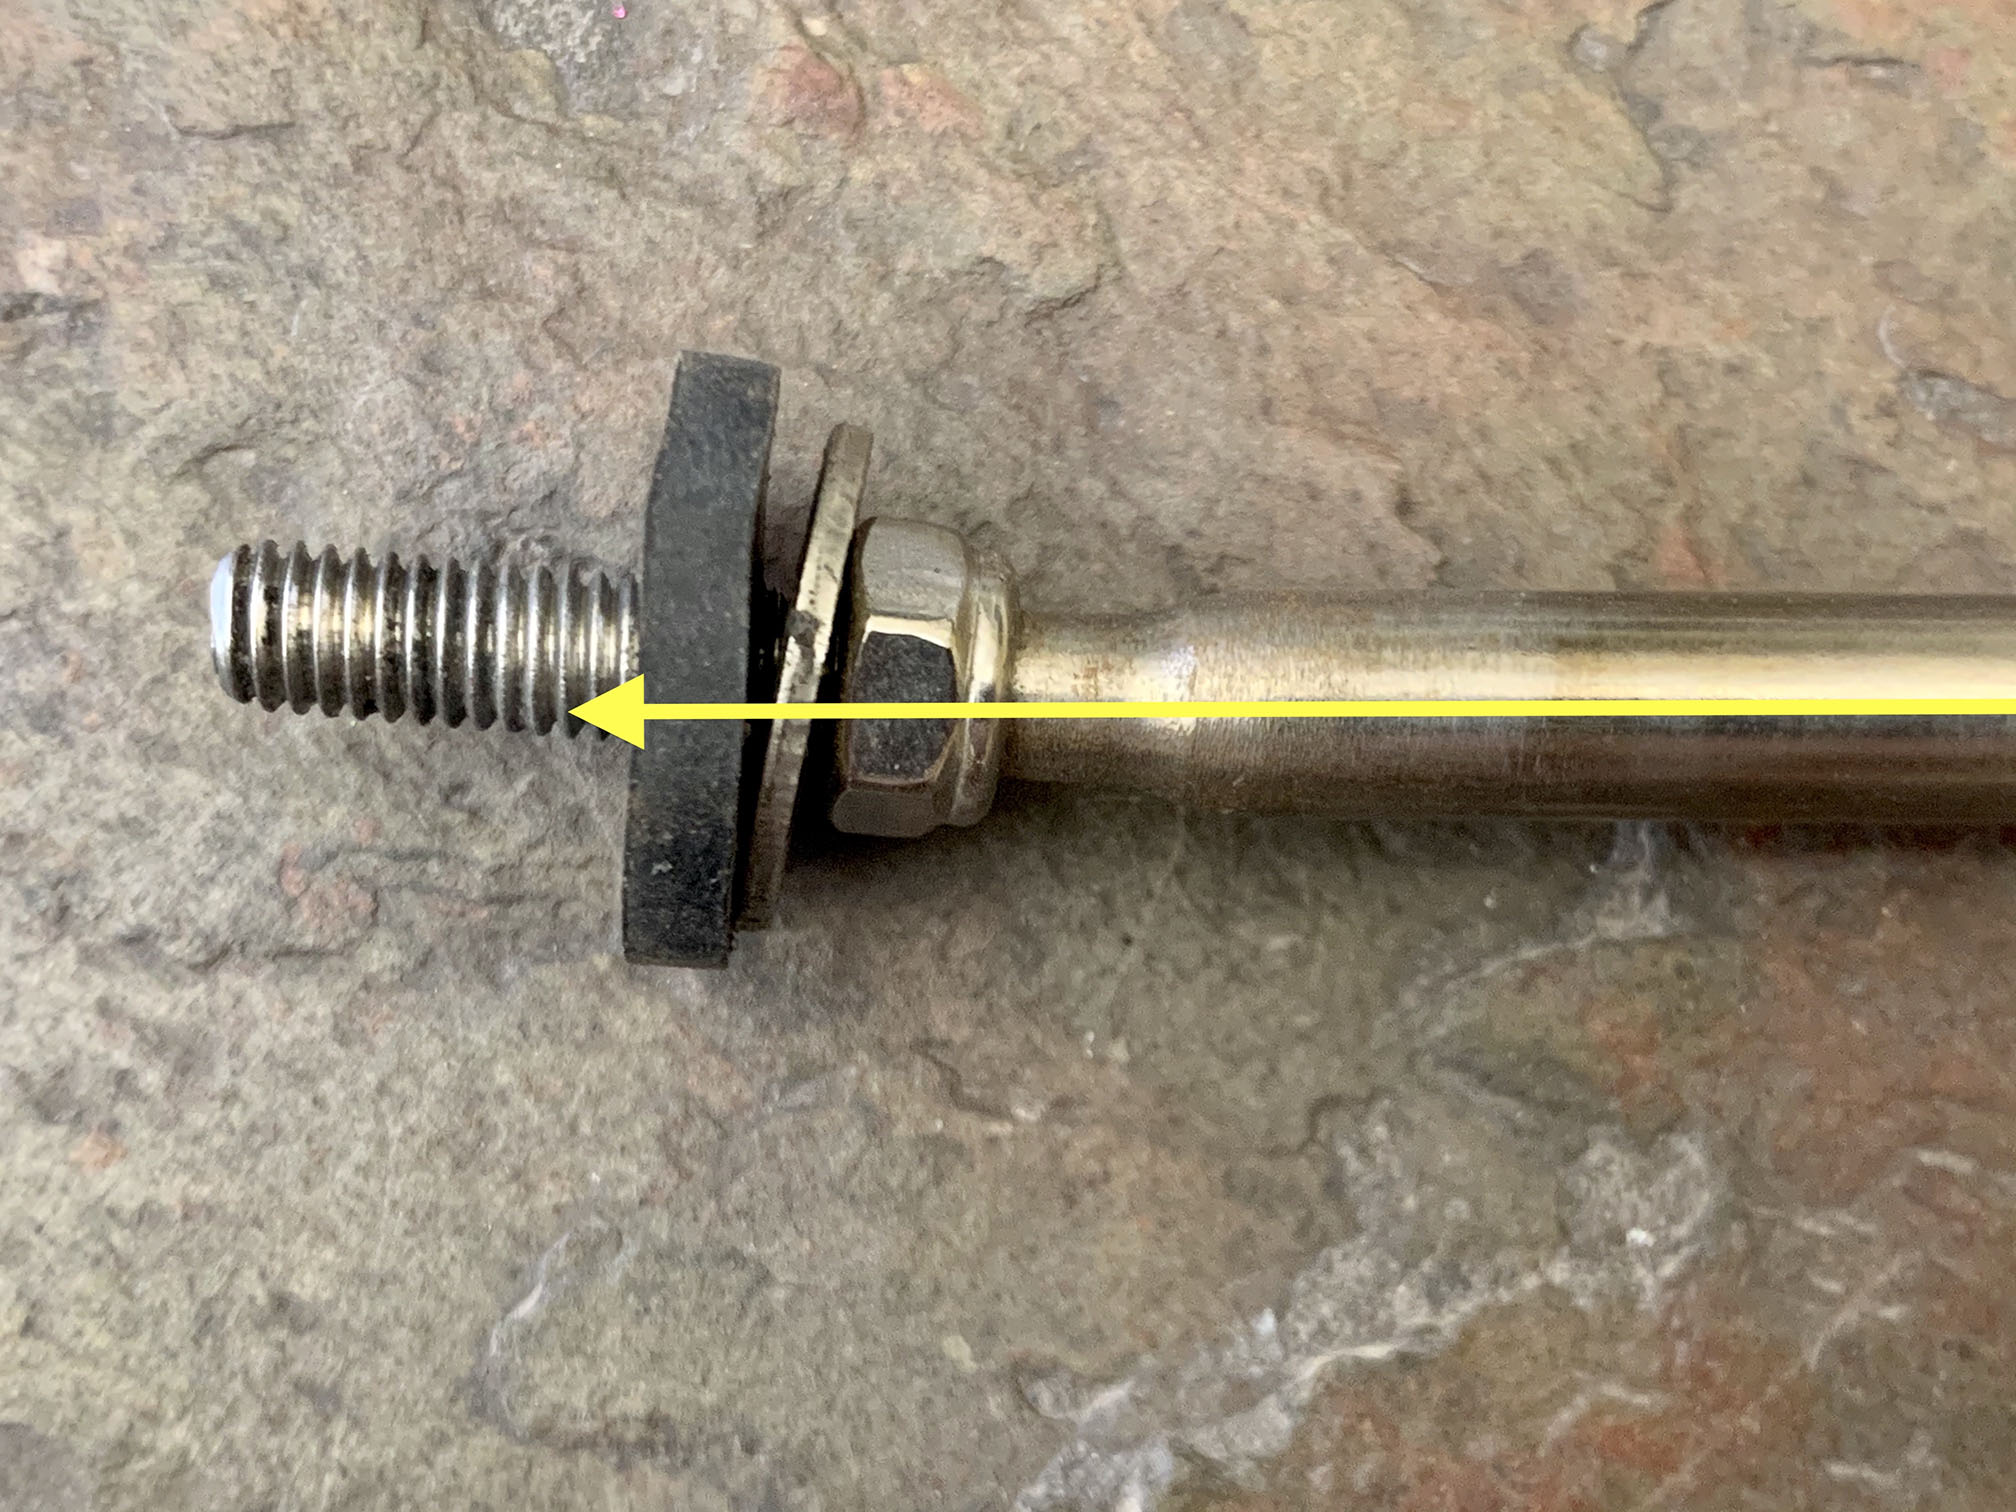
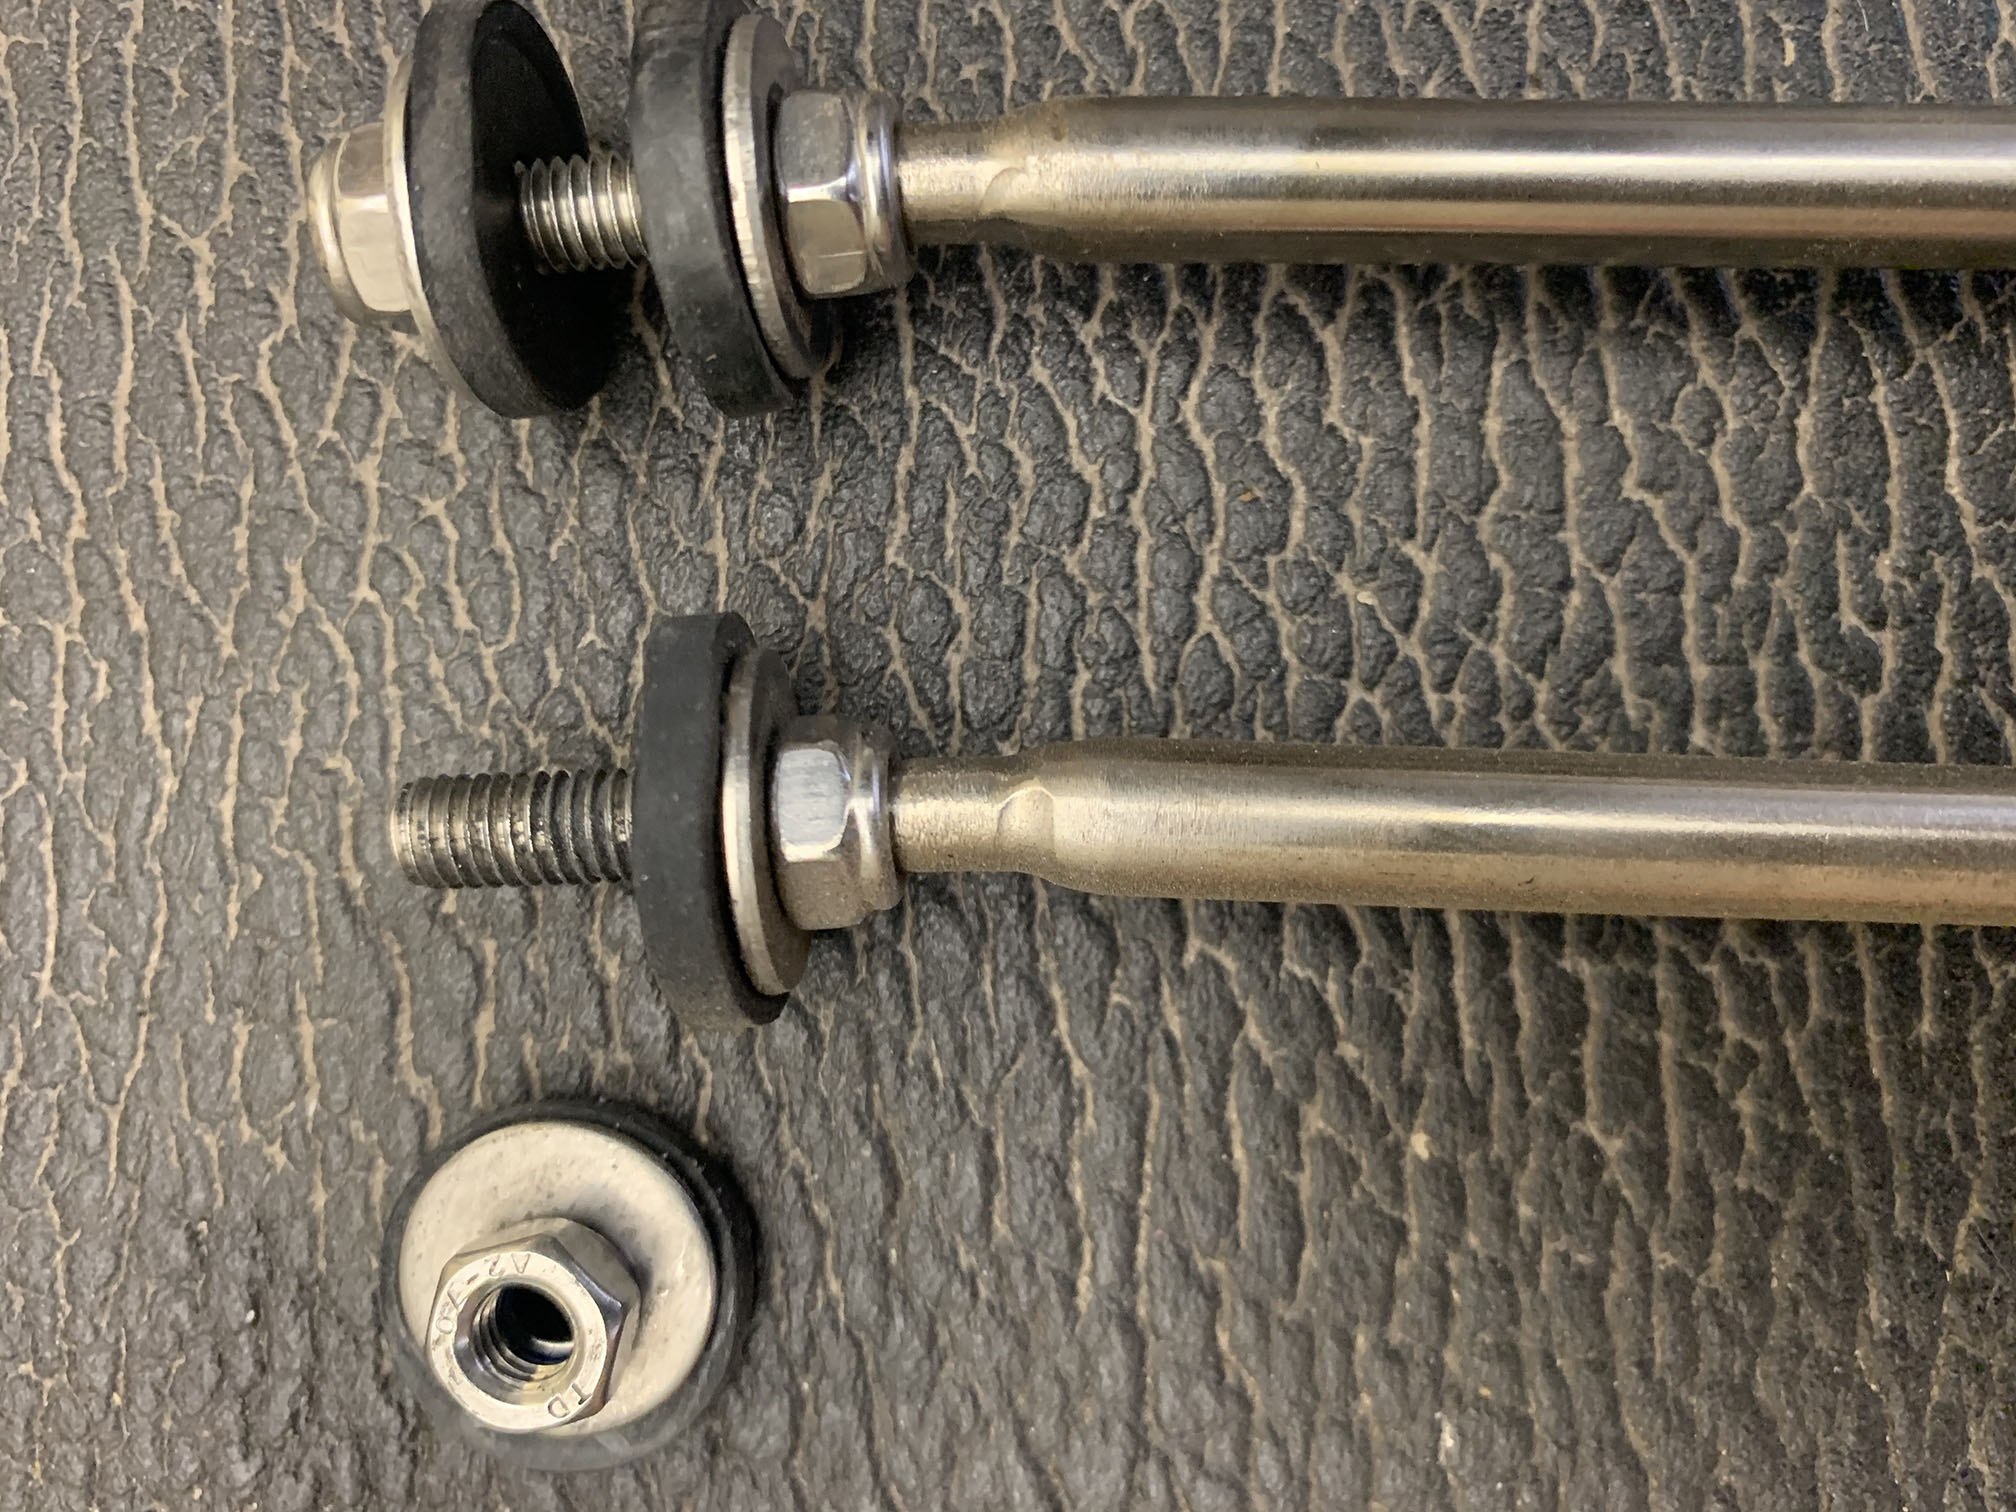
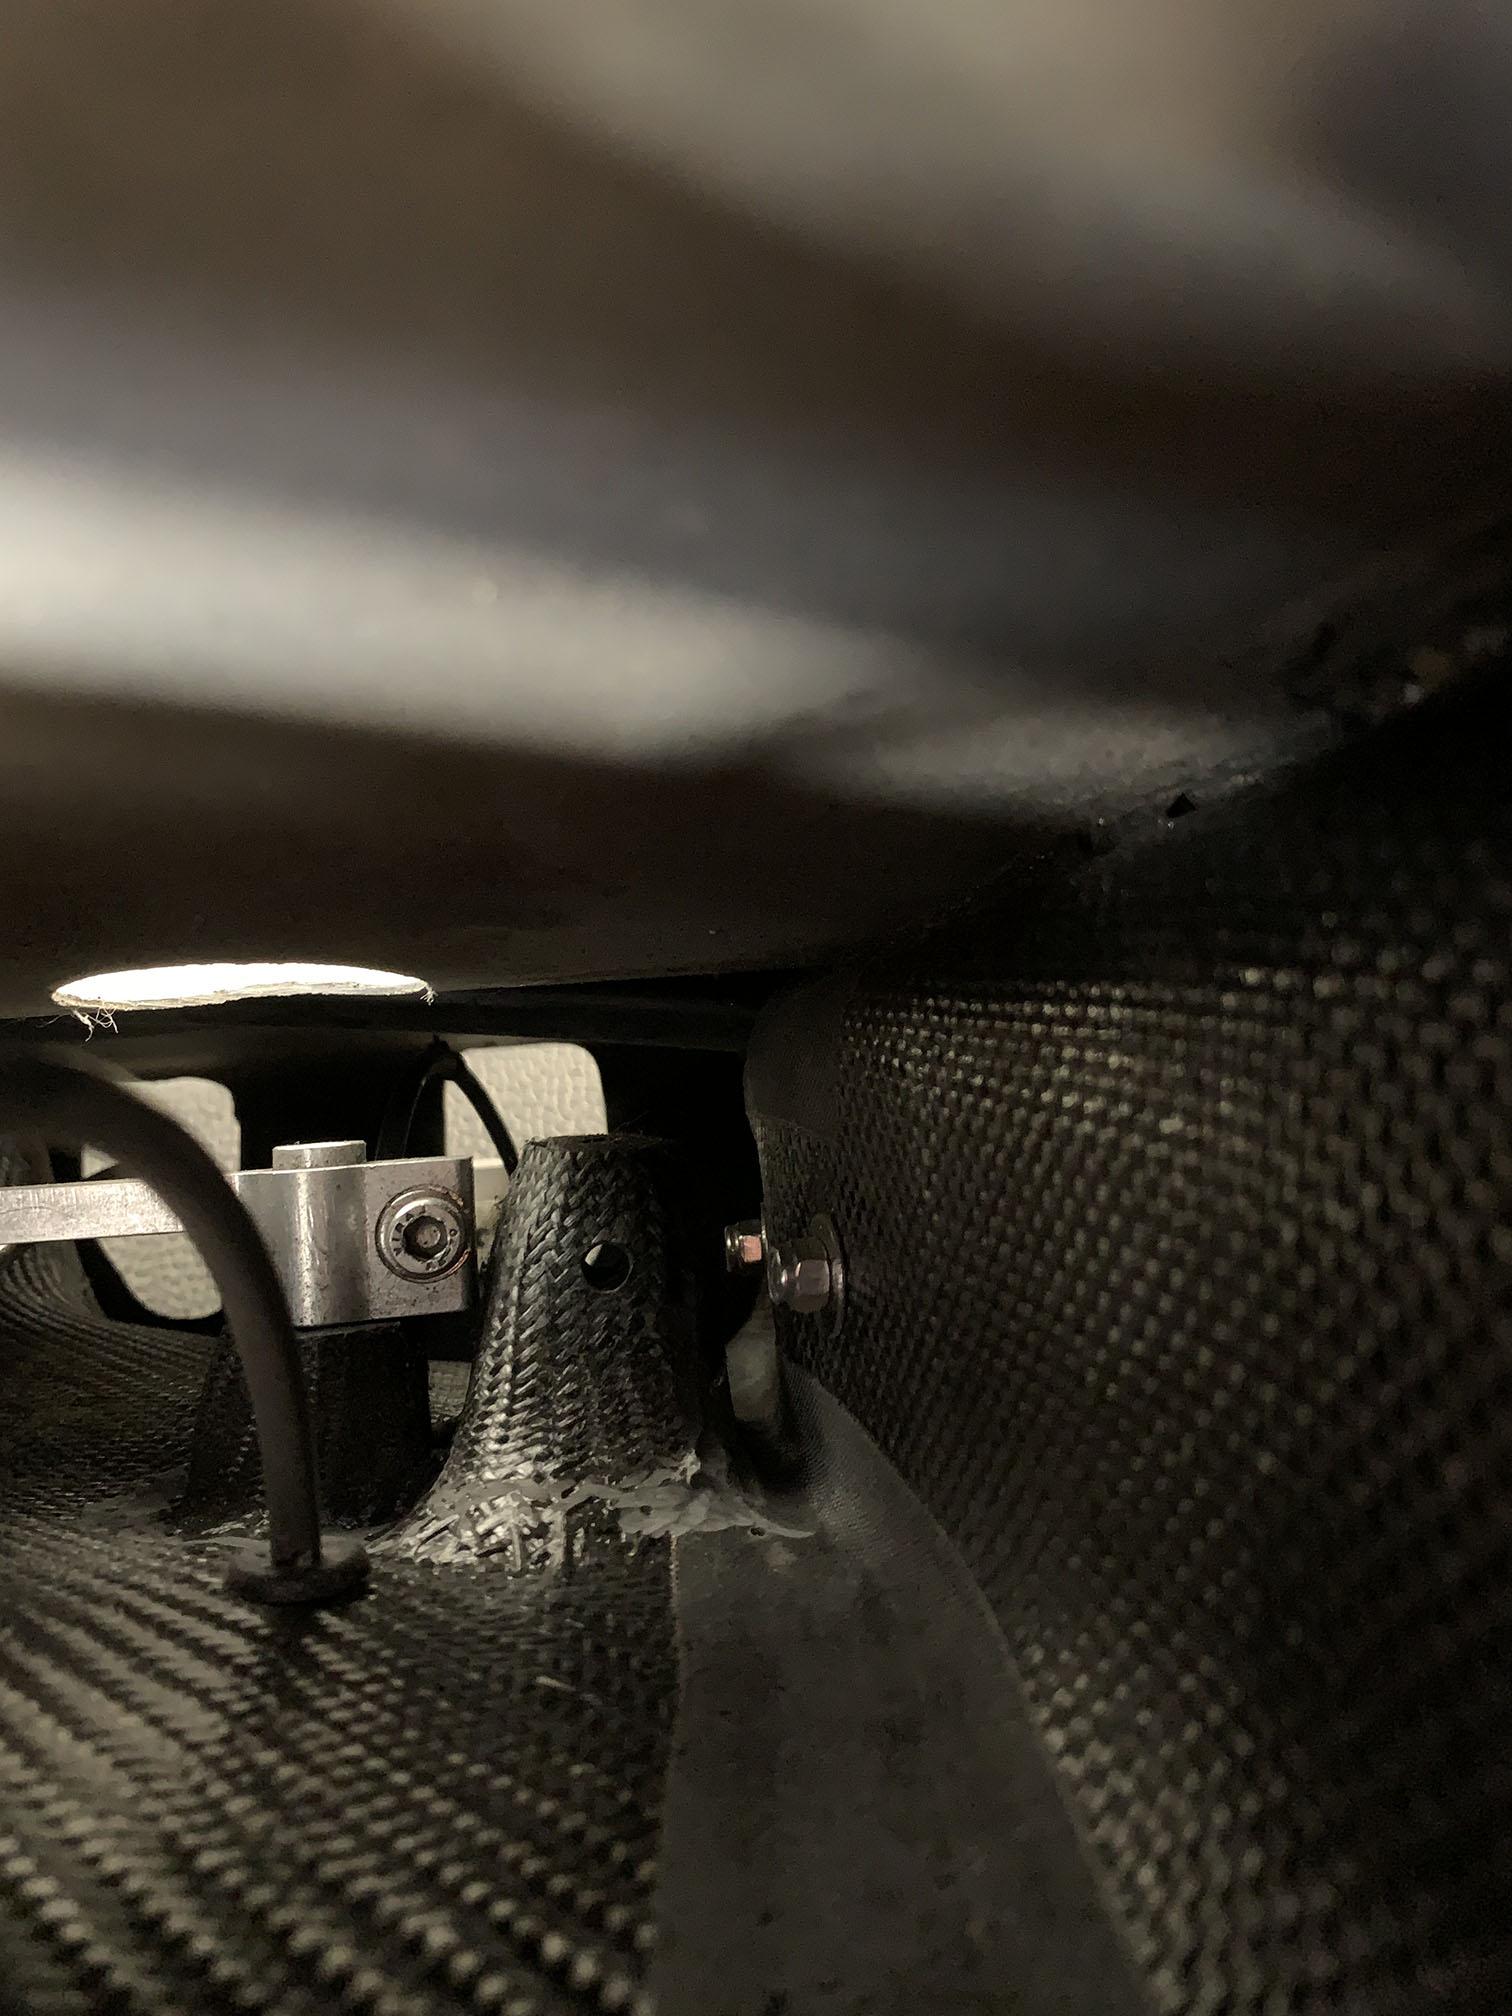
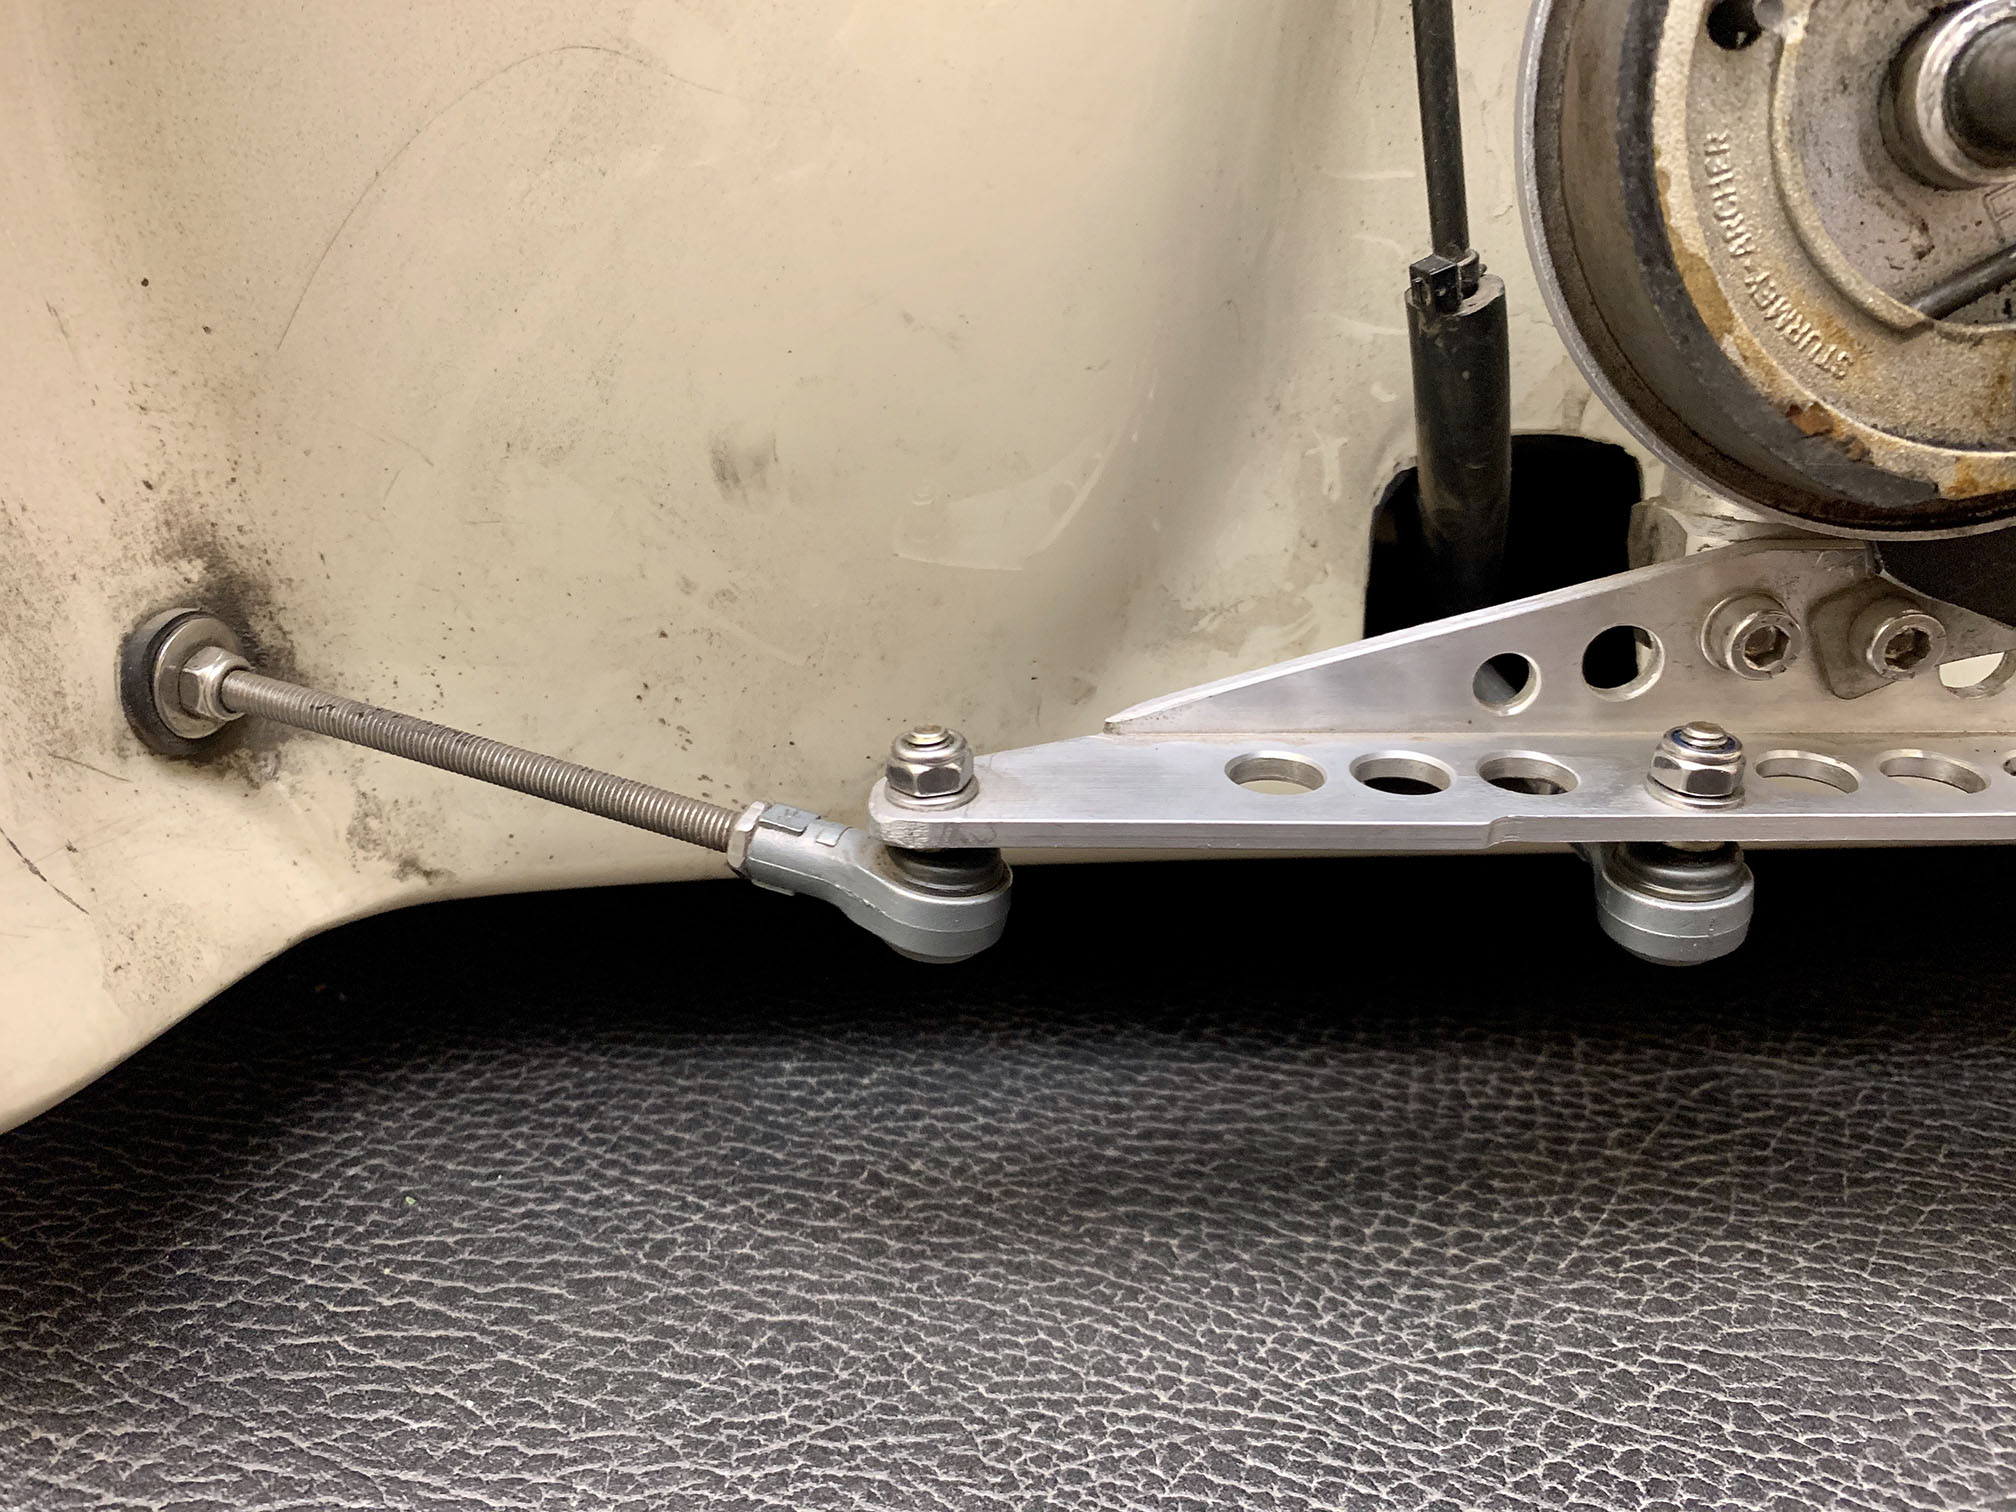
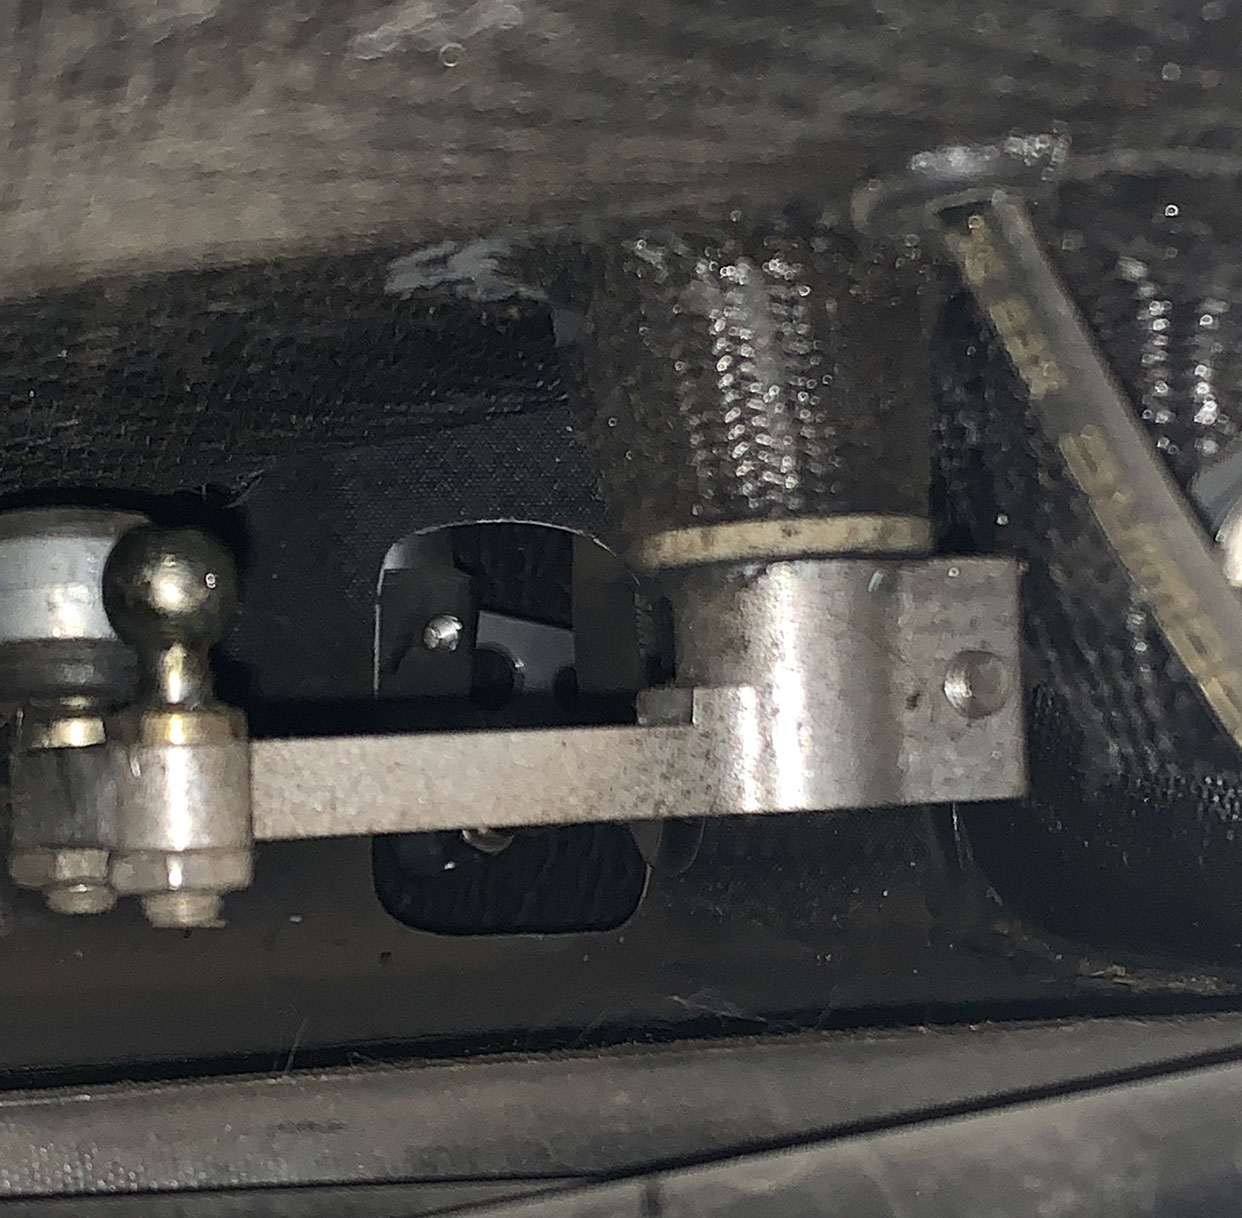
The picture on the right below shows the inside of the wheel well with the rod end bearing installed. (The original hole can be also be seen here.)
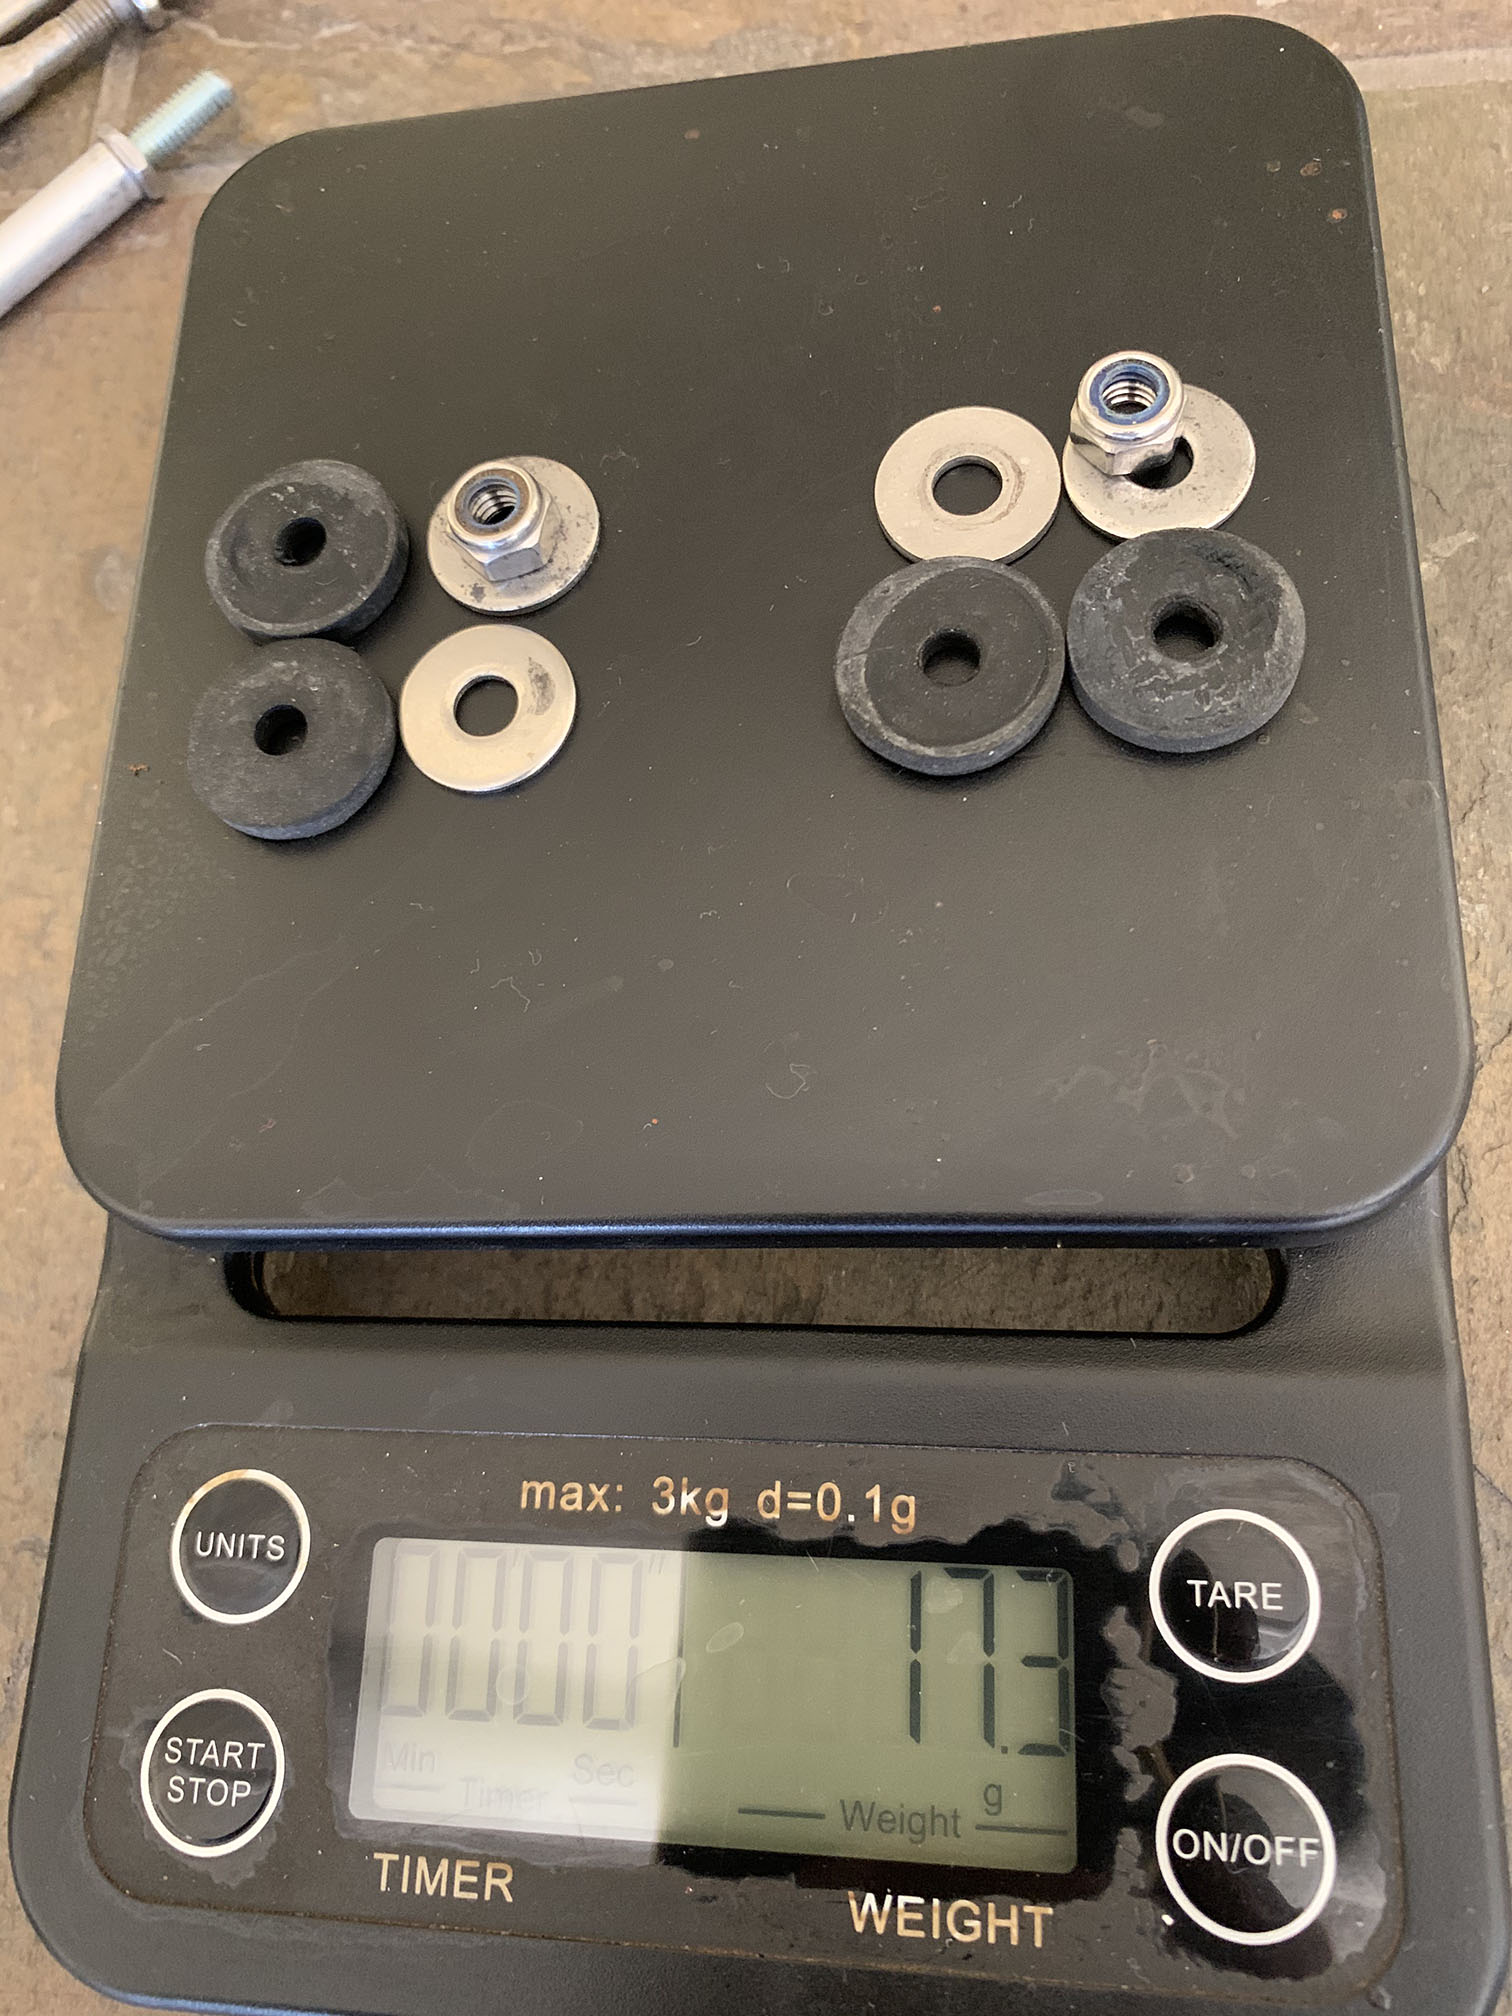
I just used a thin steel washer on both sides of the carbon fiber, plus a nut to secure it. There is no room for anything more. Initially, I thought of re-using the rubber washers, see left picture, but it's not possible and it's unnecessary given the ability of the ball joint to rotate.
|
|
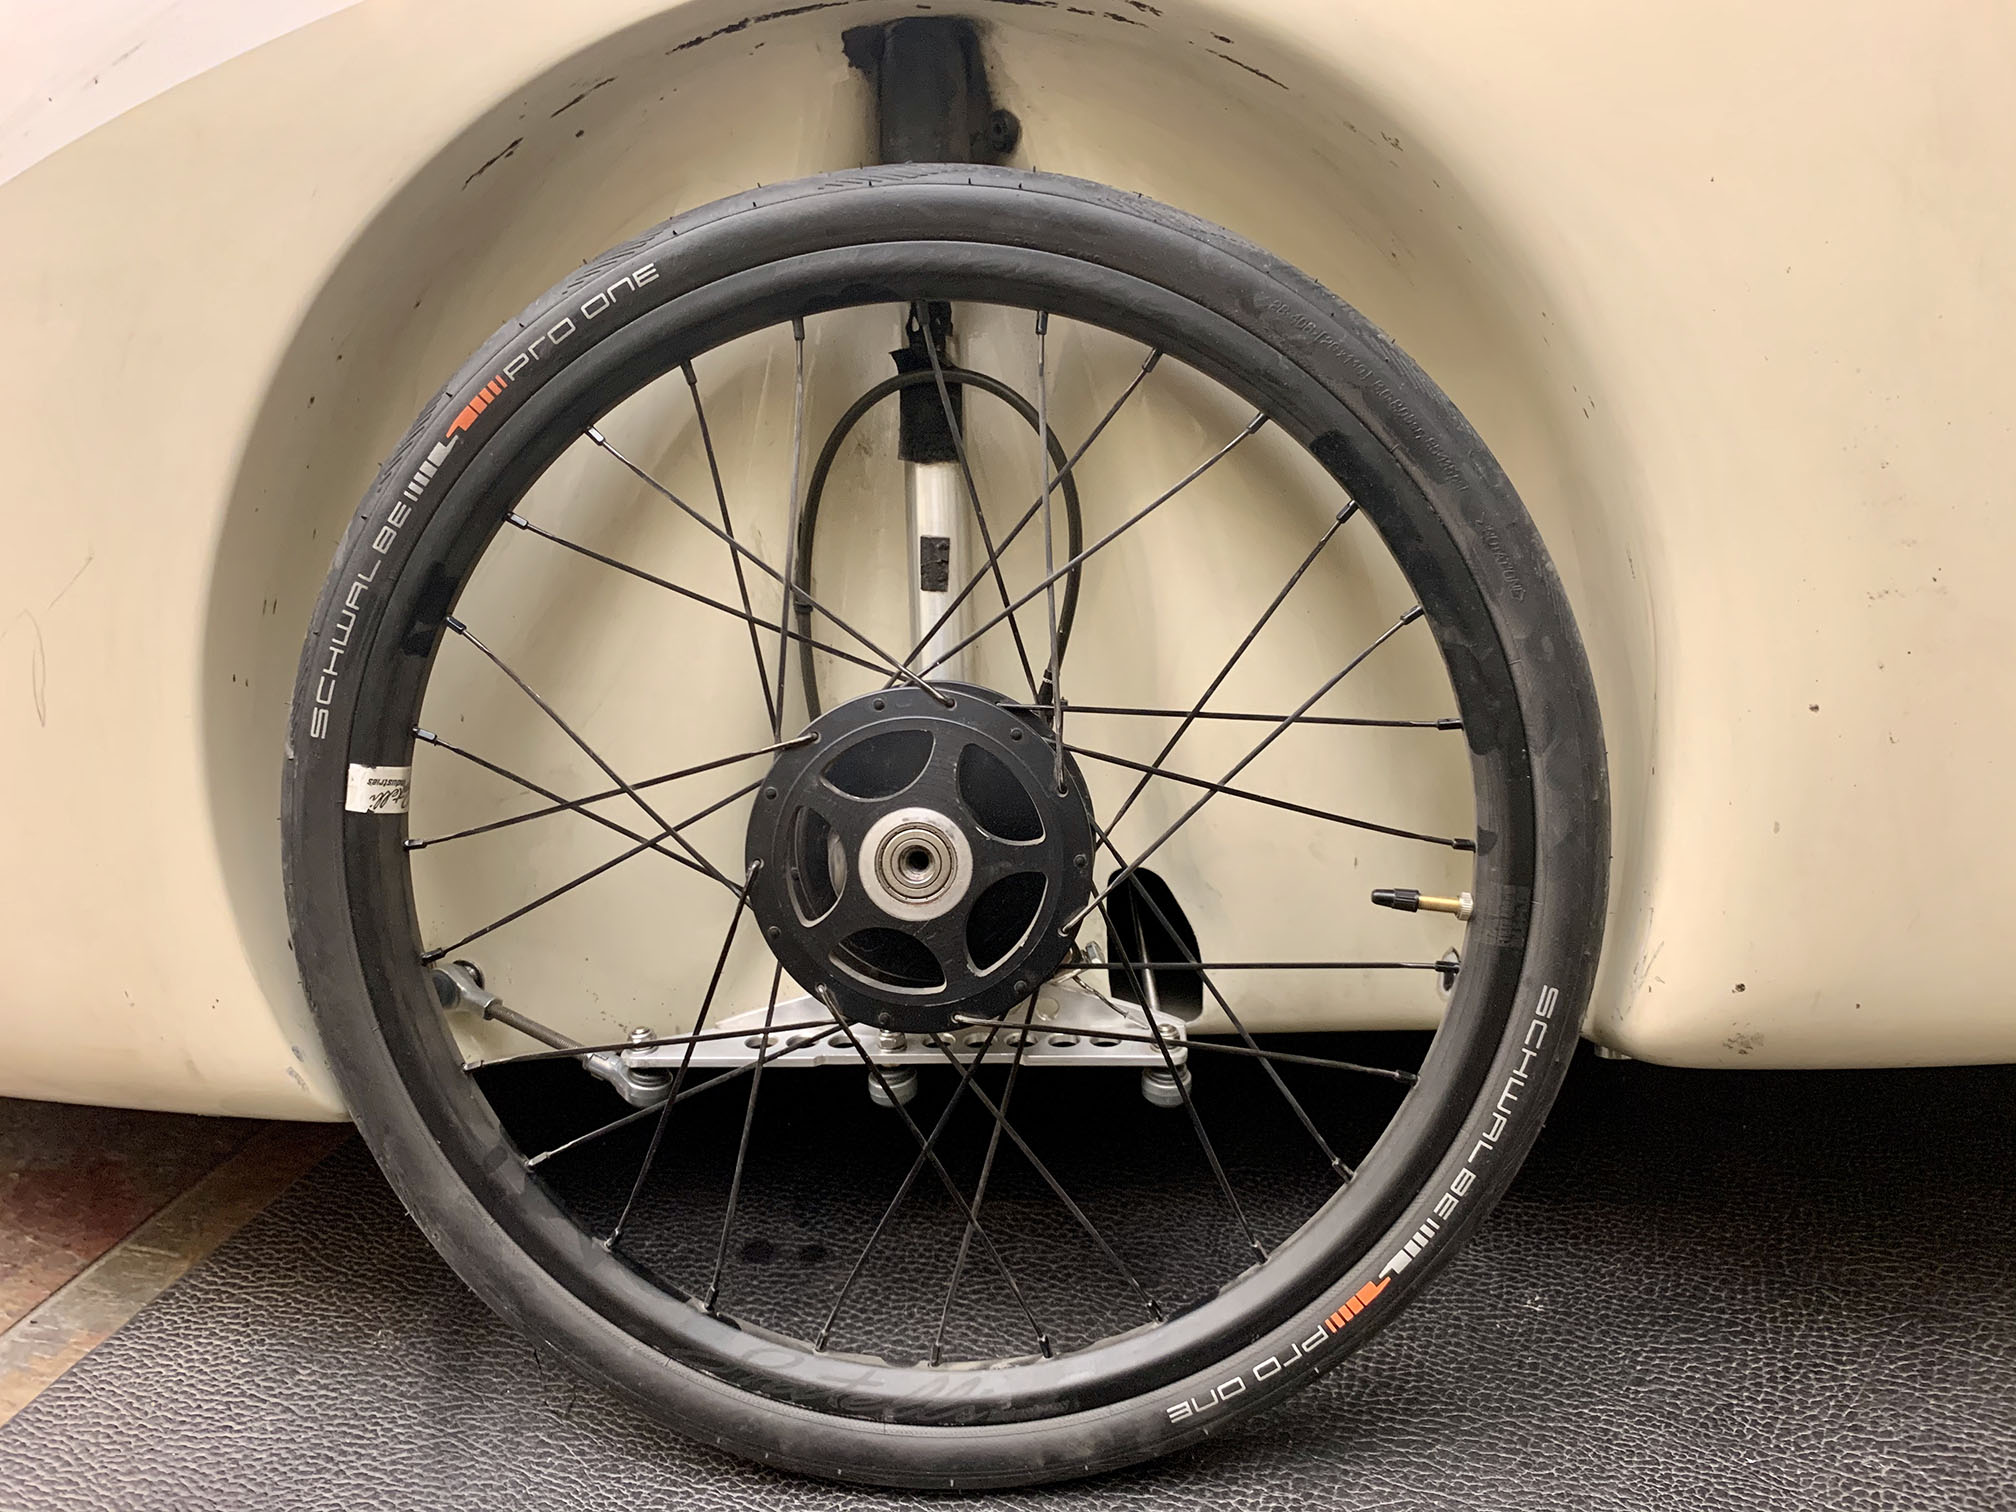
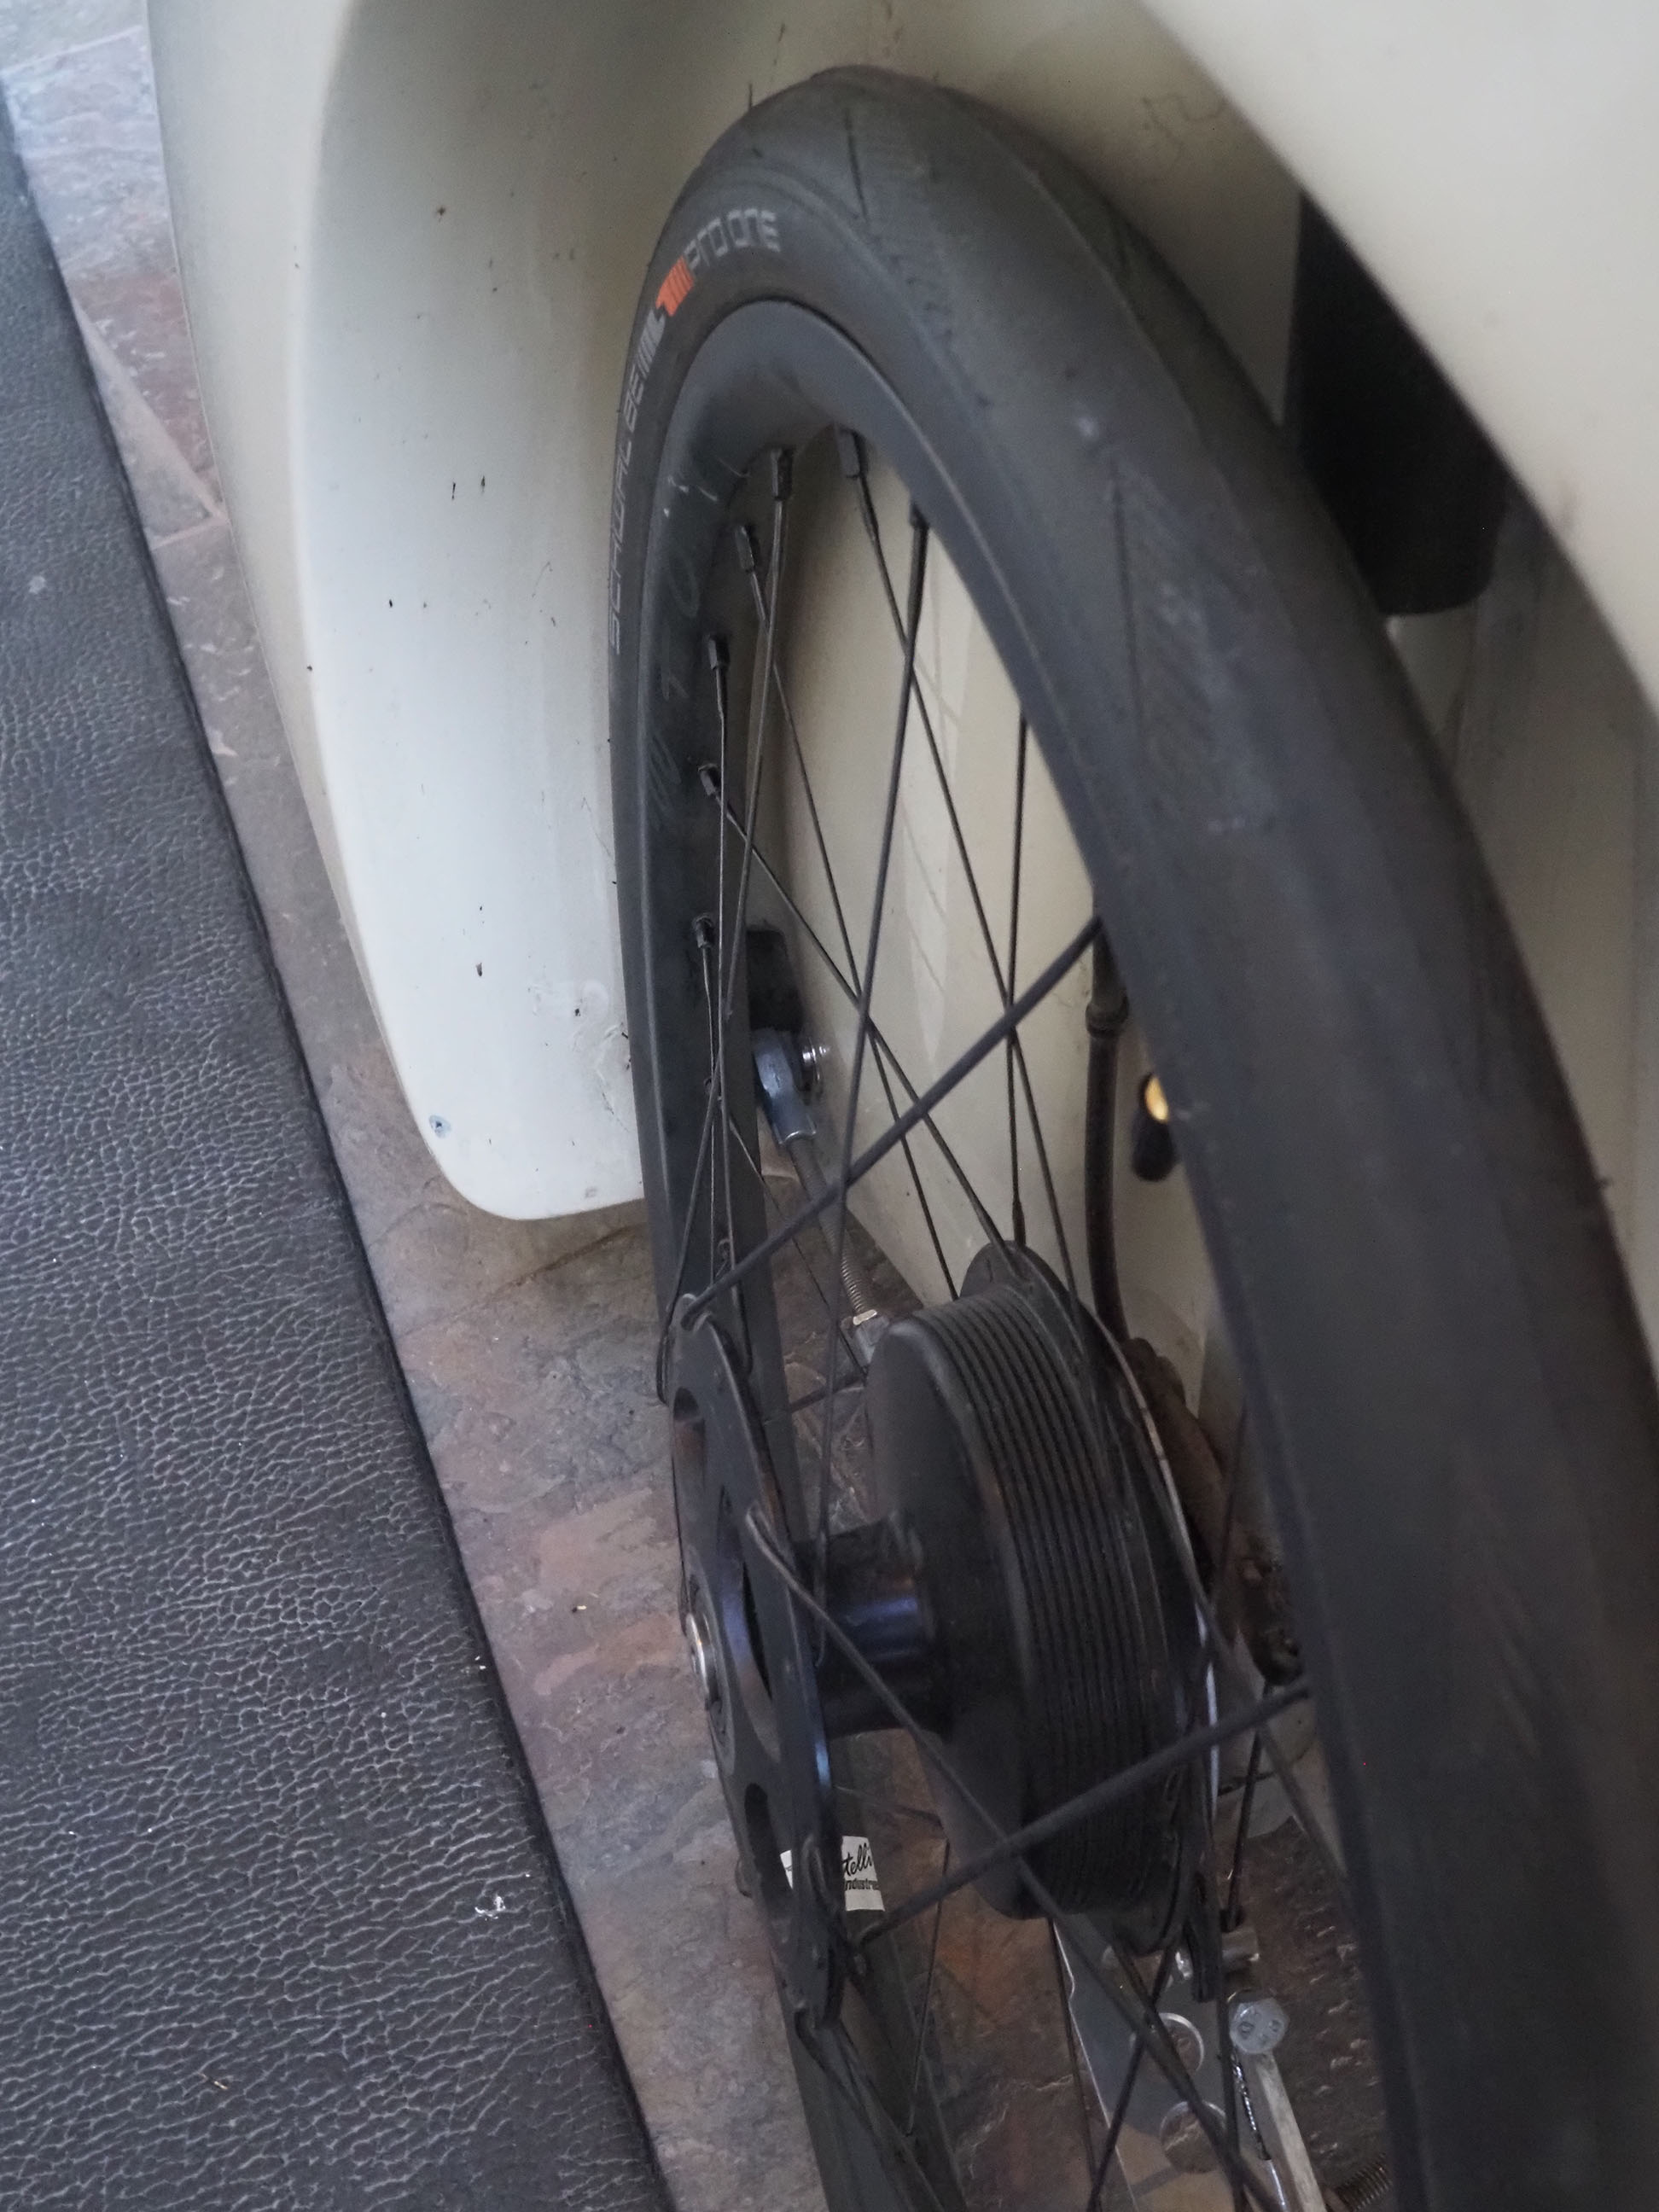
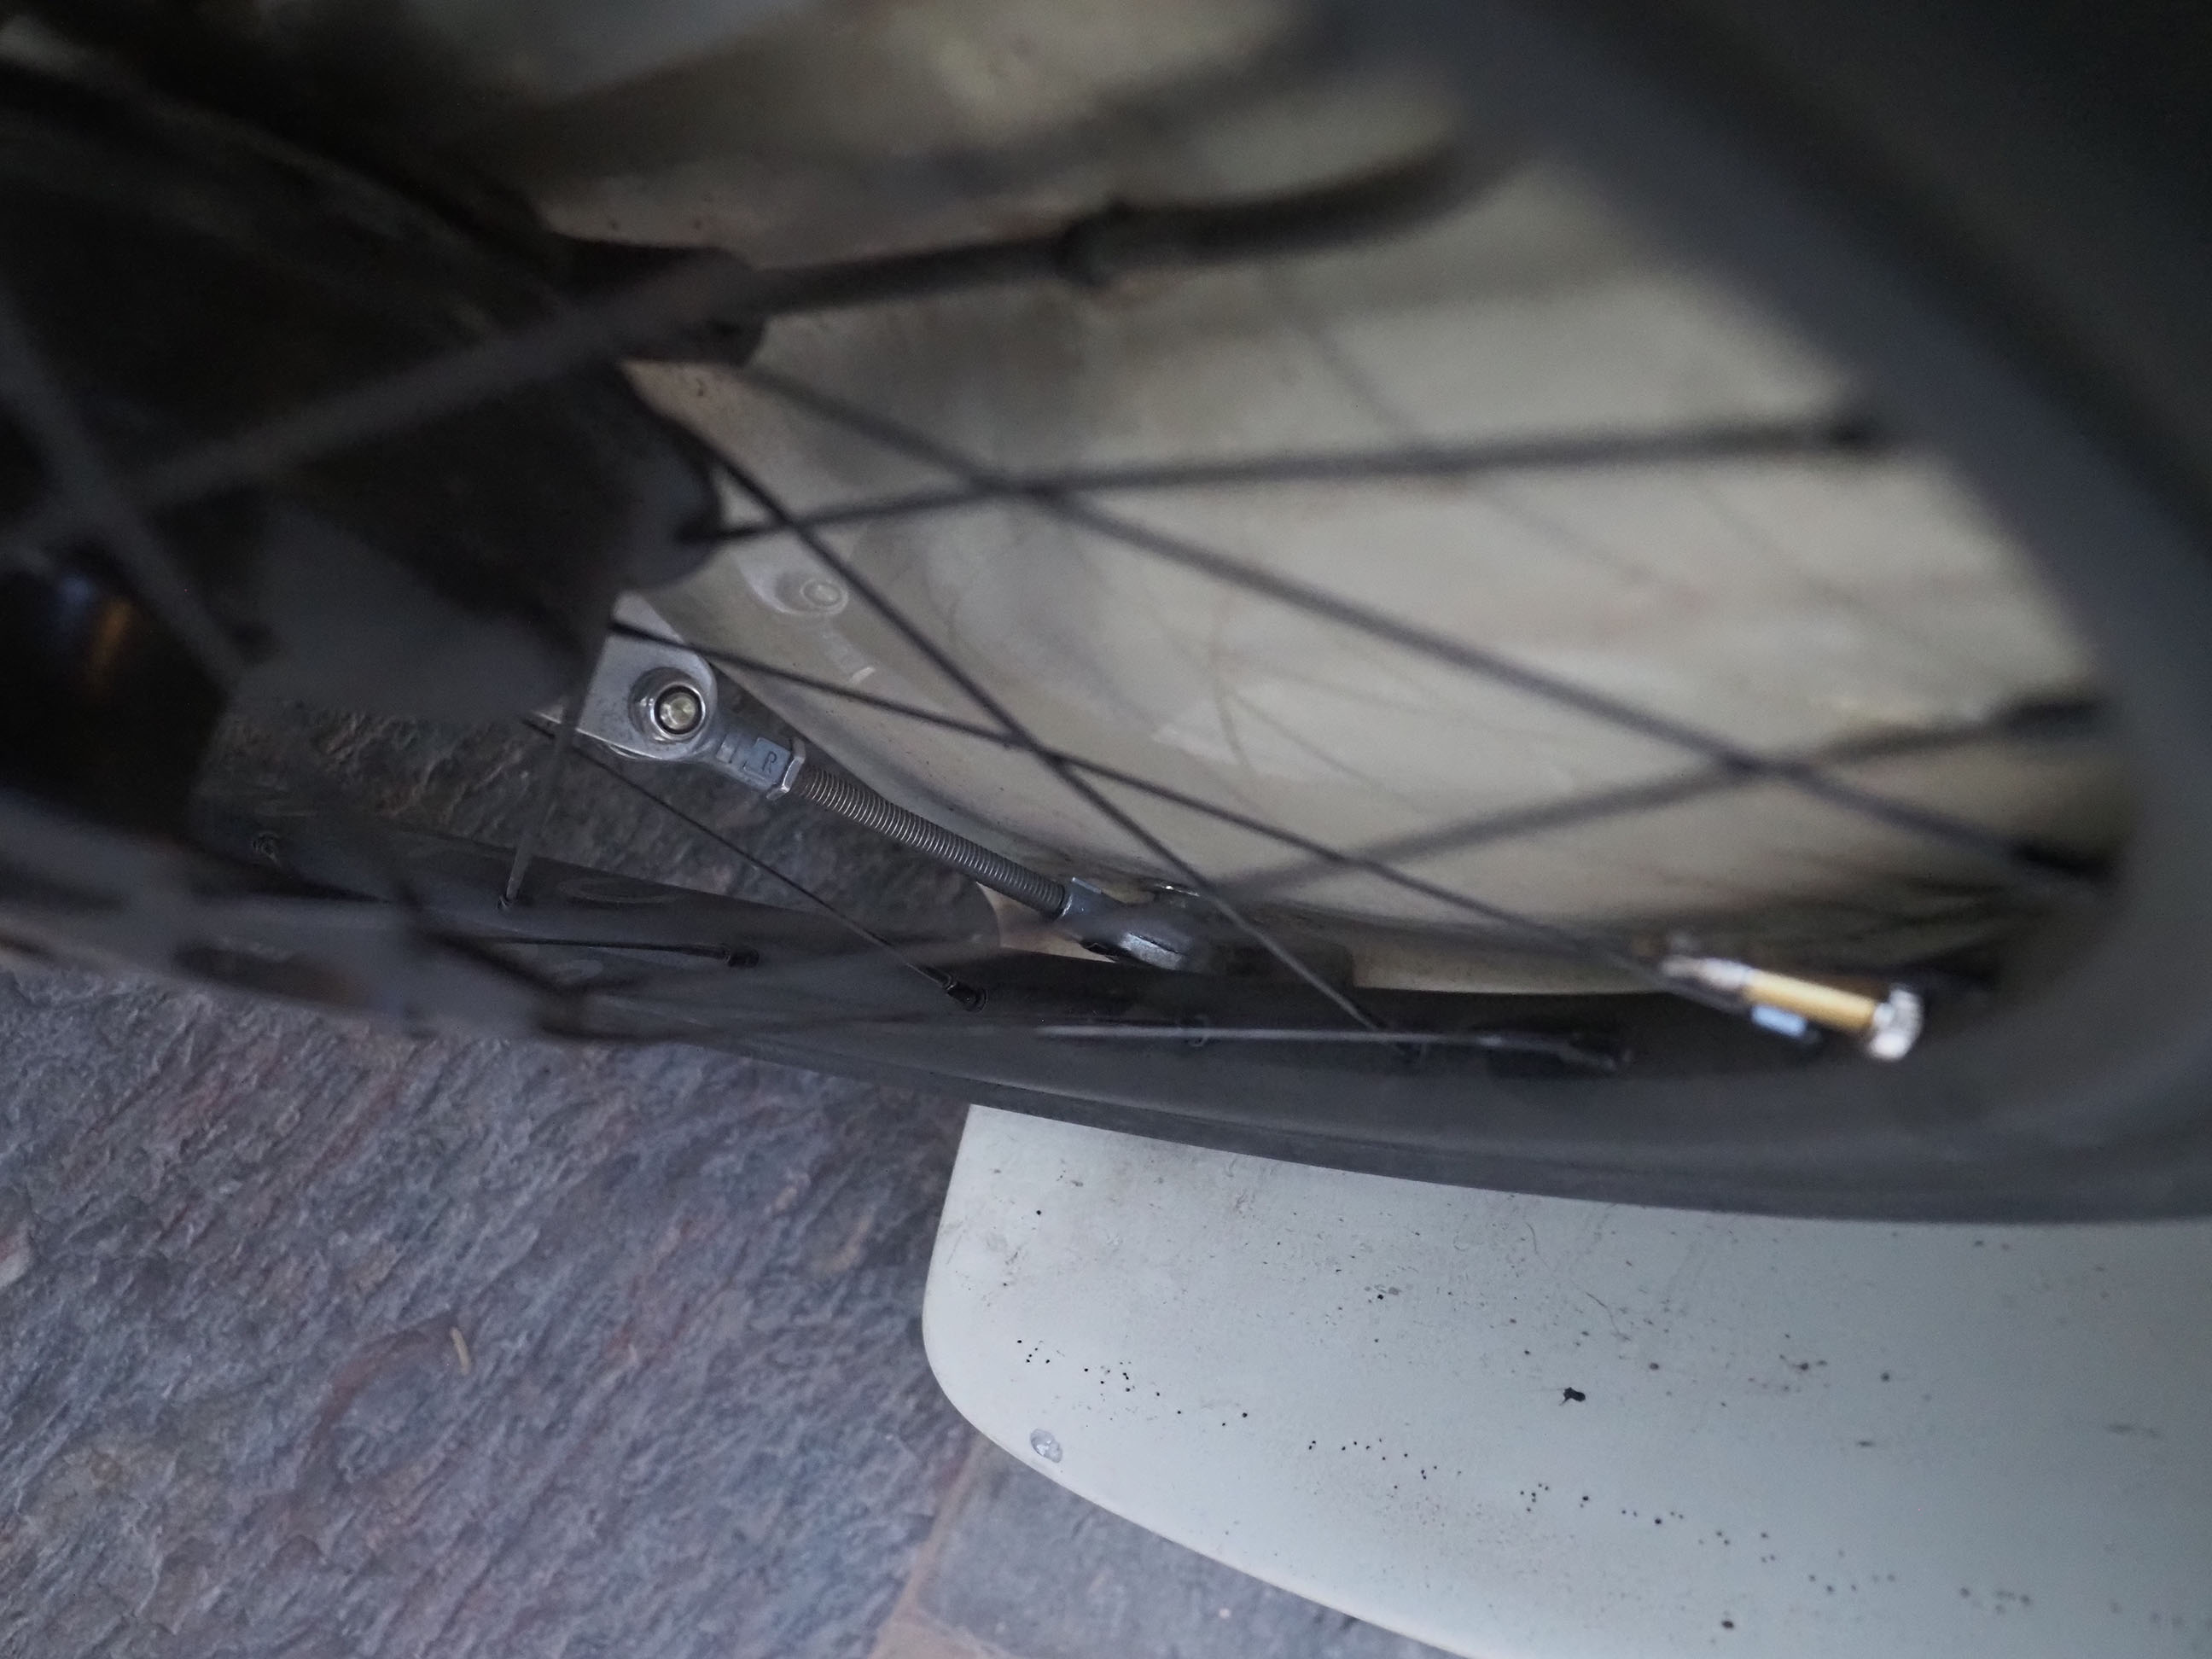
You should also check whether the rim contacts the rod end bearing when the steering is at its limit. There is very little clearance indeed.
|
|
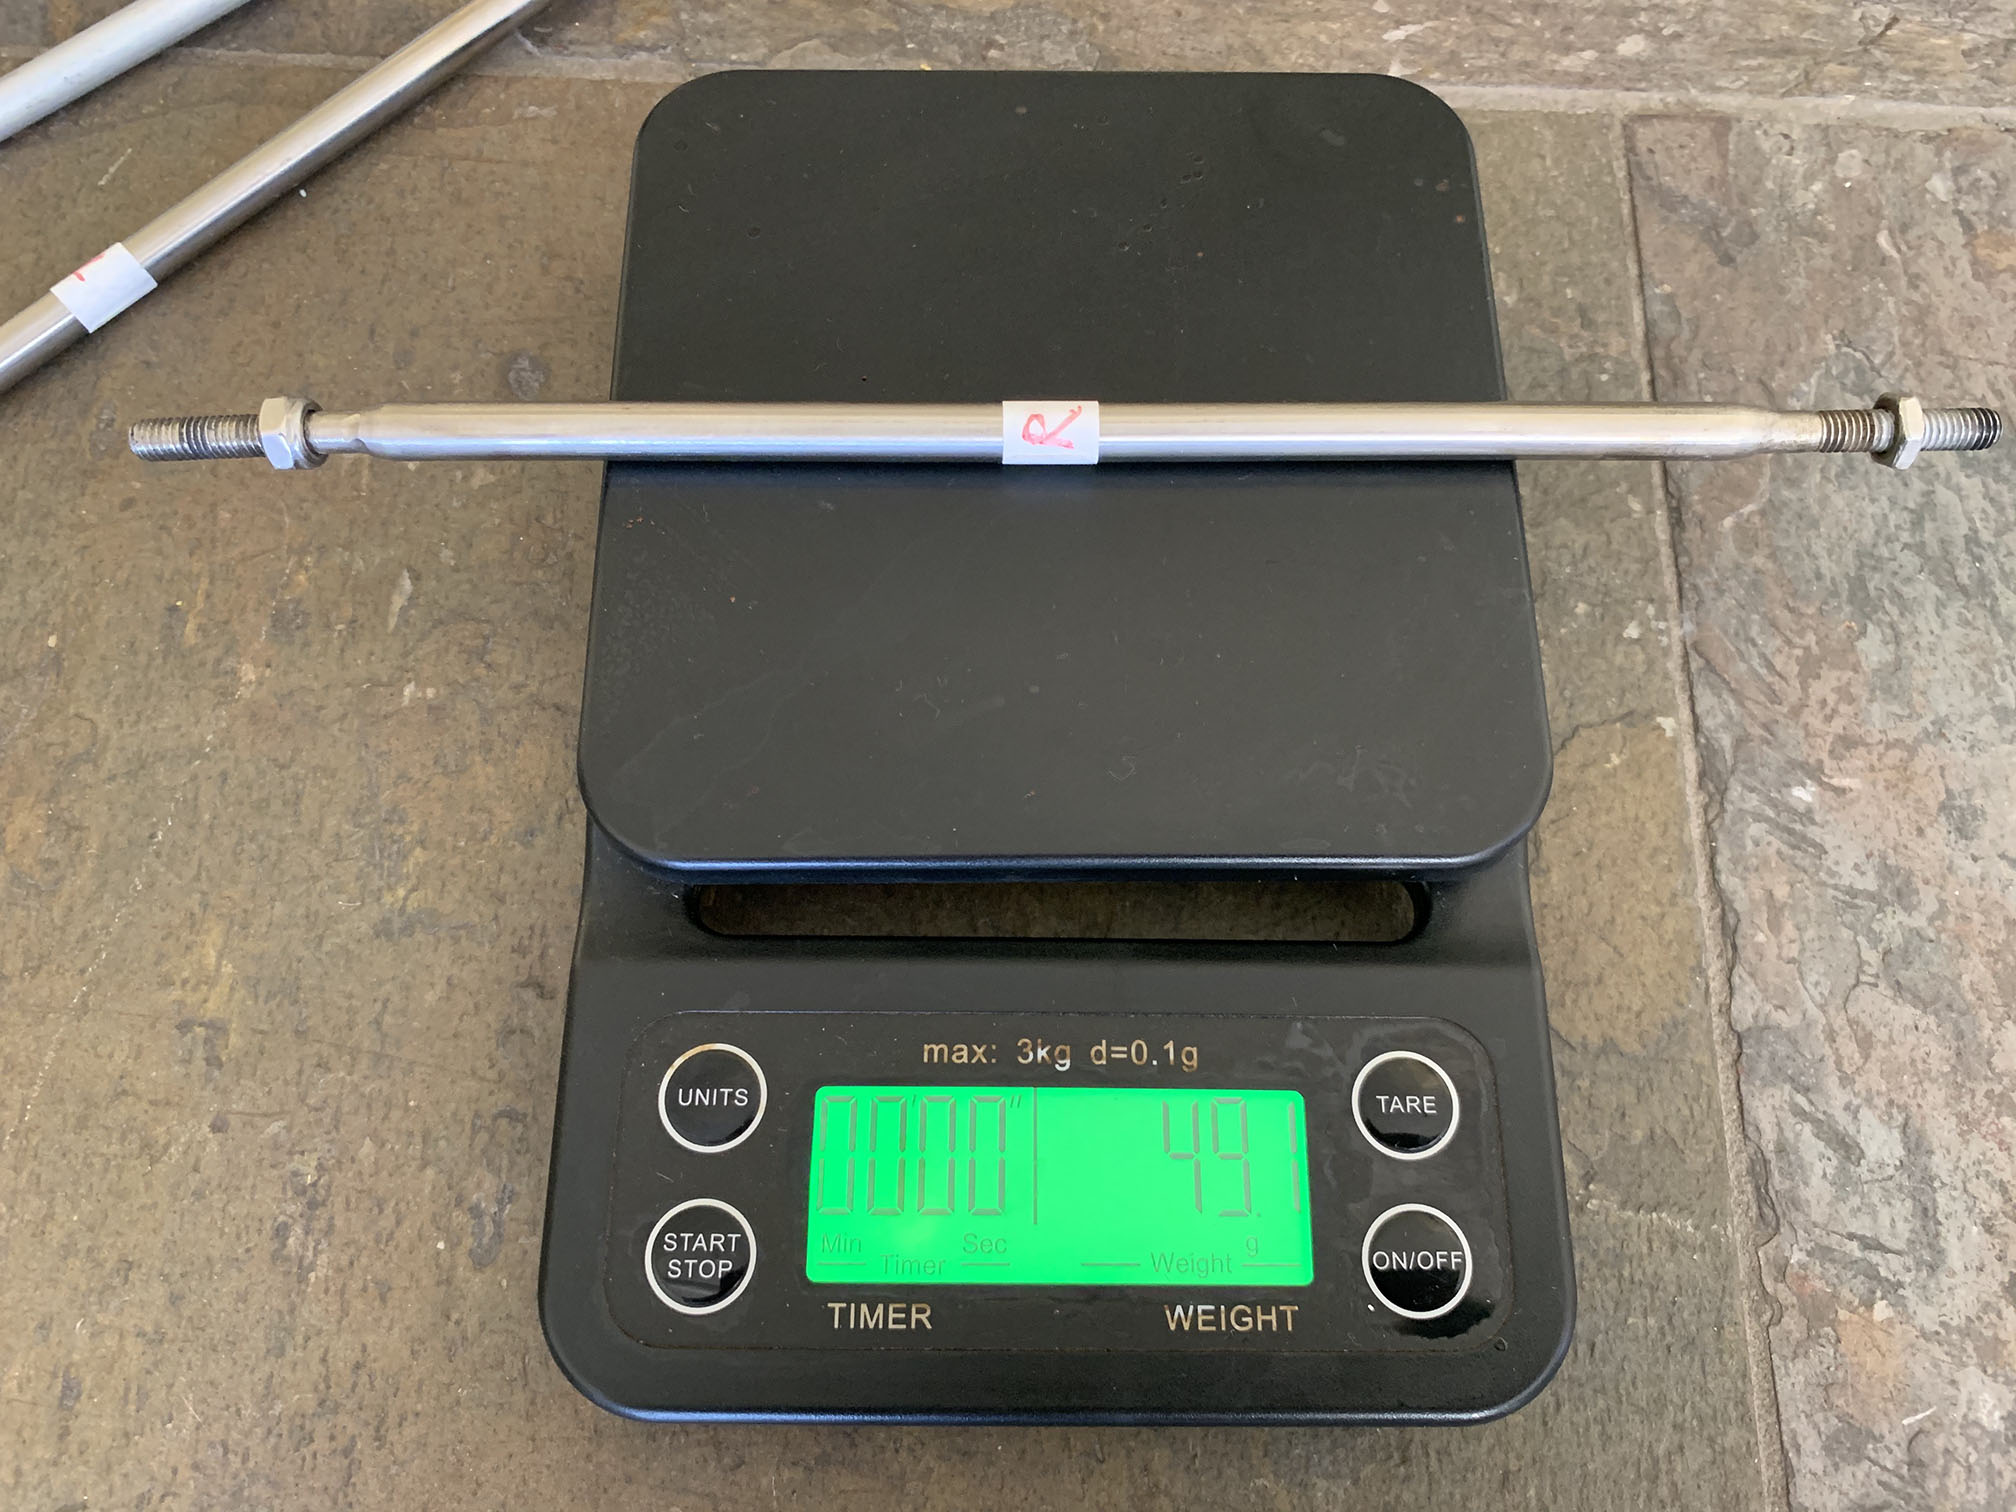
Did you notice the rods were bent on the scale? Don't worry, this is the subject of the next section. But to finish here first, you need to do an alignment after replacing the steering plates.
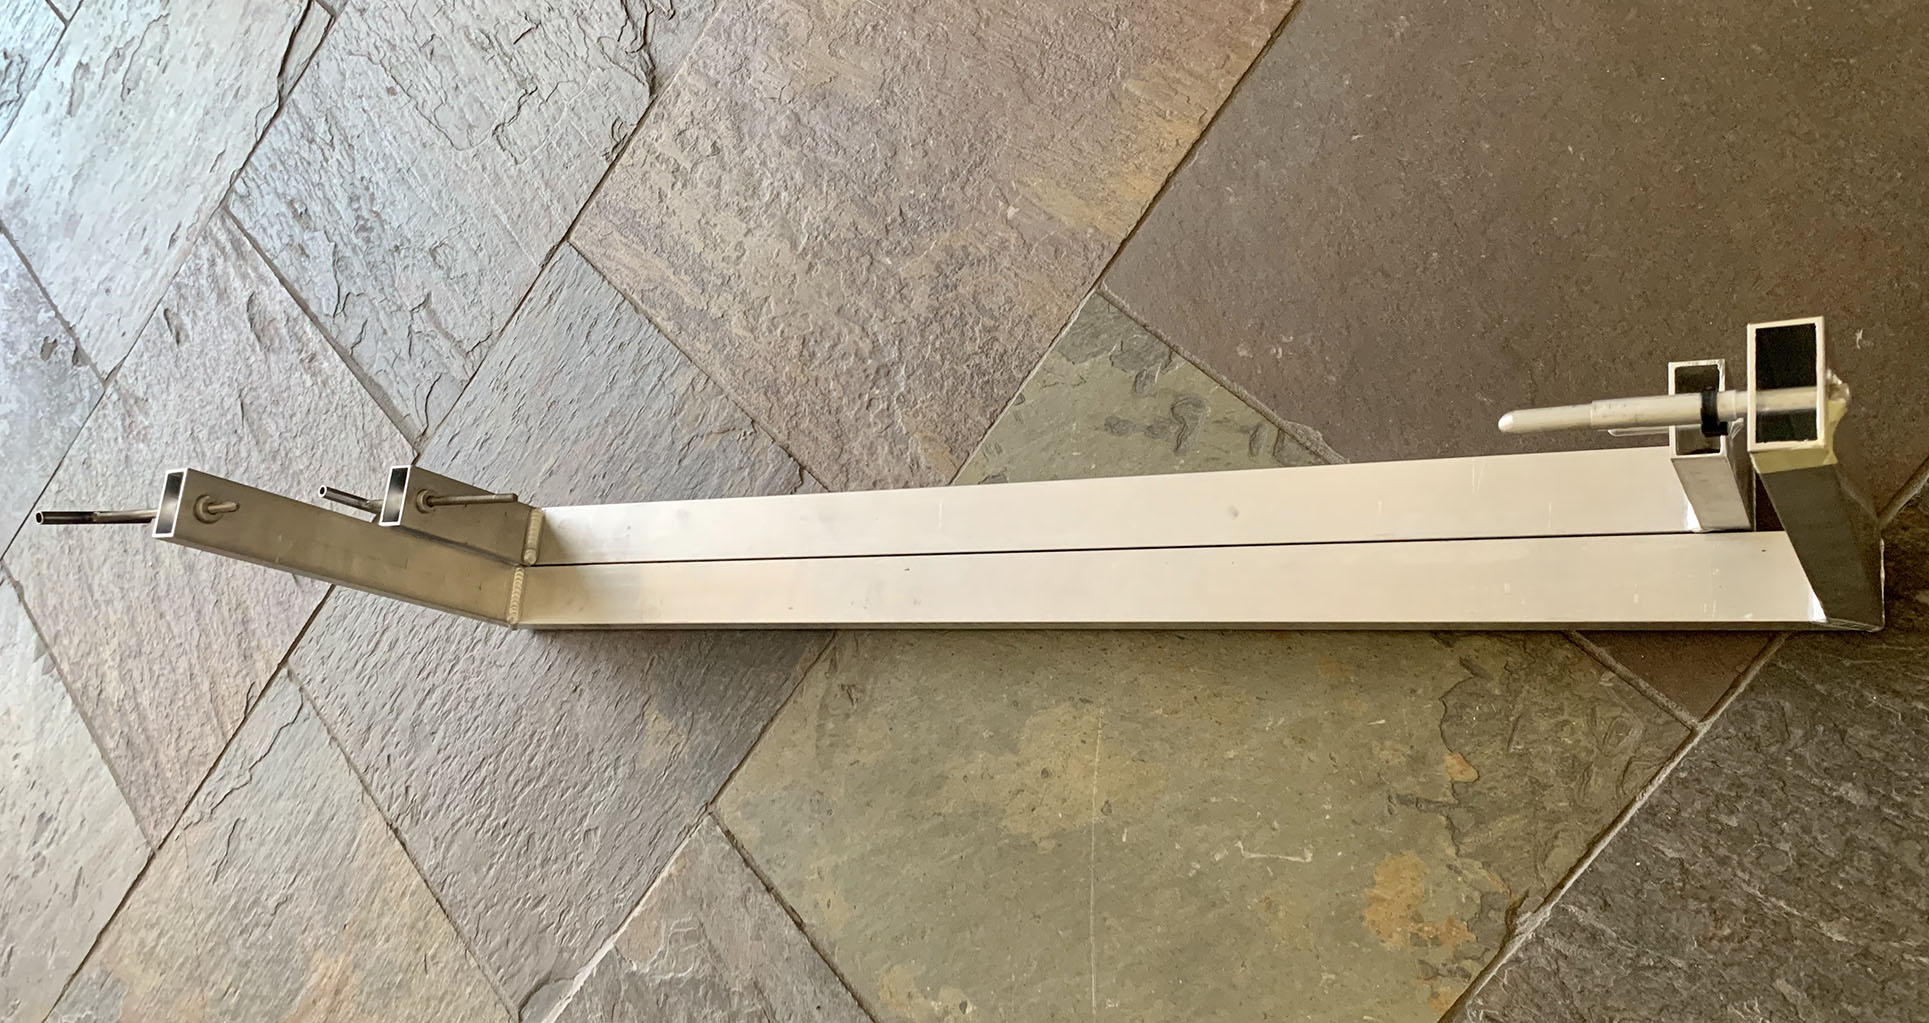
This is best done by simulating your own weight. For me, that's around 70kg. Also, it's best you have a measuring jig like one of these (from velomobiel.nl) for repeatability. (I own the taller one that measures at axle height.)
This is an iterative process involving unscrewing the middle or rear rods. In my case, I started by screwing in all rods as far as possible for maximum contact area.
Then I unscrewed the rear rod (the steering rod) to try to achieve parallelism for the front wheels.
(You may also wonder about the effect of loading the velomobile with body weight. See my back-of-the-envelope notes below.)
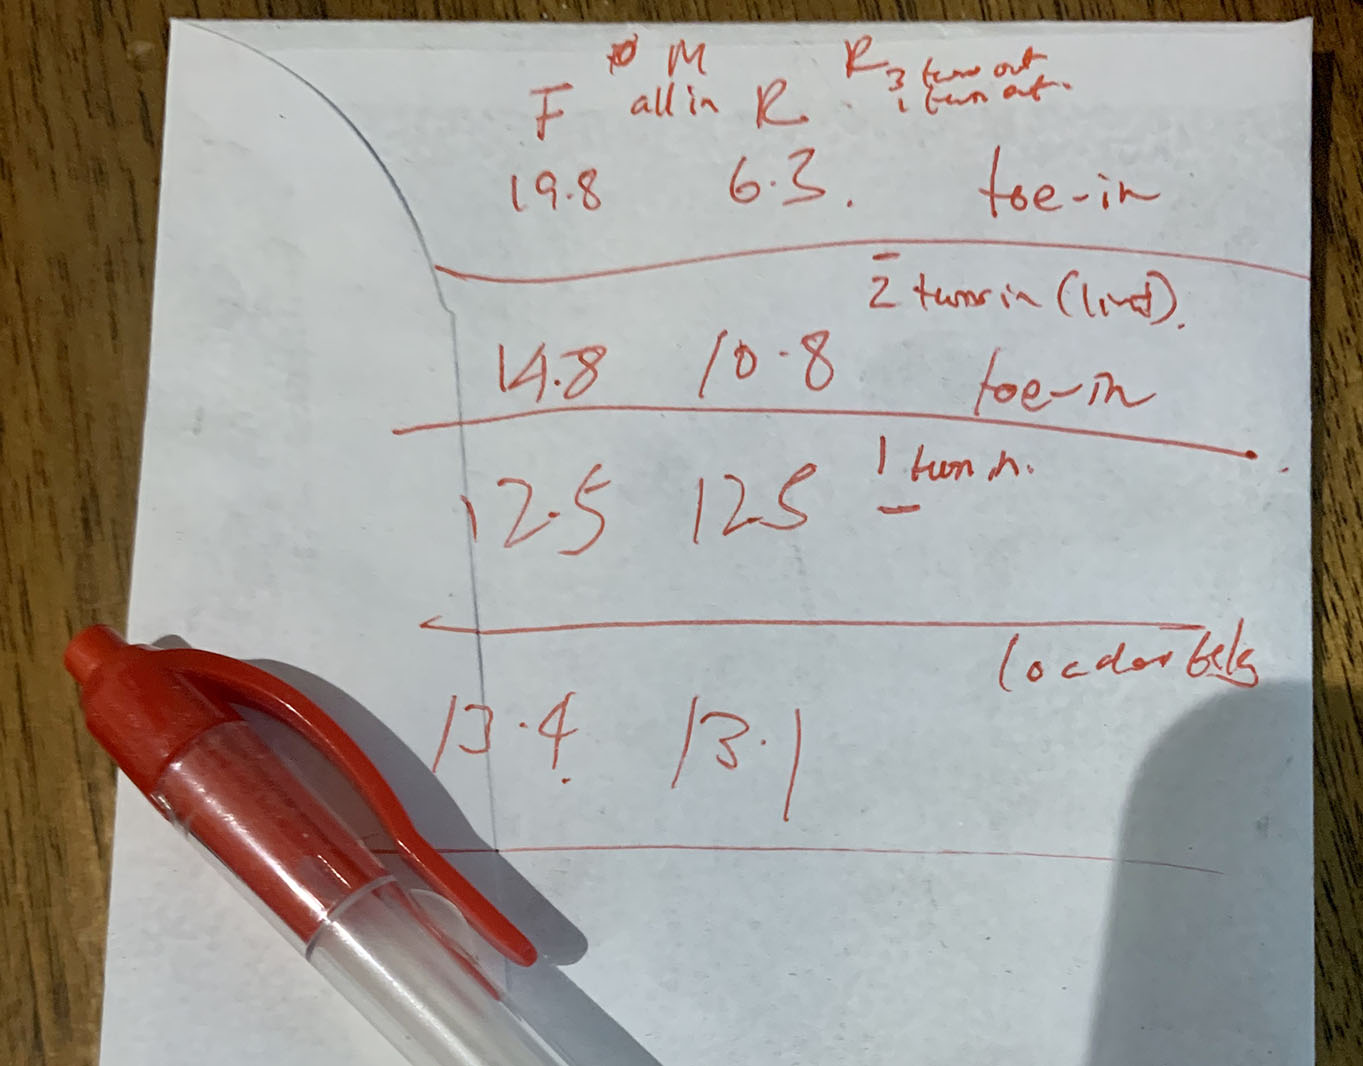
I converged on 12.5mm offset (for the tool, measured with a cheap digital caliper) for the front and rear of the wheels as measured at the rim, i.e. the wheels are parallel without body weight.
On my df, when I added my body weight, the width of the track increased by nearly 1mm. I run my 28-406 Schwalbe Pro One Addix TLEs at 6.5 bar, so you should also inflate the tires as required. The final measurement, 13.4 and 13.1mm is well within measurement error, so I count that as parallel.
What impressions do I have of the new steering?
The turning circle feels a bit larger. If you're not running wheelpants, that's still fine. If you are, you need to plan tight turns ahead of time.
The steering is slightly heavier than before. However, I notice there is a significant increase in the precision of the steering. I can also detect pending tire problems, e.g. slight loss of pressure.
Actually, I initially installed the new steering plates WITHOUT drilling new holes in the wheel well sides. Shortening the rods definitely improved the steering precision.
It's pretty stable up to around 100 kph. First few rides,need to keep an eye on any loosening nuts.


I had quite a few problems during the install. These are documented here.
I'm not a heavy rider. So I was disappointed to find bent rods when I went to upgrade the steering plates.
Both the middle rods and front rods were bent.
I discovered the middle rods (example bend below on the left) were bent when one of them fell out during a ride due to a nyloc nut backing out (unnoticed by me) over time.
|
|
Both of them were quite bent, suggesting that the df easily bottoms out its suspension (possibly when the front half of the velomobile lands after unweighing on a bump or leaving the ground over, say, a convex-shaped bridge).
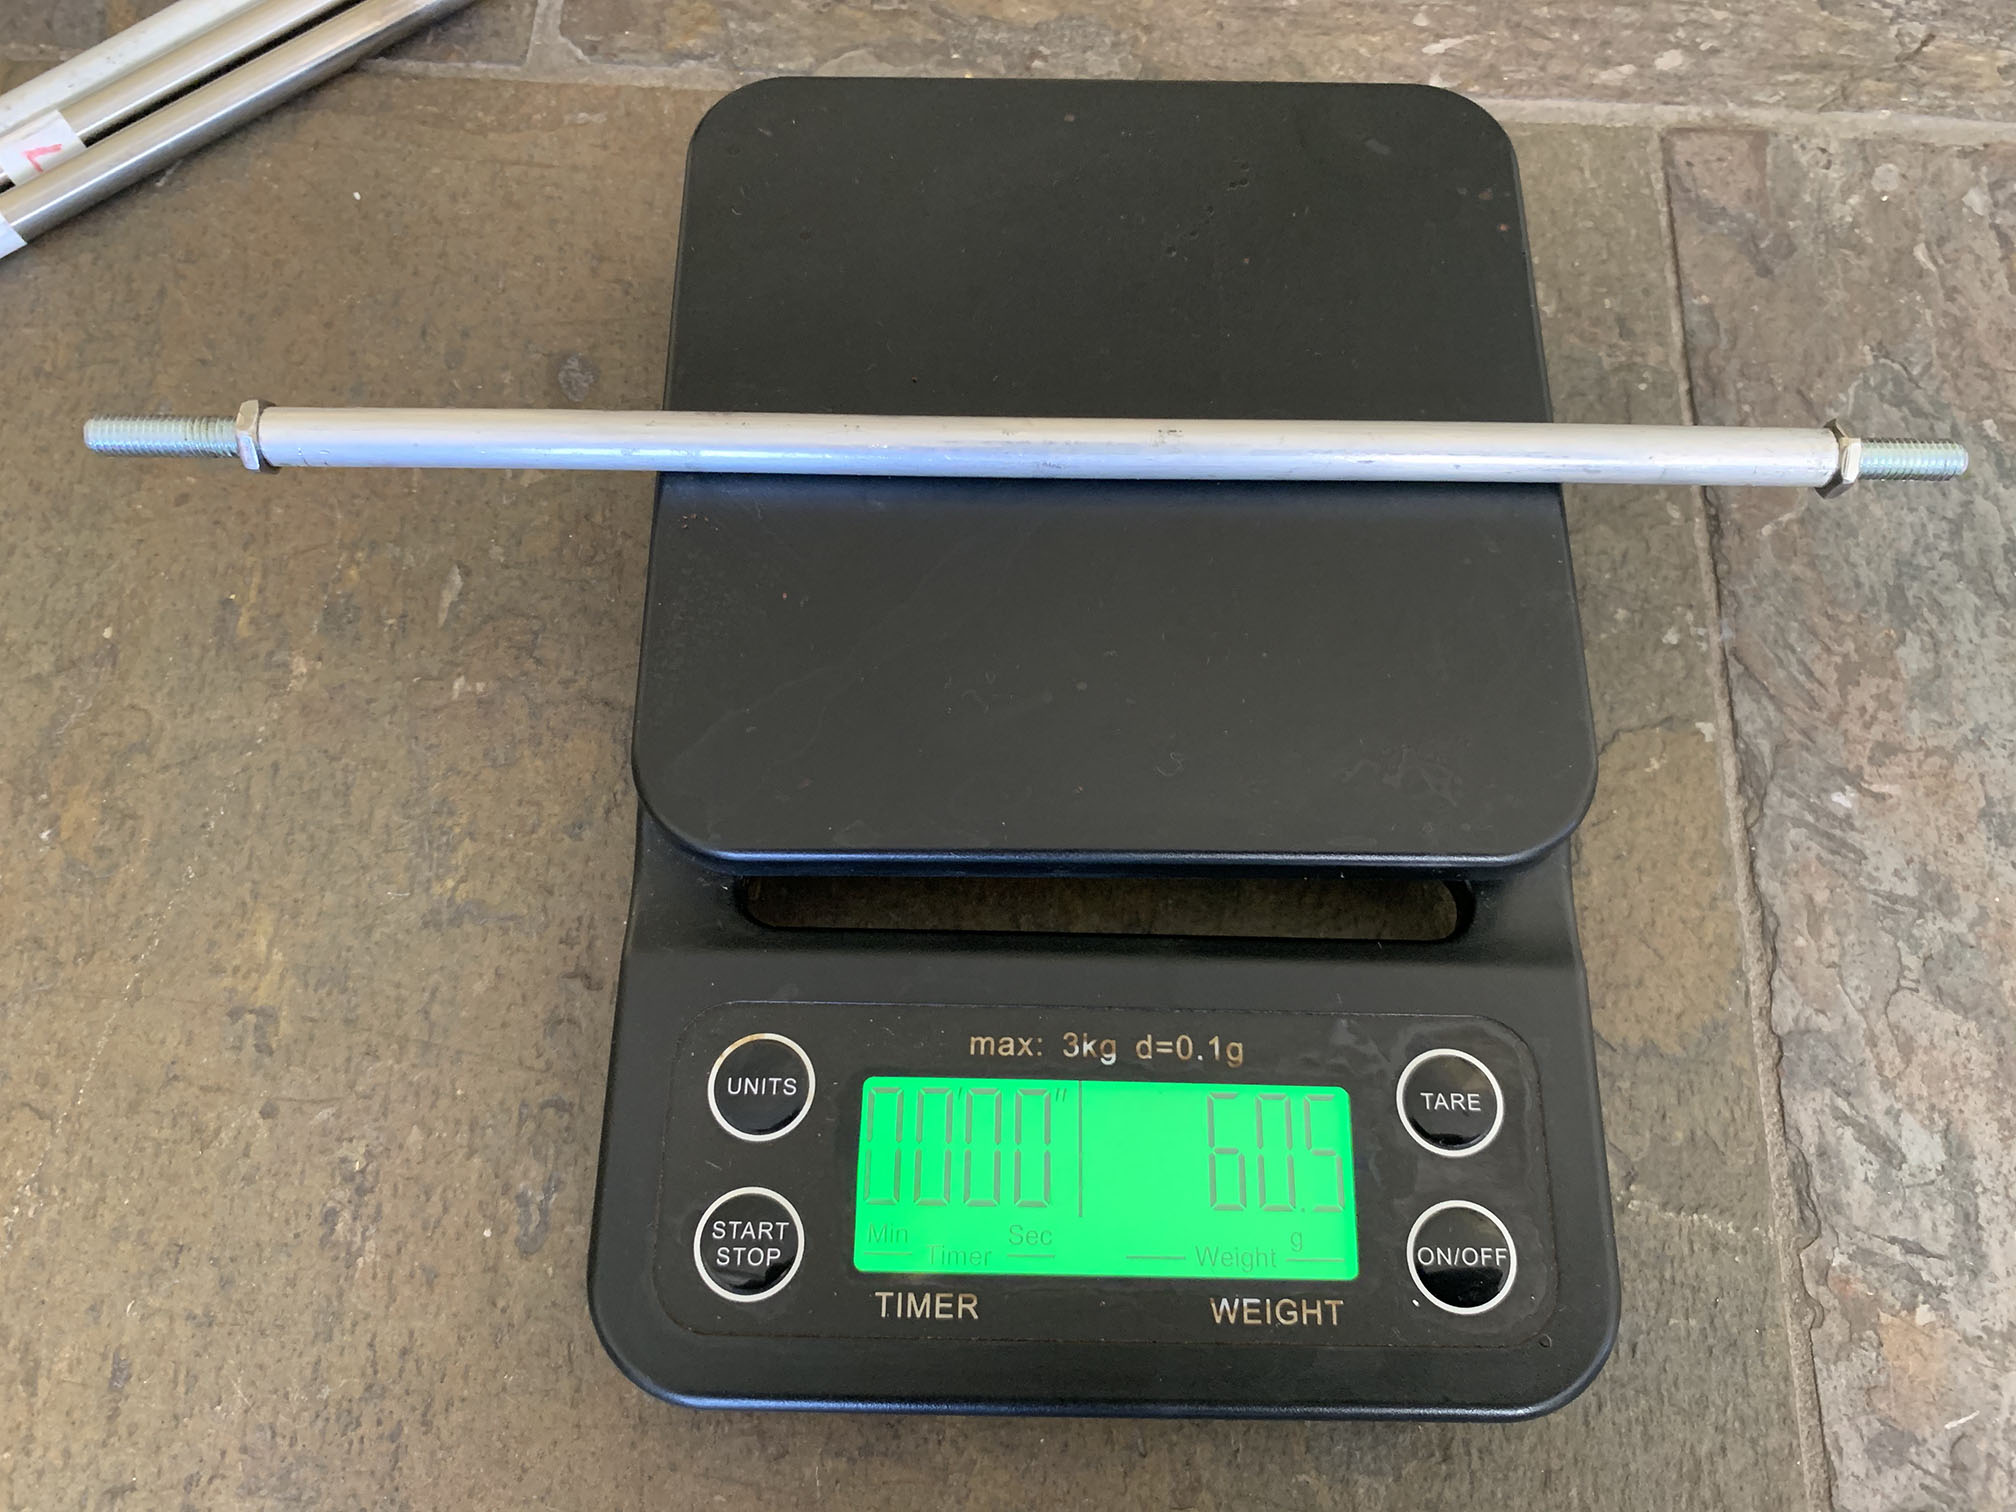
Notice the bent rods are necked down, suggesting they are welded. The new rods (I must thank Doug Davis at Bicycle Evolution for quickly shipping new rods to me when he read about my predicament!) are much more beefy.
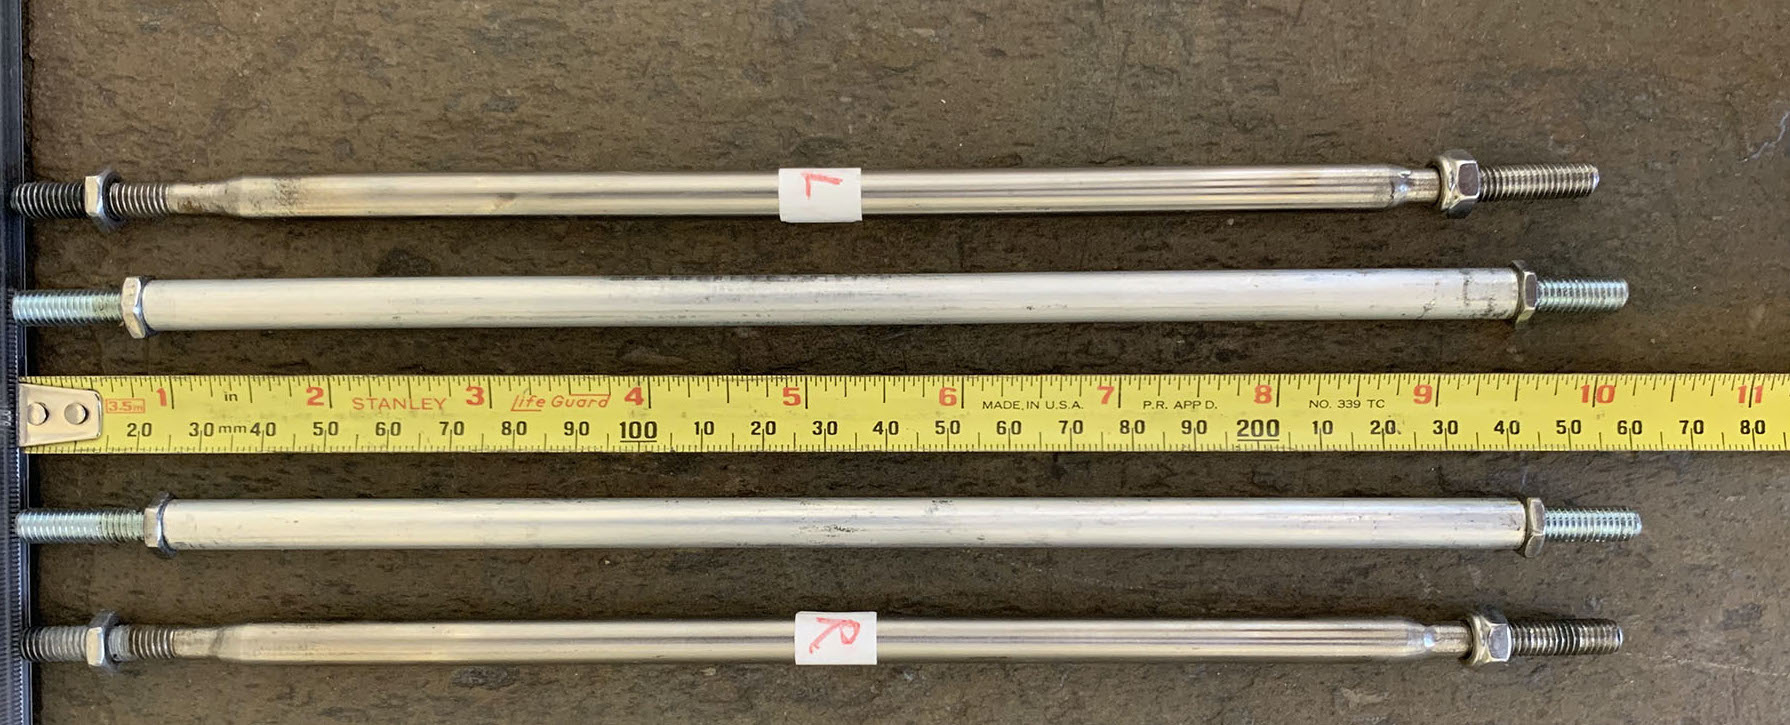
There is of course a weight penalty, but if Intercity Bikes is now using these new rods, the older design is probably known to be inferior in strength.
|
|
|
|
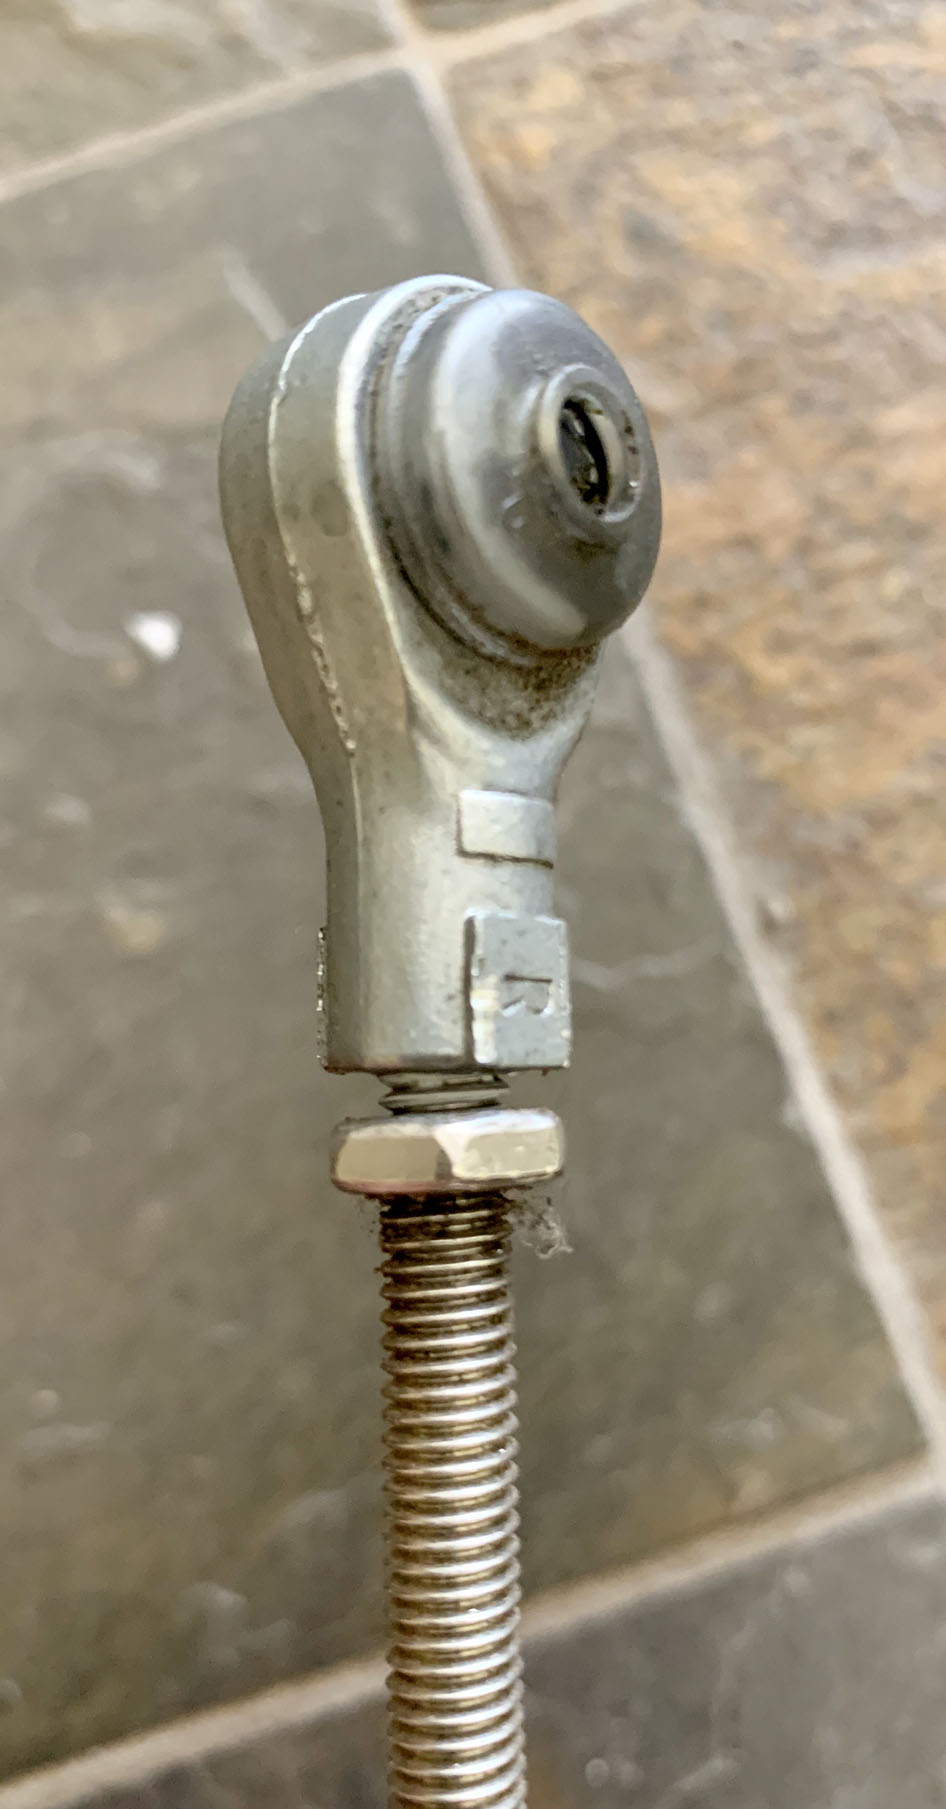
A second problem concerns the number of threads on the new middle rods. At the shorter end for both rods, there aren't enough threads to engage the nut.
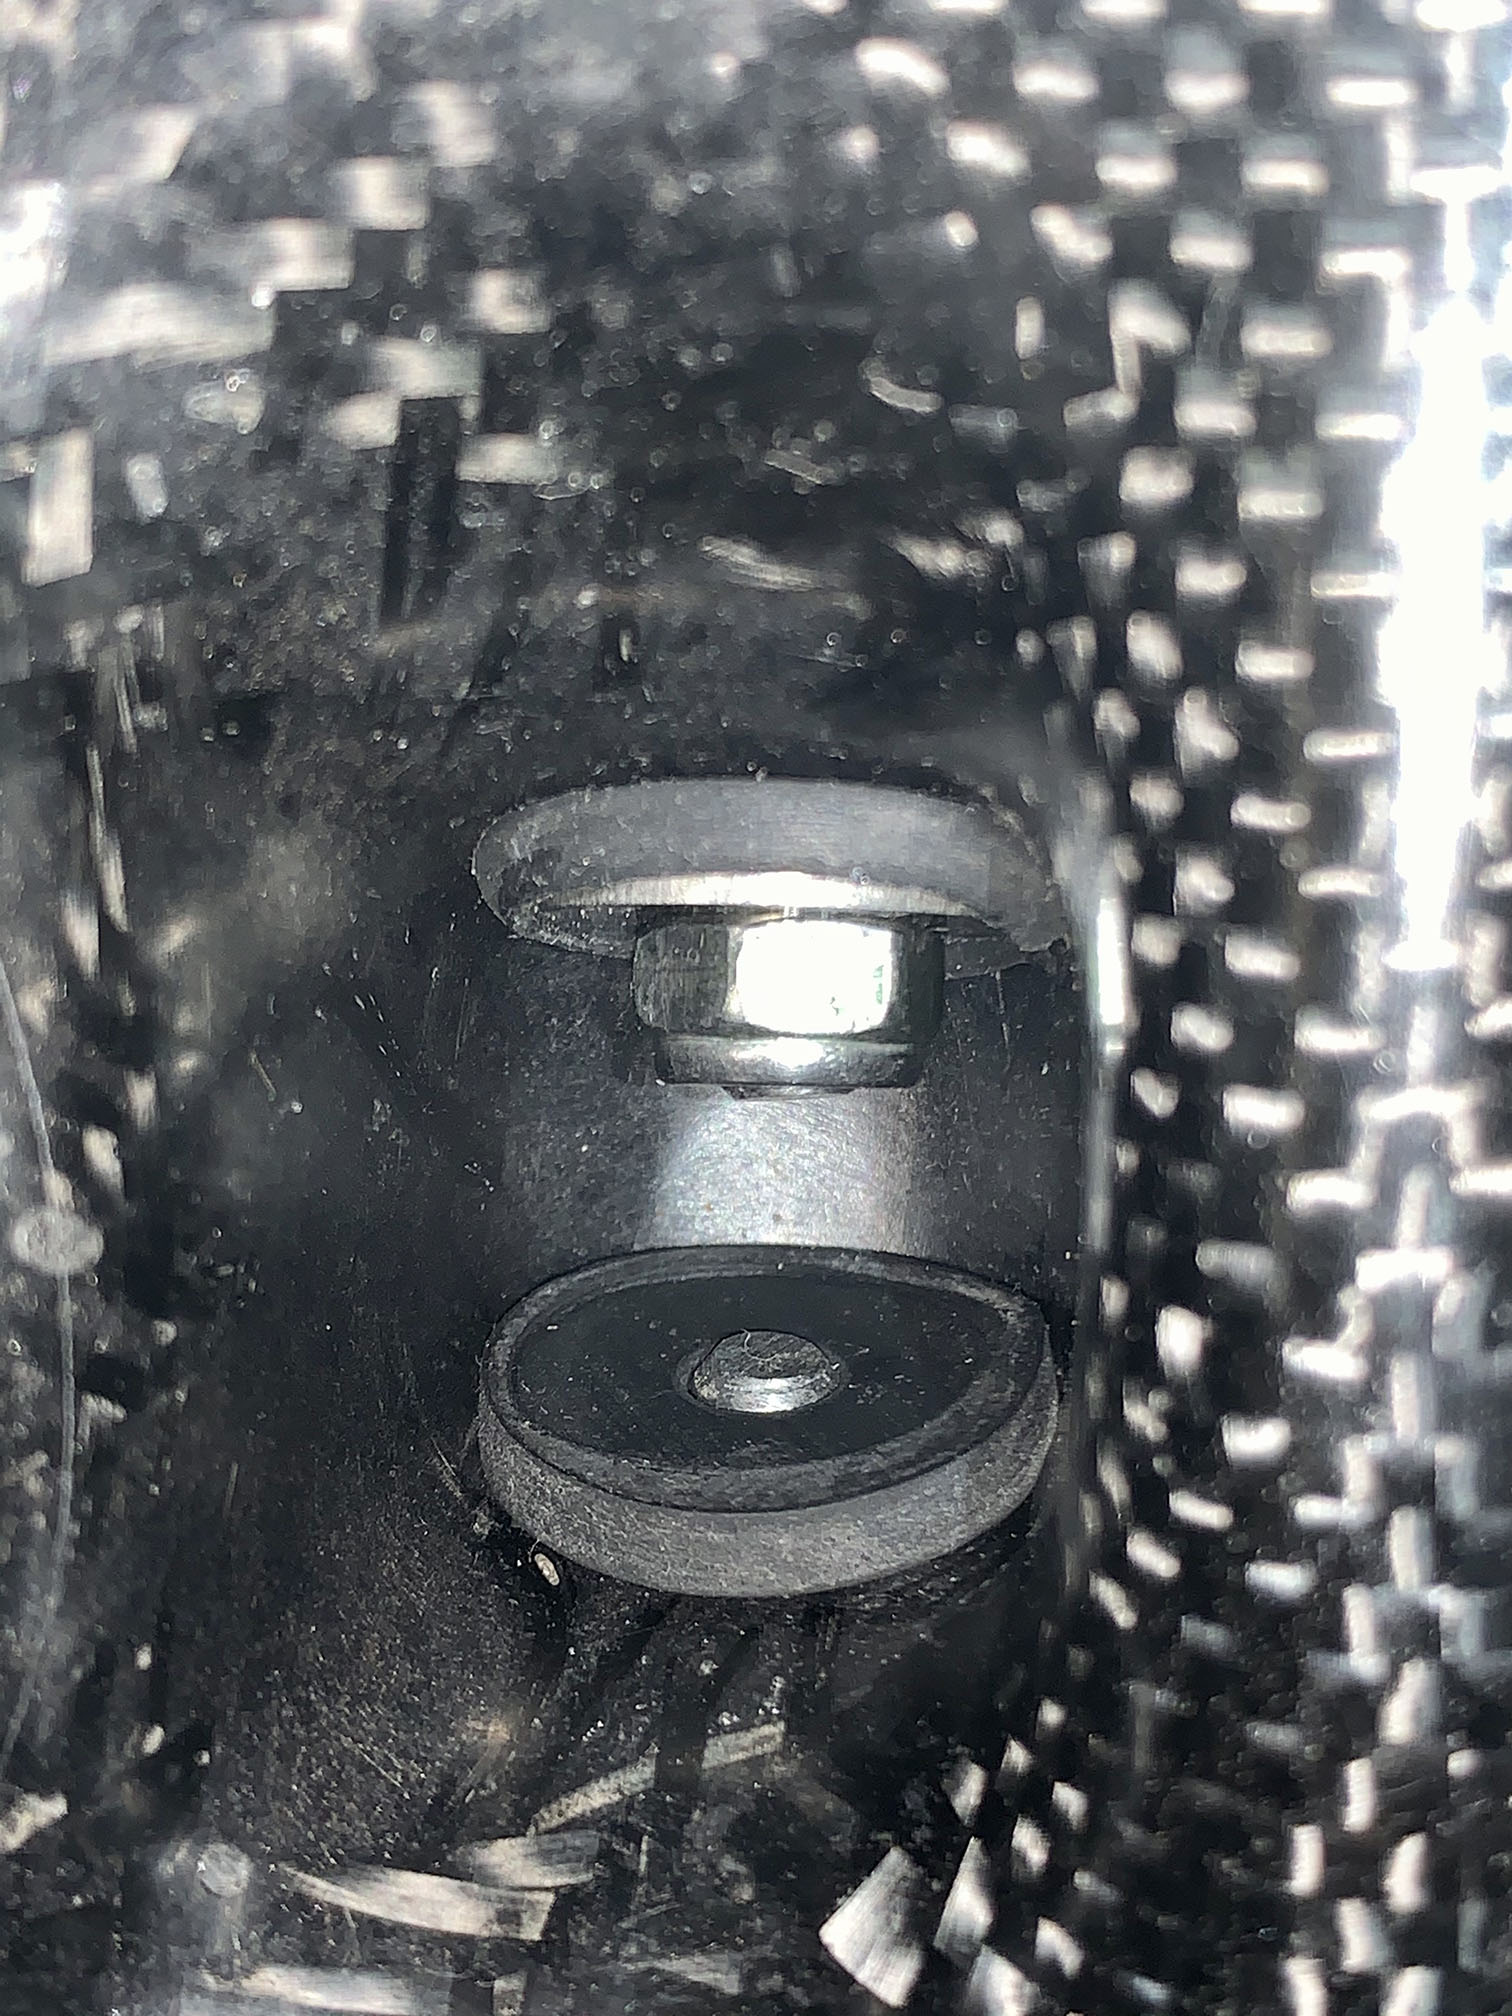
The middle rods go into this oddly cone-shaped carbon fiber protrusion/housing on my 2018 df. The threaded section needs to accommodate two rubber washers and two thin steel washers on each side of the housing (shown in the middle picture). The rubber washers permit the middle rods to move with the suspension. The third picture shows there are not enough threads to fit the steel washer, plus be able to hand-screw the nyloc nut on the end. (This situation obtains if the thread length is 15-16mm.)
|
|
|
The nut cannot be clinched down too tightly, as Intercity Bike has warned in 2020.
If it's too tight, the rod will not be able to move up and down, and rod may fracture (as has reportedly happened in a number of cases).
On the other hand, if the rod moves up and down too freely, perhaps there are not enough threads engaged: hence my incident when one rod became detached after a nut loosened over time. (The df will pull sharply to one side and be unridable.)
For these new rods, I had to use the other threaded end, measured at 19mm and 25mm (if I recall correctly). Yup, they aren't made the length! I was initially worried about using the different lengths in the middle of the velomobile because the original rods are sized slightly different between left and right sides. However, I was still able to properly align the steering (see discussion above).
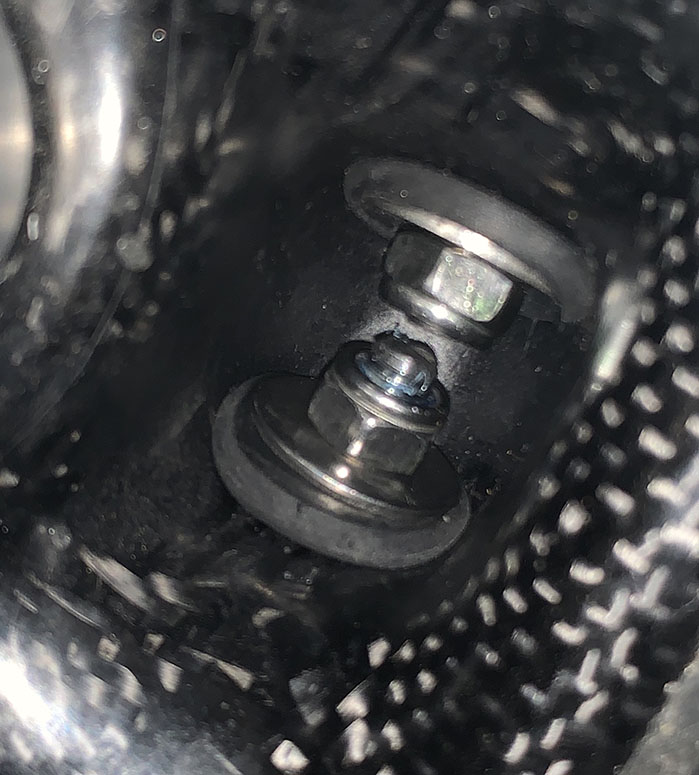
You can see below left that the rod lengths are unequal inside the cone-shaped thing. There is barely enough thread on the shorter one for the rod to peek out from the nut. I need to watch this nut carefully, otherwise it could back out catastrophically. (It has blue Locktite applied.) I wish it had some more threads though. I dare not cinch it up any further for fear of causing the rod to fracture when it does not have enough freedom of movement.
|
|
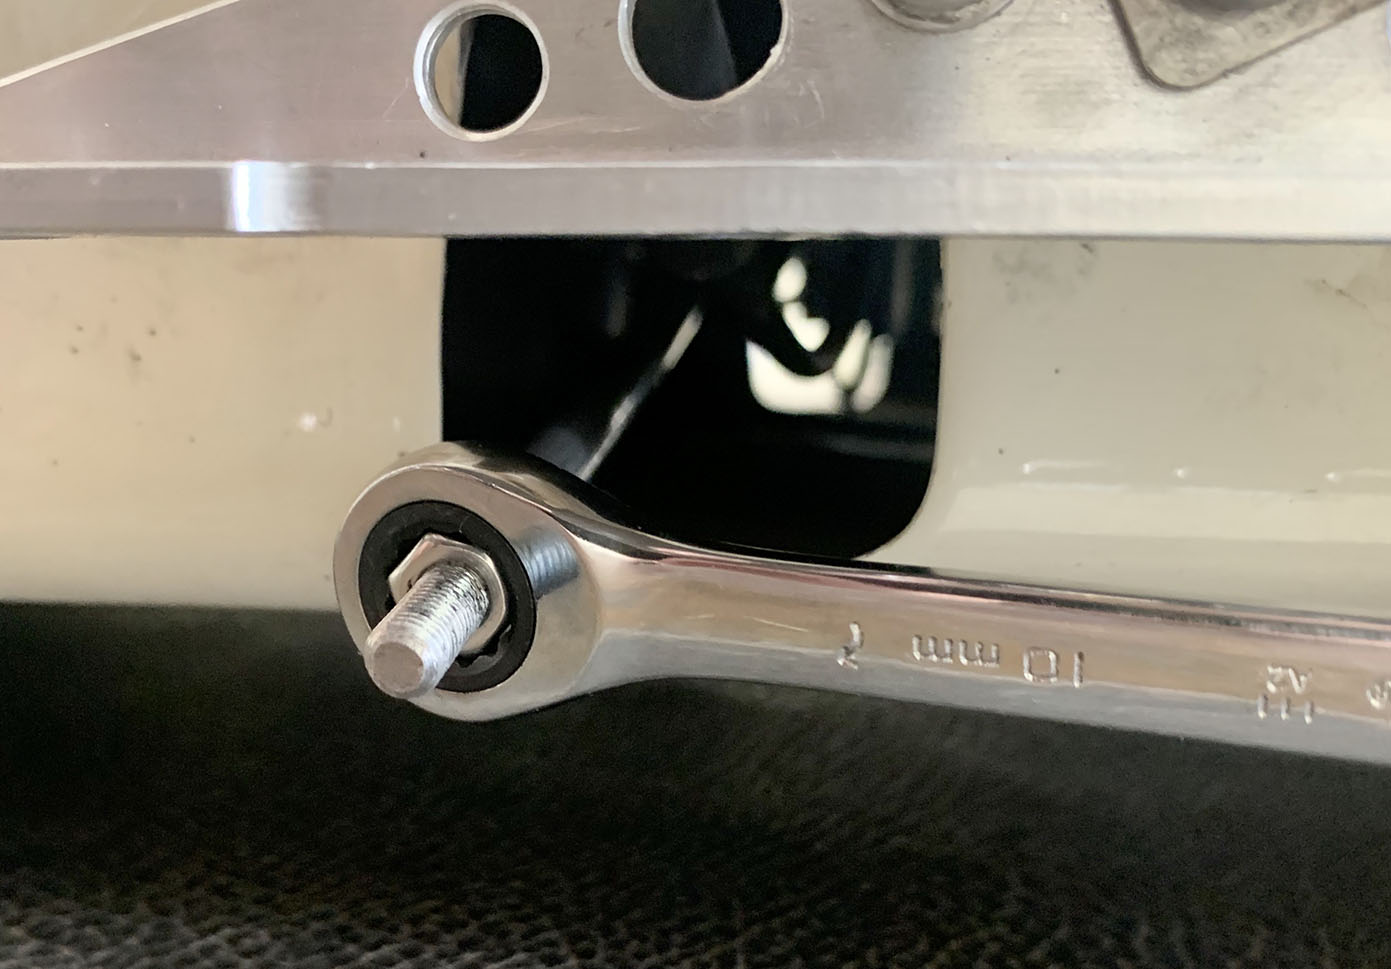
So how tight did I cinch that up without completely crushing the washer?
Well, the video clip below shows the amount of freedom it currently has. It has enough tension that it bounces back very fast after I let go. But it has enough freedom that I can compress it using thumb and finger. Is this right? I really dunno...
|
|
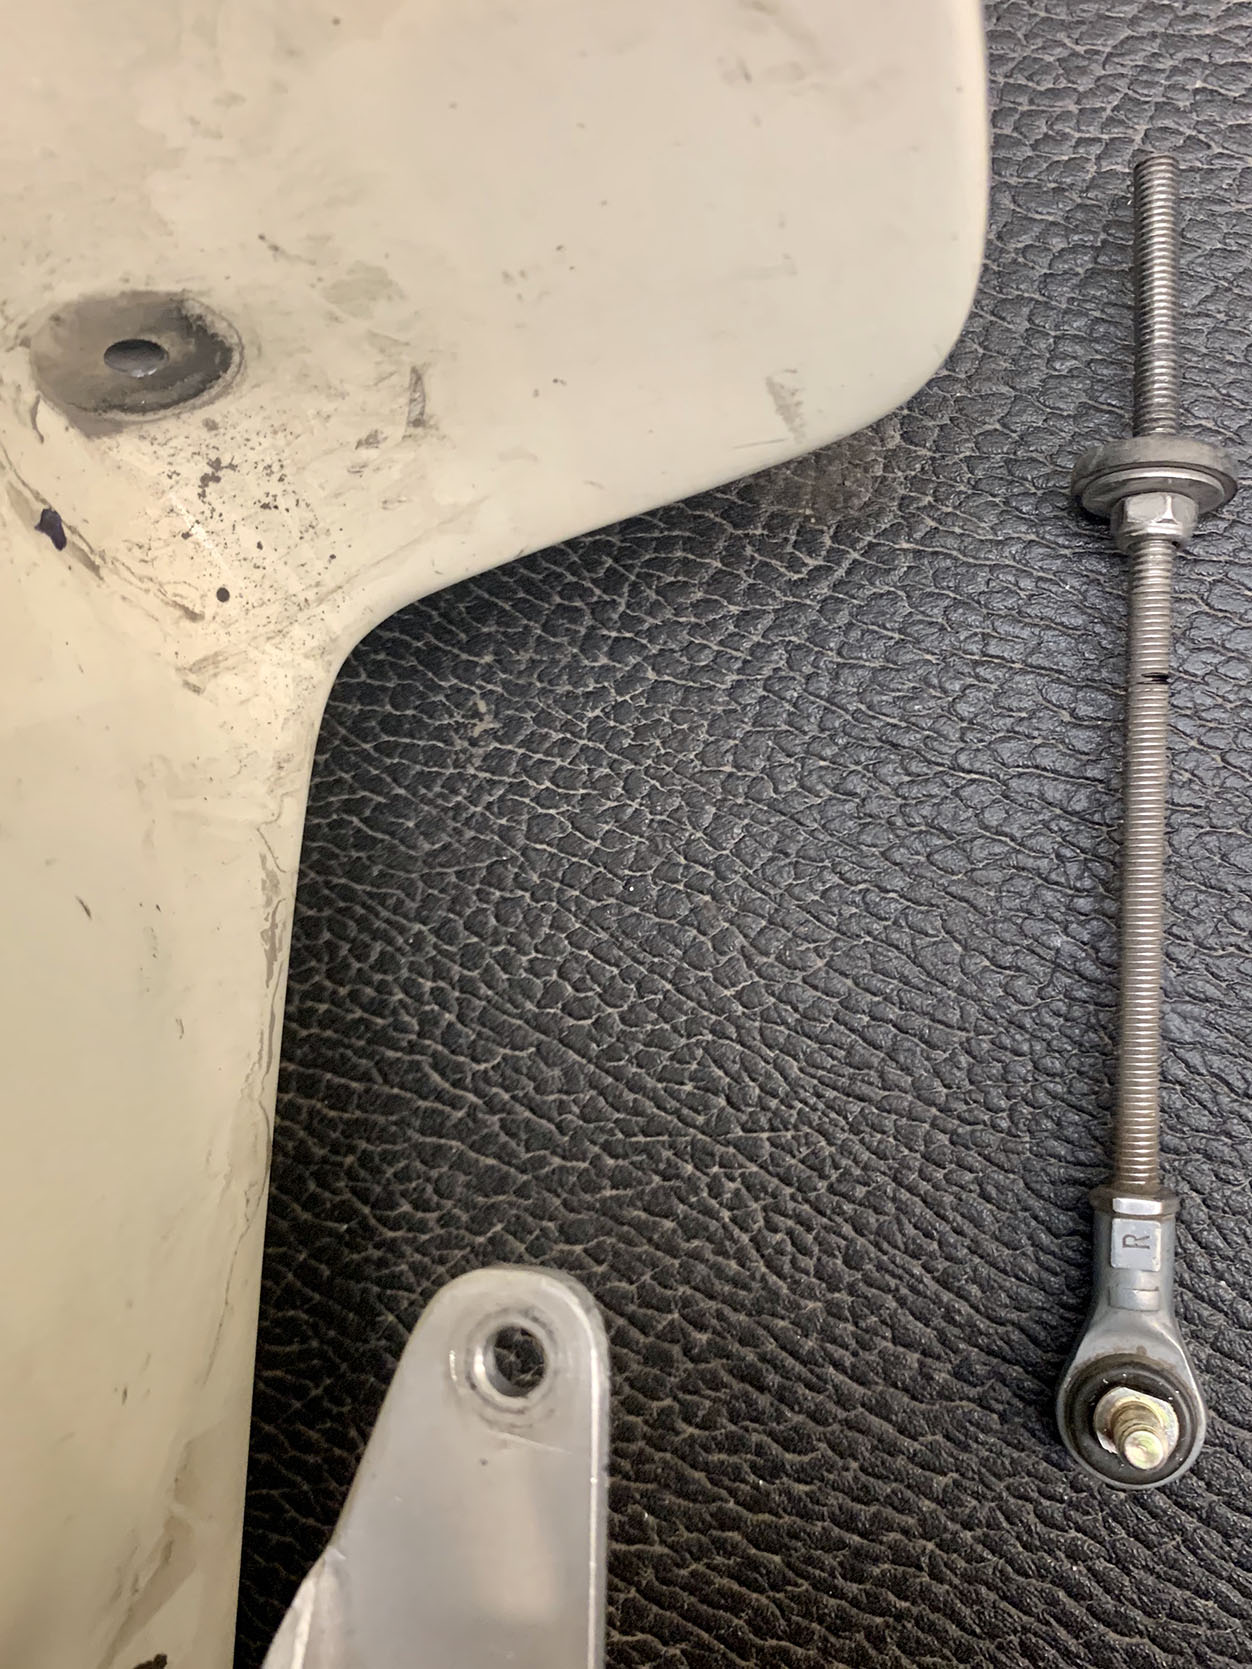
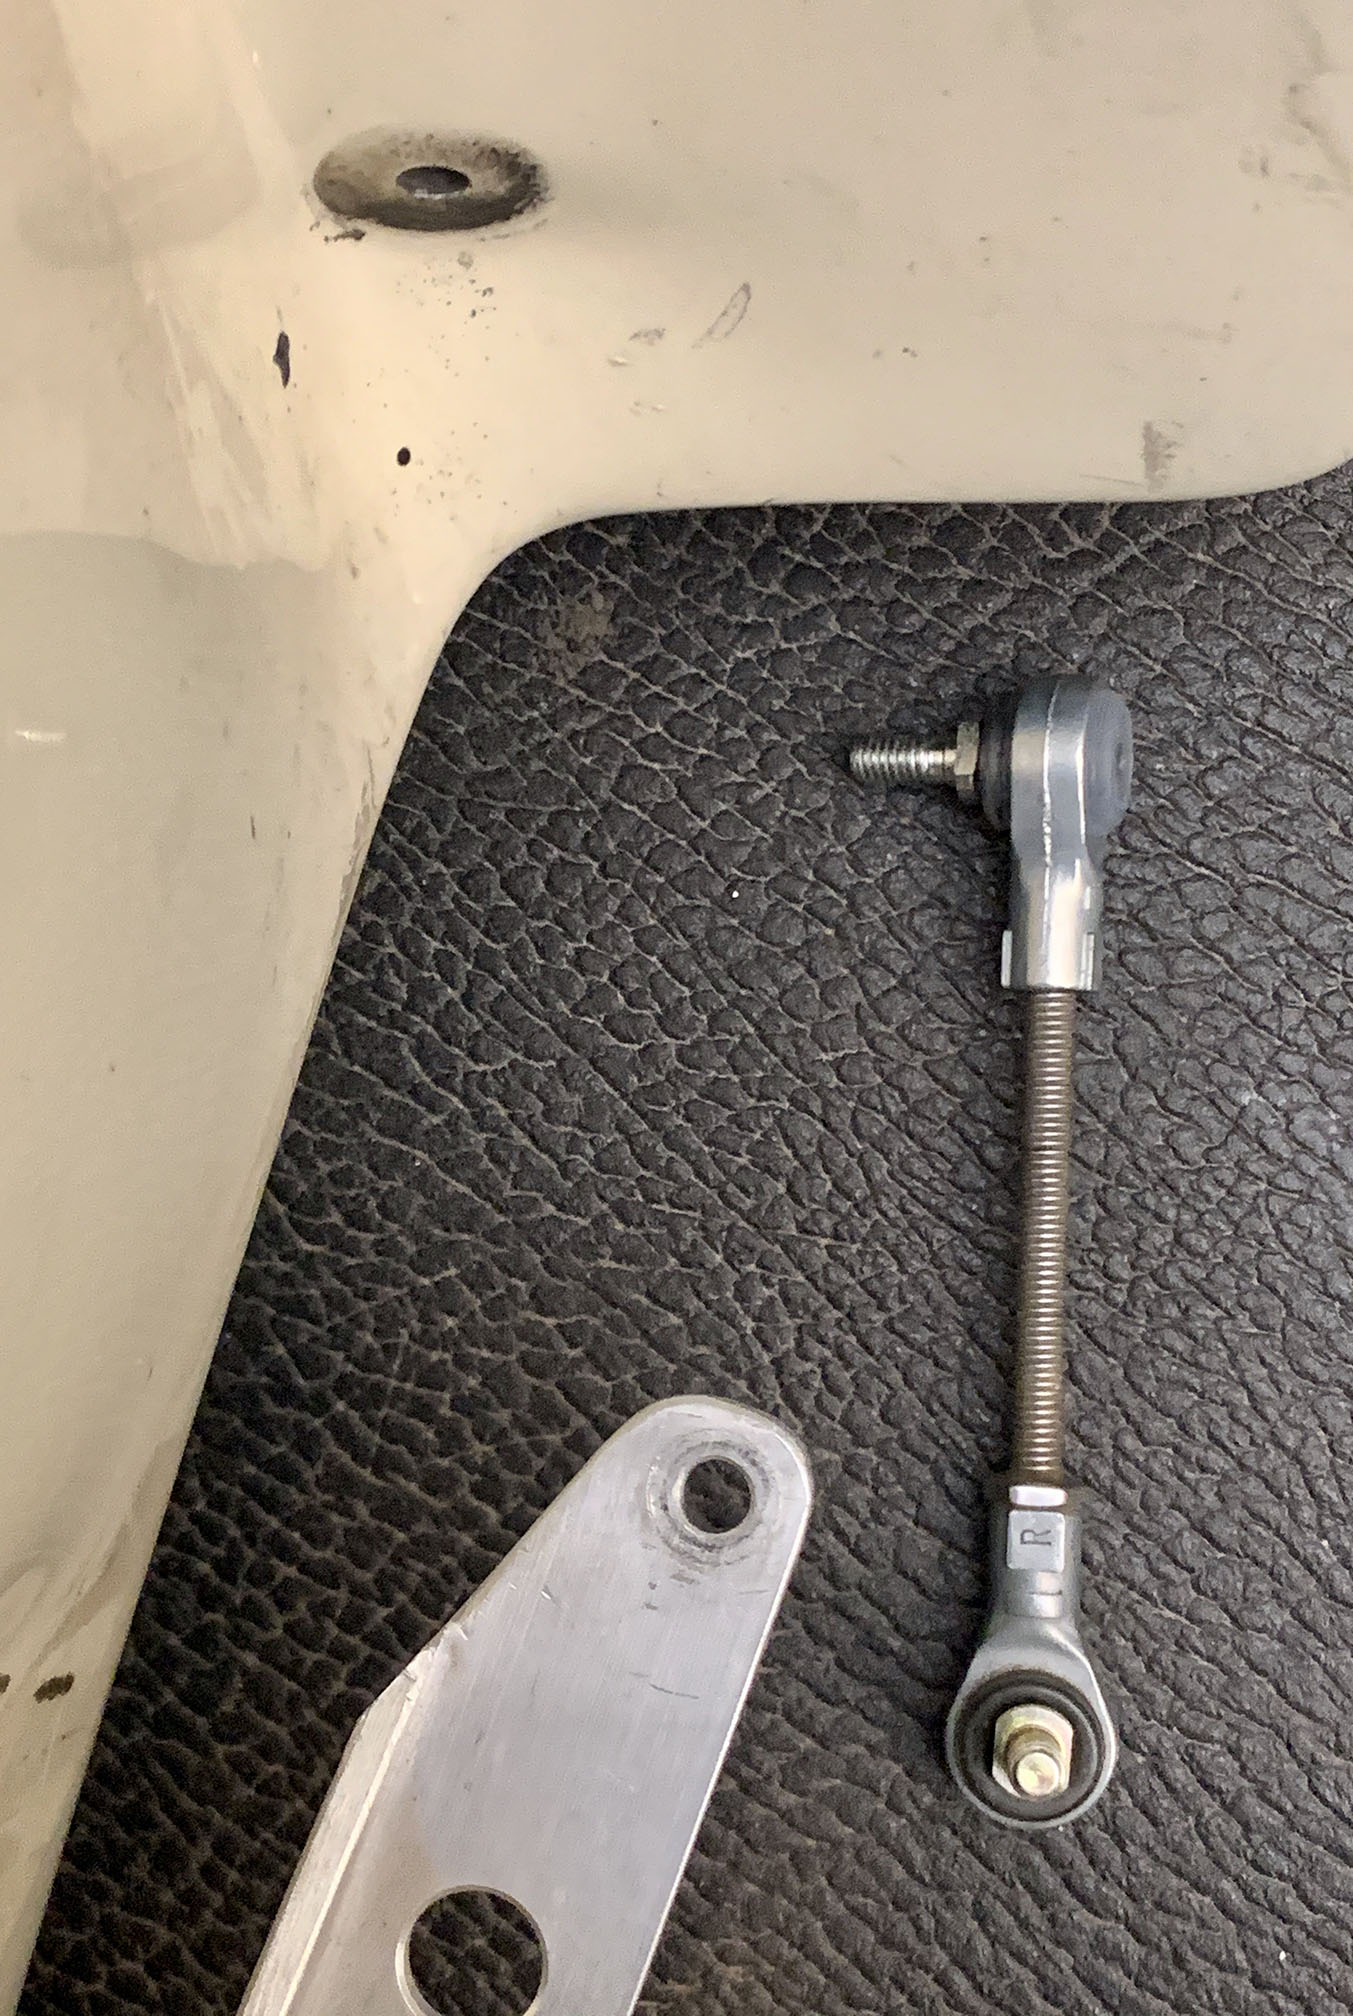
I was surprised the front rods were bent too. These locate the wheel's fore-aft position in the wheel well. I have them adjusted so the wheel is more or less centered.
Shortening them and installing the rod end bearings on the side of the wheel well seems a good idea in the light of this discovery.
It also firmed up the handling.
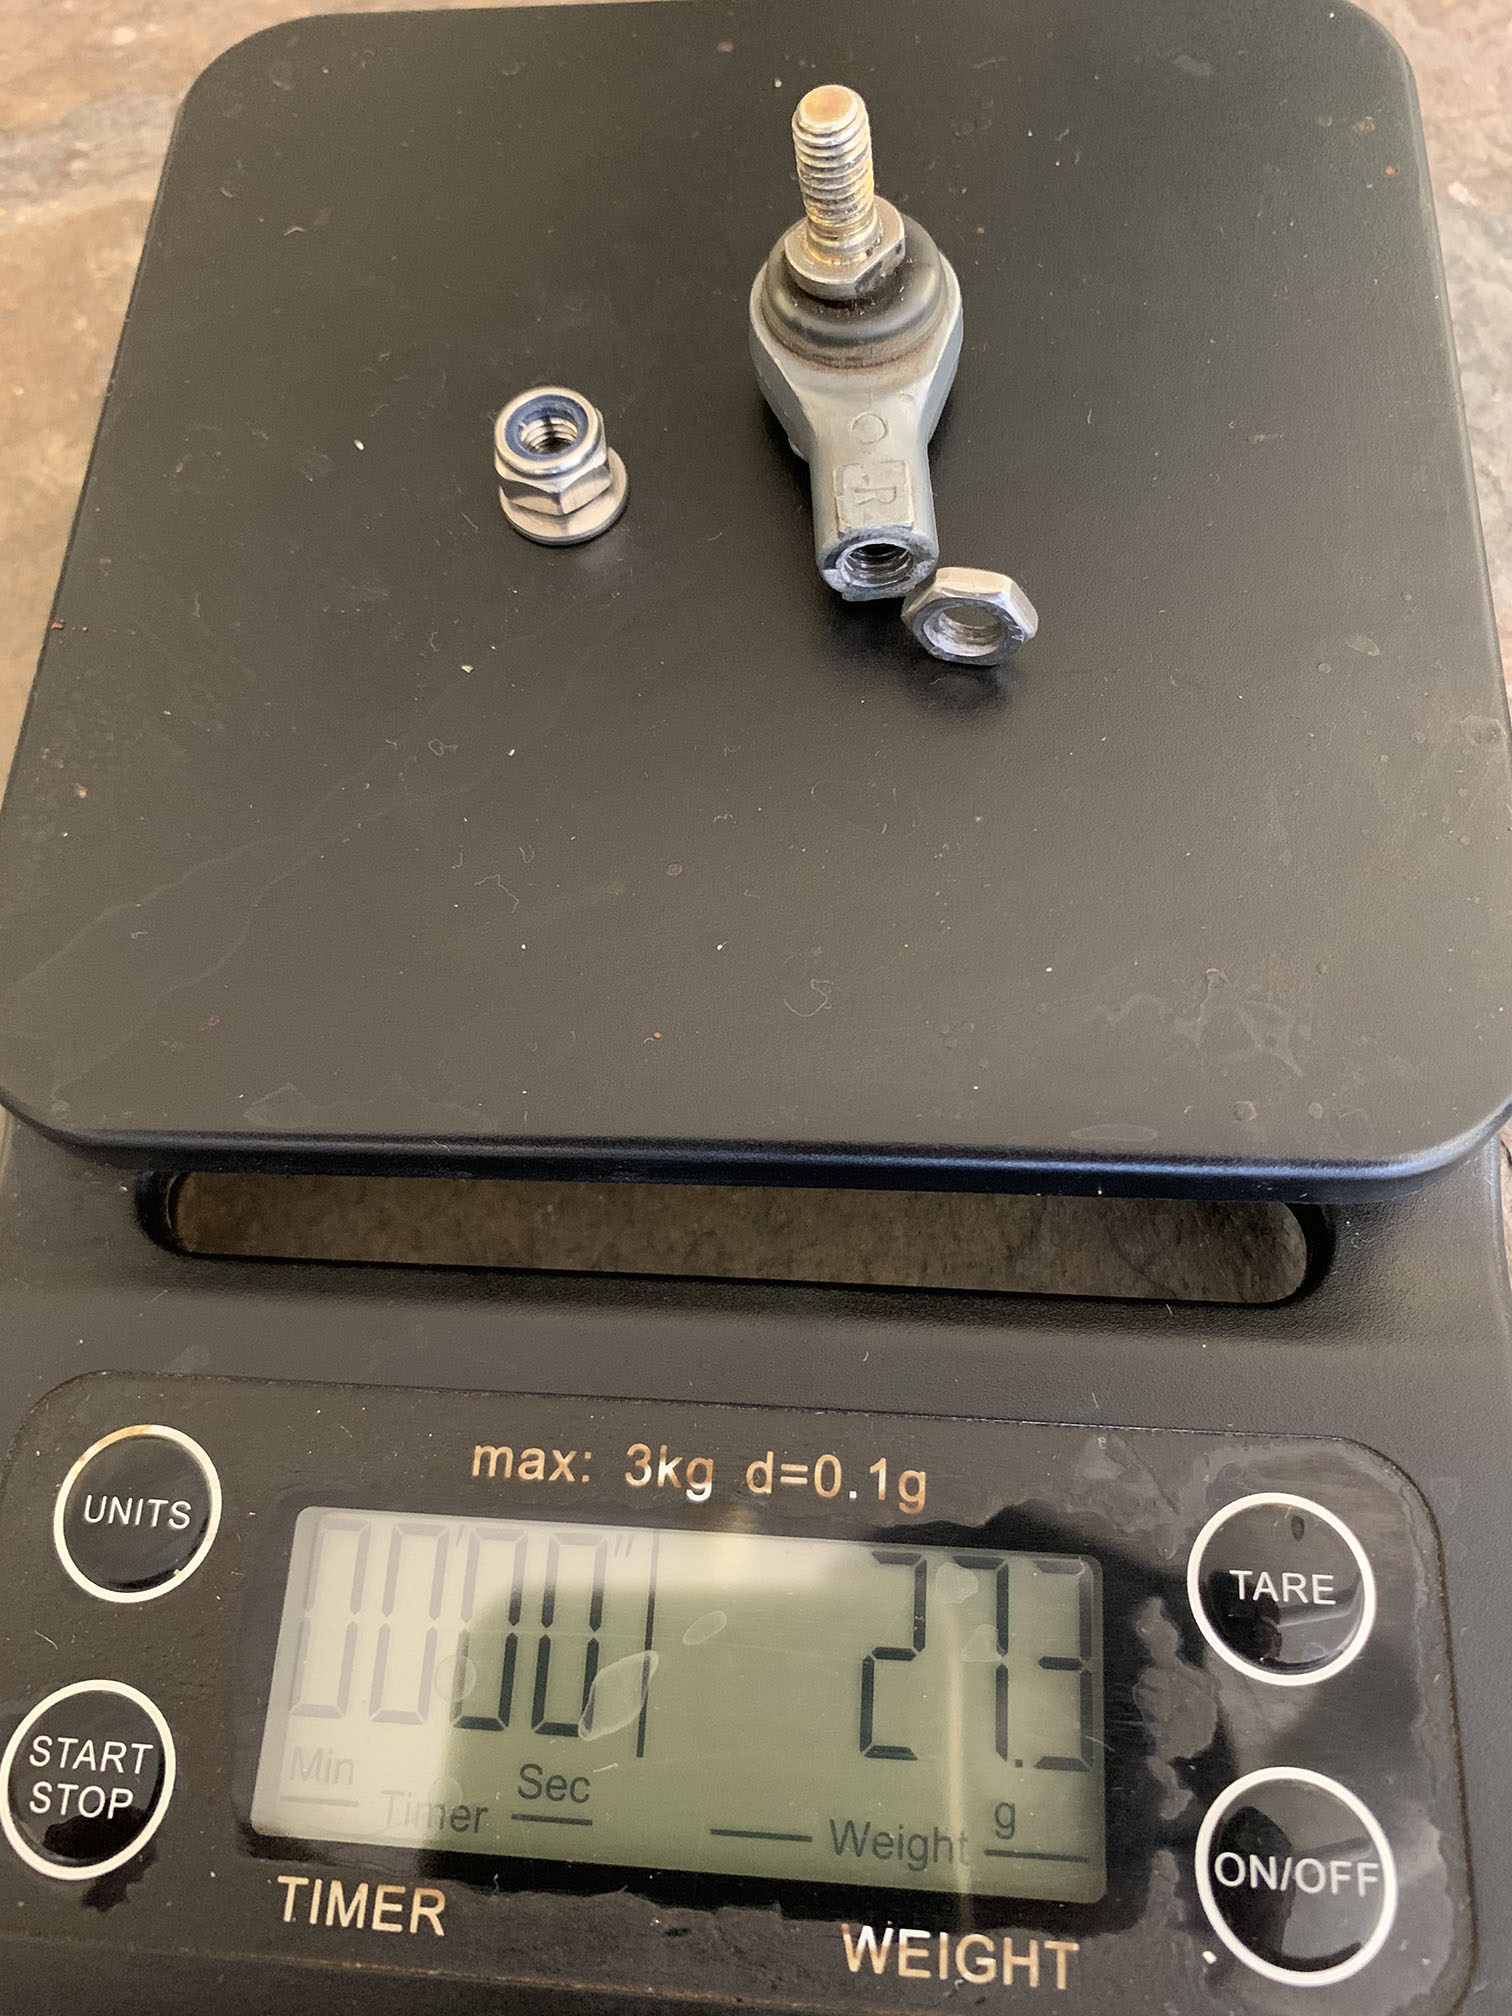
Due to user error, I managed to pop off a ball joint by twisting a rod. The problem was that this was the rear steering rods and the end was buried deep inside. I had to extract the entire steering hardware (weighing about 214g).
|
|
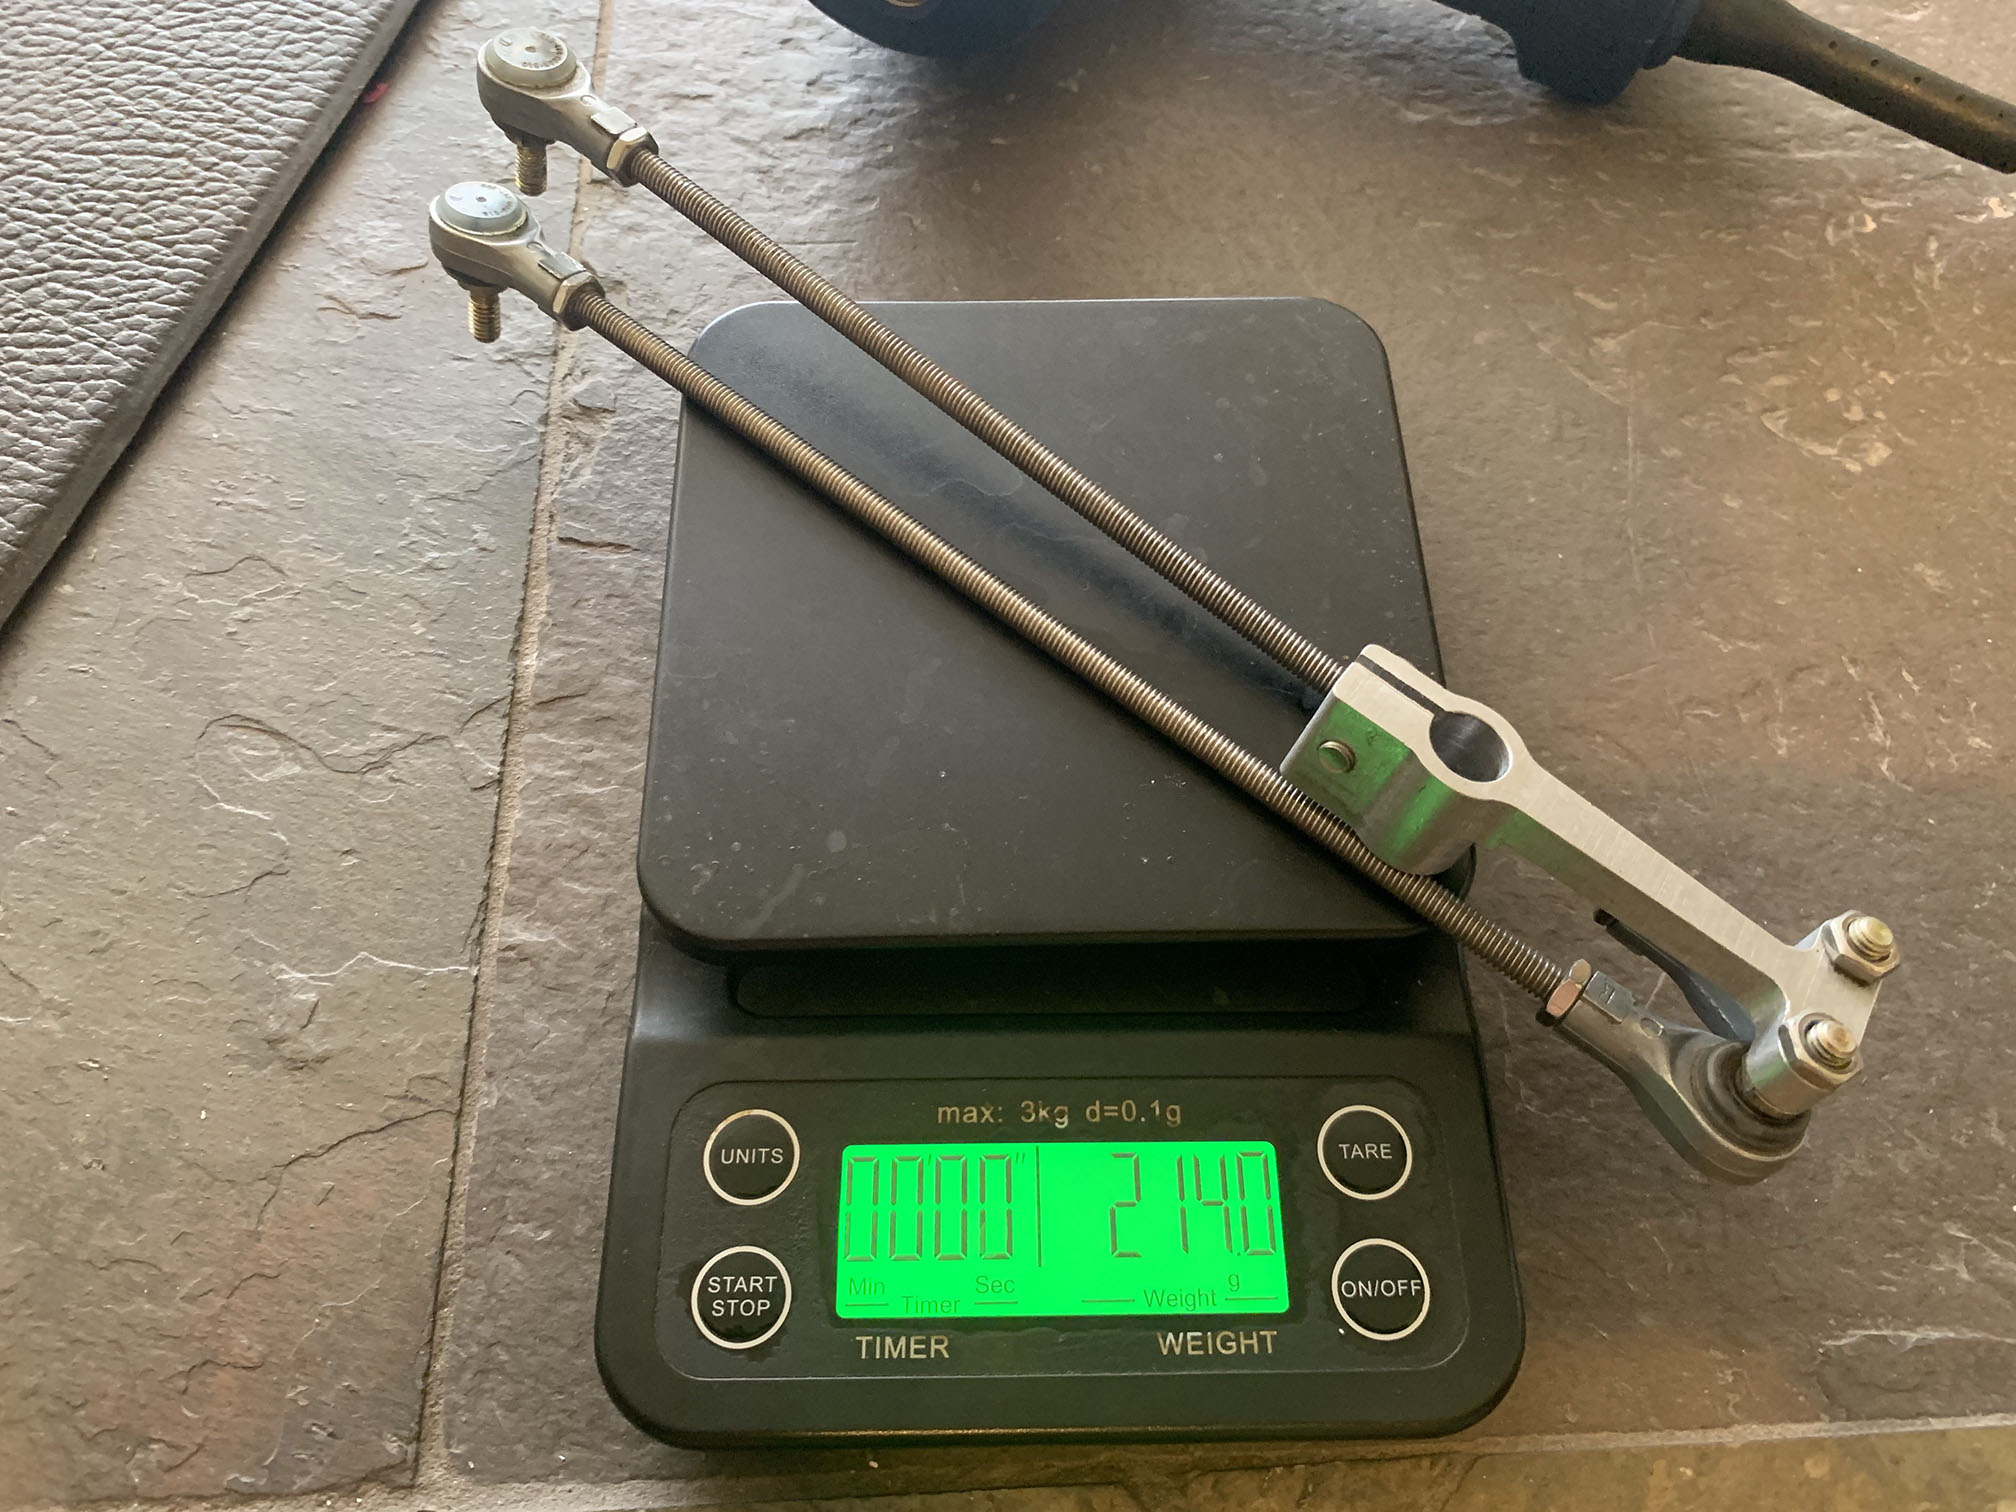
|
The solution according to Ymte at Intercity Bikes was to press the ball back in using a vise. Then drill a hole underneath the tiller steering interface to make locating the steerer for re-install easy.
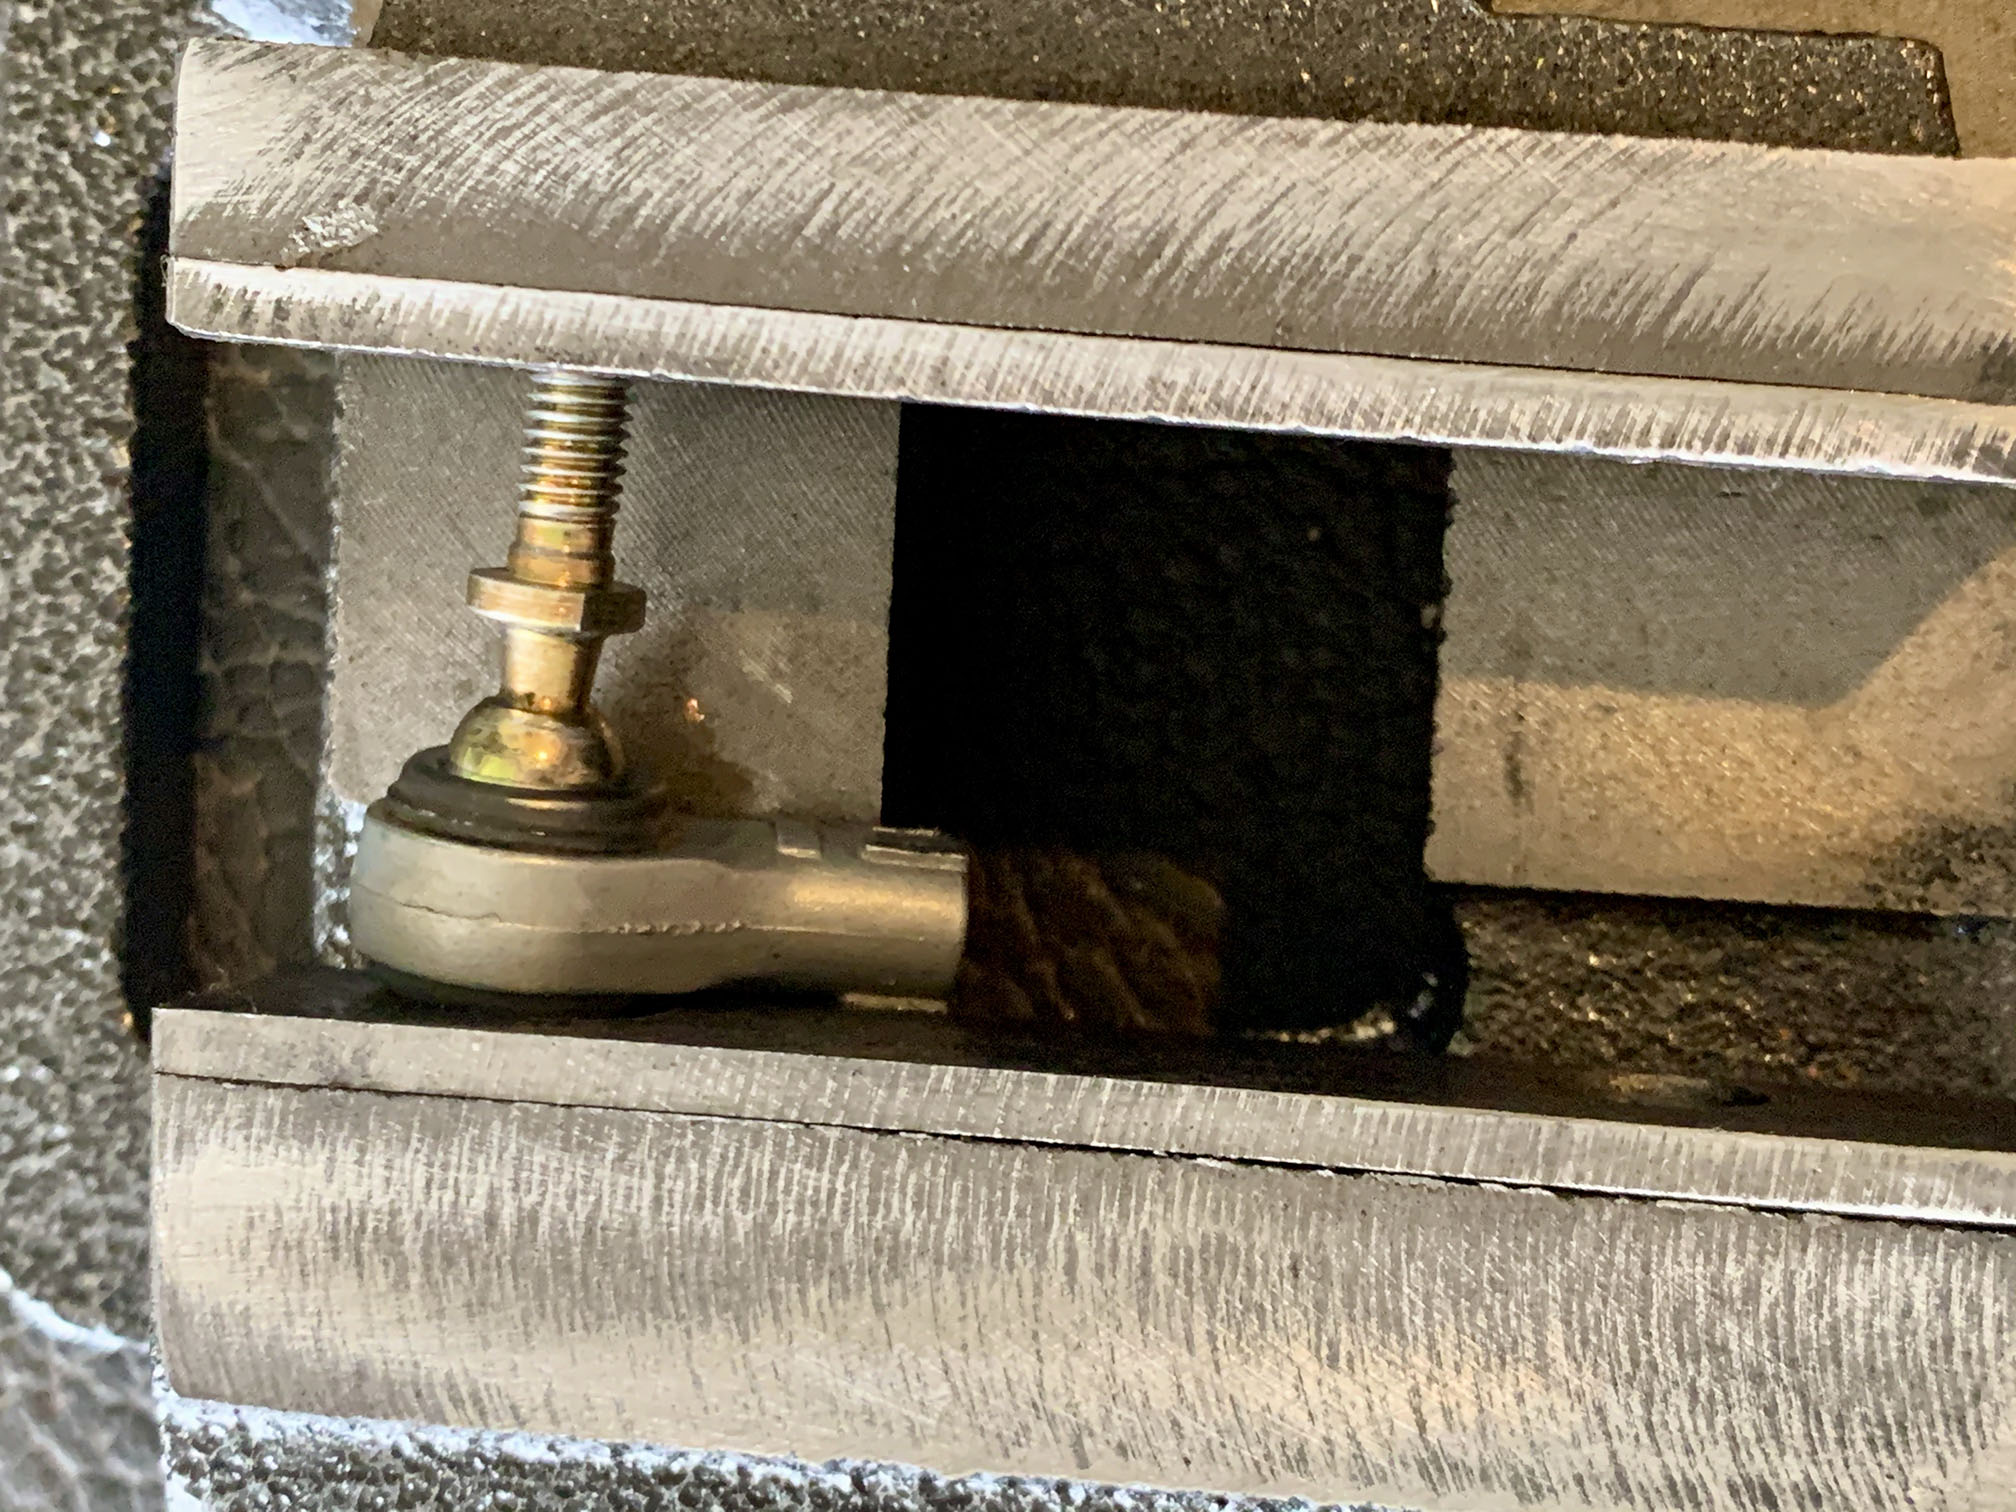
|
|
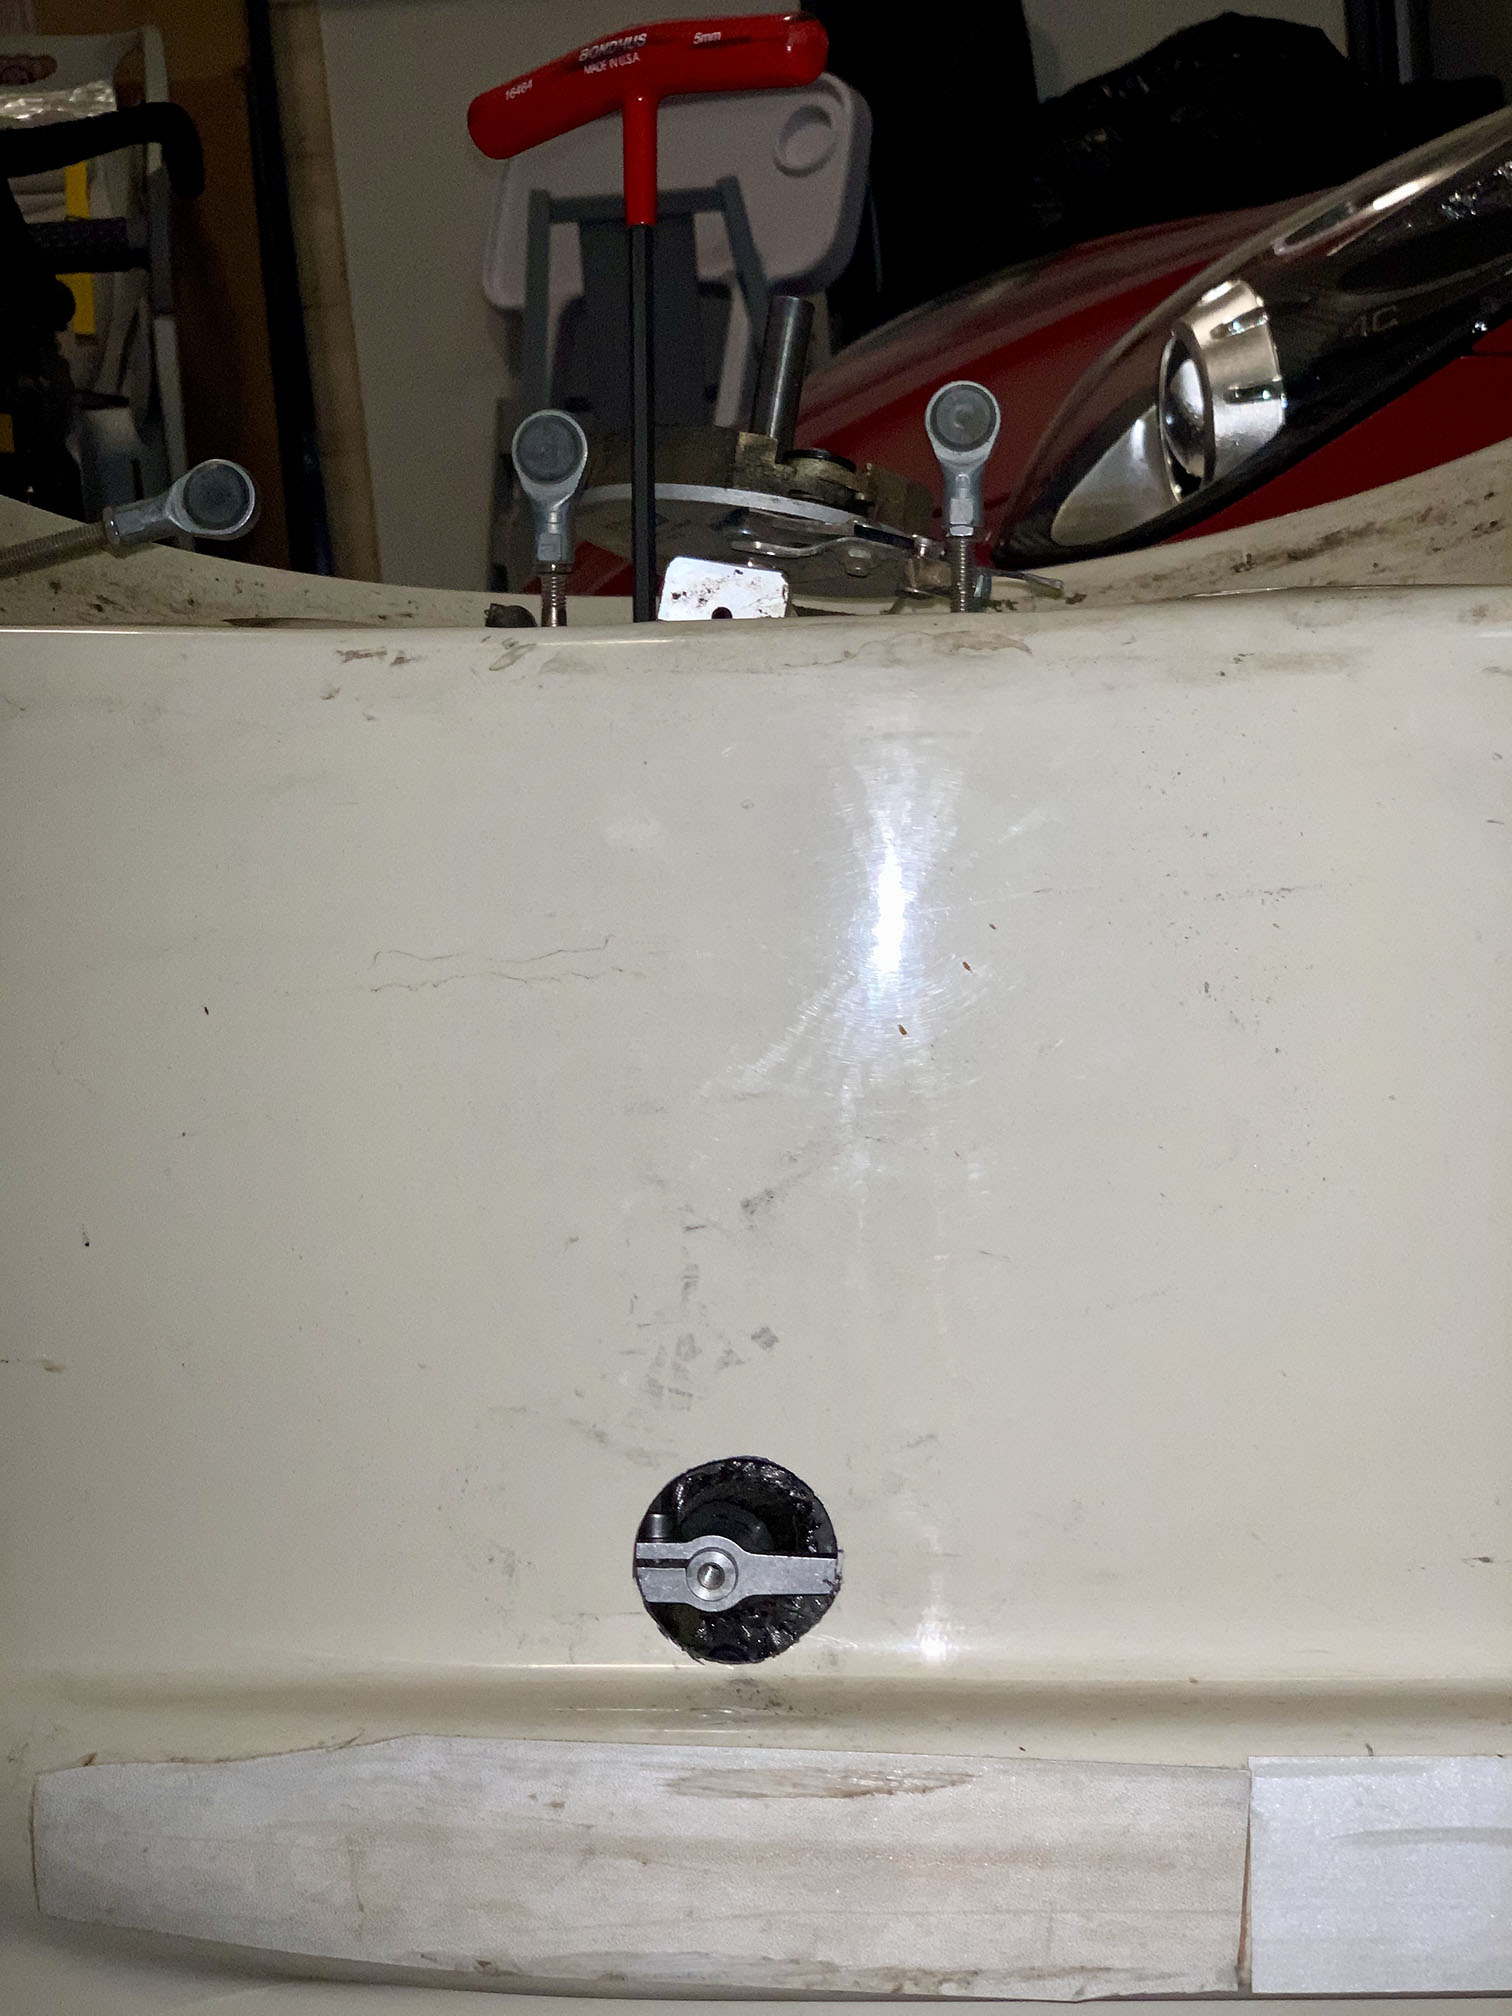
|
Still kicking myself for that error!